17
GB
Setting Up
Setting Up
Inserting the print paper
Insert the print paper sheet by sheet. Use the print
paper designated for this printer only.
1 Turn on the power of the printer.
The POWER indicator lights up.
2 Follow printing procedures.
After pressing PRINT, the paper supply indicator
flashes. For details, see pages 19 to 35.
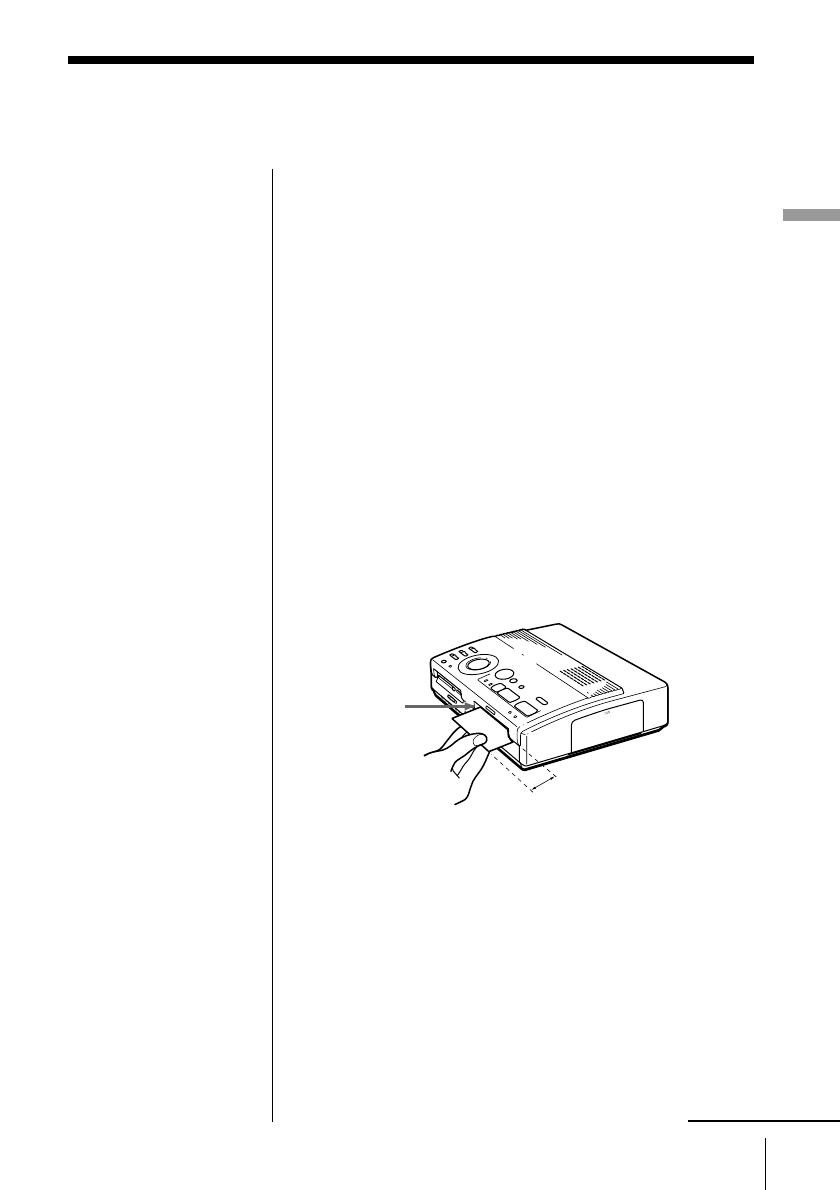
3 Insert the print paper straight with its blank
printing surface facing up and along the guide to
the left of the paper inlet.
Insert the paper until less than 2 cm (approx. 0.8
inches) remains. The paper is automatically loaded
when printing starts.
Notes
• Insert the print paper
straight along the guide
to the left of the paper
inlet. If the paper is
positioned to the right
or slanted, the printing
area may be out of
position.
• The paper may not be
loaded automatically if
you do not insert the
paper firmly.
• You cannot type on the
printing surface before
printing. If you want to
write greetings or draw
on the printing surface
after printing, use an
oil ink pen.
• Do not attach a sticker
or something on the
printing surface before
printing.
• When handling the
print paper, do not
touch the printing
surface (shiny side
where nothing is
printed). Also, do not
place print paper in a
dusty location.
Fingerprints or dust on
the printing surface
may result in imperfect
printing.
• Do not print on sticker
paper which has
already been peeled off.
• Use the print paper
recommended for this
printer only.
• Do not fold or bend the
print paper.
Less than 2 cm
Guide
continued


