32
GB
Making Various Prints
• When printing from your video equipment:
1 Start playback on your video equipment.
2 Press CAPTURE when the picture you want to
print appears on the screen.
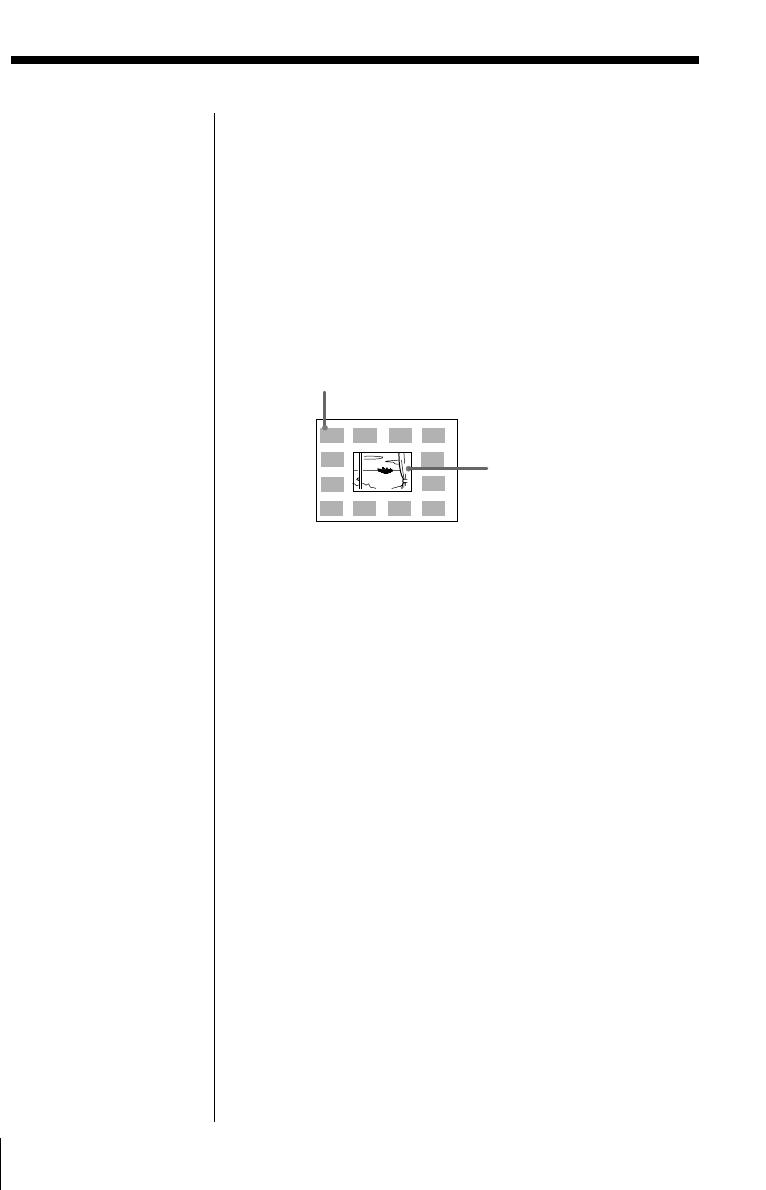
The selected image is placed in the center
surrounded by the calendars for 12 months.
Starting with the current month calendar in the
upper left, the calendars for 12 months are placed
from left to right, upper row to lower row.
3 Press the arrow buttons ( B/b) to select the first
month of the calendar to be placed in the upper left.
Pressing B displays the previous month. (After
January, the December of the previous year is
displayed.)
Pressing b displays the next month. (After
December, the January of the next year is
displayed.)
4 Press PRINT and insert the print paper.
The calendar of the selected image is printed.
When you select “VIDEO
MOTION”
When you set INPUT
SELECT to “VIDEO
MOTION,” the selected
image is blur-
compensated in step 2.
Selecting a different
image
• When printing from a
“Memory Stick” or PC
card:
Press V or v to display
the next or previous
image in the image
thumbnail list. To
return to the thumbnail
list, press PICTURE.
• When printing from
video equipment:
Press PICTURE to
display the input
images and re-select the
image for printing
again.
You can also press
CAPTURE again while
the MEMORY indicator
is flashing to re-select
the image.
Note
If you do not adjust the
clock correctly, the
calendar does not start
with the current month.
See “Adjusting the clock”
on page 12 to set the
clock.
Making a calendar (continued)
The first month
(current month)
The selected image
1999
1 2 3 4
9 10 11 12
5
6
7
8
