


Recording Shot Marks
58
Recording
Notes
• When recording of the camera image is in
progress, it cannot be switched to the color-bar
picture even if you press the BARS/CAM
button. (You can switch the color-bar picture to
the camera picture.)
• The color bar mode cannot be selected in Slow
& Quick Motion mode.
When you record shot marks for important scenes
of a clip recorded in HD mode as subsidiary data,
you can access the marked points easily on a Shot
Mark screen, which only displays scenes with
shot marks only. This increases editing
efficiency.
For the Shot Mark screen, see “Displaying the SHOT
MARK Screen (HD Mode Only)” on page 98.
The camcorder permits you to record two types of
shot marks: shot mark 1 and shot mark 2.
Shot marks can be recorded as needed during
recording or can be added after recording while
checking the playback pictures.
Note
Shot marks cannot be recorded for clips recorded
in SD mode.
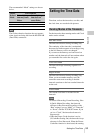
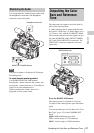
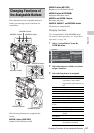
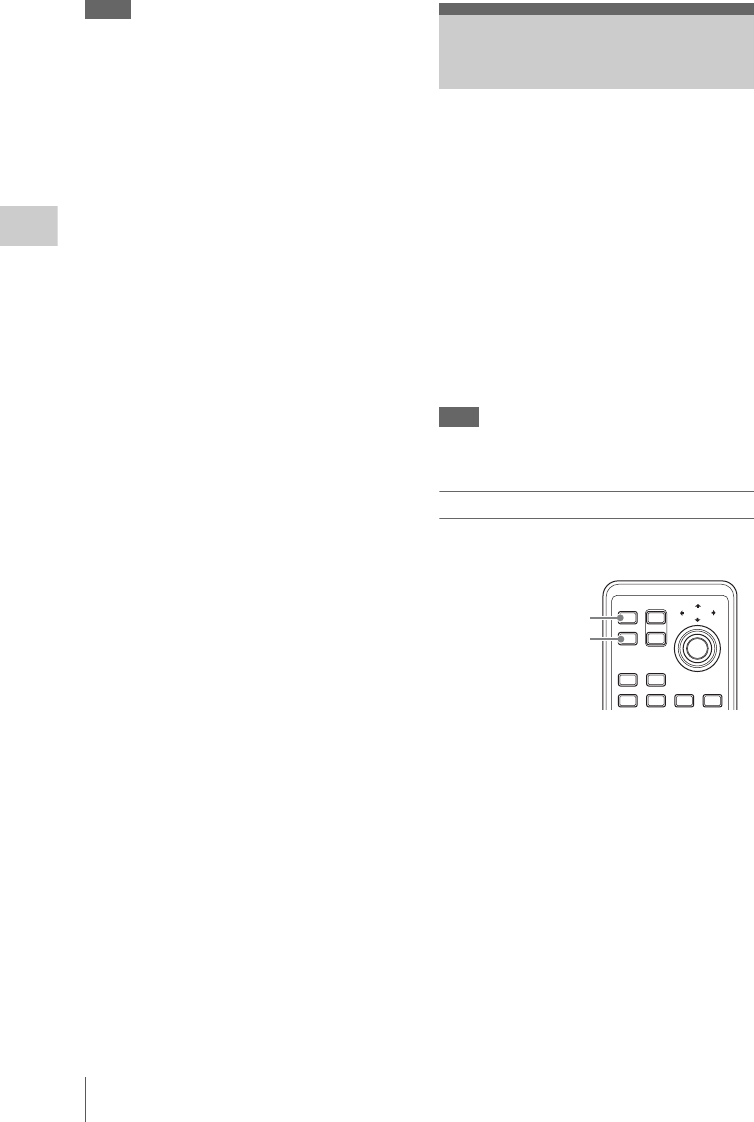
Inserting a shot mark during recording
Activate the IR Remote Commander (page 32),
and use the SHOTMARK 1 or 2 button.
Press the SHOTMARK 1 or 2 button where
you wish to insert a mark.
If the Shot Mark1 or Shot Mark2 function is
assigned to an assignable button, you can also use
it instead (page 61).
A shot mark of the type corresponding to the
button you press is recorded.
For operations to add shot marks after recording,
see “Adding Shot Marks During Playback (HD
Mode)” on page 91 and “Adding/Deleting Shot
Marks (HD Mode Only)” on page 99.
For specifying a shot mark name using planning
metadata, see “Defining Shot Mark Names in
Planning Metadata” on page 83.
Recording Shot Marks
SHOTMARK 1 button
SHOTMARK 2 button
1
2
T
ZOOM
PUSH SET
SHOTMARK
SUB CLIP
THUMBNAIL
PLAY/PAUSE
STOP
W
.>xu
PREV NEXT