


Administrating the Camera
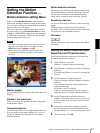
Using DDNS Service — DDNS Setting Menu
61
5
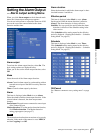
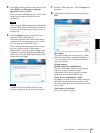
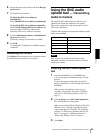
In the DDNS setting window of the camera, select
On of DDNS, type Password and Re-type
password, and then click OK.
The password for the DDNS service is saved in the
camera, and it prepares for DDNS service
registration.
Note
When using the DDNS function, the serial number
of camera, MAC address and IP address will be sent
to the server. You should agree it before you go to
the next step.
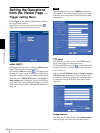
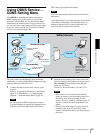
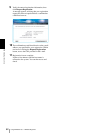
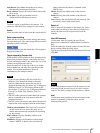
6
Click the Register button to proceed with new
registration for the DDNS service.
The camera proceeds with “Product information
registration” for the registration server to prepare
for your registration for DDNS service.
When “Product information registration” is done
properly, the new window of the browser is
displayed and a “New registration” display of the
registration site opens. Type the same DDNS ID
and password as in the DDNS setting menu of the
camera, then click Next.
Note
A DDNS ID has been already input when the
window is displayed. You do not have to input it.
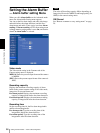
7
Read the “Terms of Service”, and click I agree after
agreement.
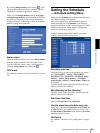
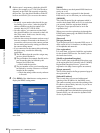
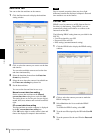
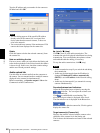
8
Type all items in the registration form, then click
Next.
[Host name]
Type the host name you want to apply to. Usable
characters are alphabets, numbers and hyphens (-).
3 to 16 characters can be used. The last character
cannot be a hyphen.
[E-Mail address]
[E-Mail address (for confirmation)]
Type the e-mail address of the person registered.
Take care to type it correctly because a
confirmation e-mail will be sent to it for actual
registration of the dynamic DNS service.
[Notify service availability by e-mail]
Set whether you wish to receive e-mails which give
information on the management condition of the
service (stopping of the service by interference, and
so on) or not.
[Your country of residence]
Select your country or region.