


52
Hiding/Displaying the Audio Level Indicator
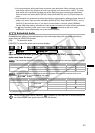
Open the menu and select [DISPLAY SETUP/ ]. Select [AUDIO LEVEL], select a setting
option and close the menu.
The audio level indicator can also be turned on/off with a custom key ( 73).
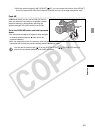
Automatic Audio Adjustment
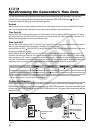
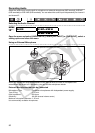
Set the corresponding switch to A.
When [CH1 INPUT] and [CH2 INPUT] are set
to [INT/EXT MIC], if the switch for
CH1 is set to A, the automatic audio
adjustment setting will automatically apply to
CH2 as well.
When [CH1 INPUT] and [CH2 INPUT] are set
to [XLR MIC] or [XLR LINE], you can select if
the audio adjustment setting for CH2 will be
linked to that of CH1 ([LINK]), or if the settings
will be separated ([SEP]).
Open the menu and select [AUDIO SETUP].
Select [XLR ALC LINK], select a setting option
and close the menu.
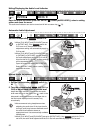
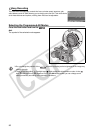
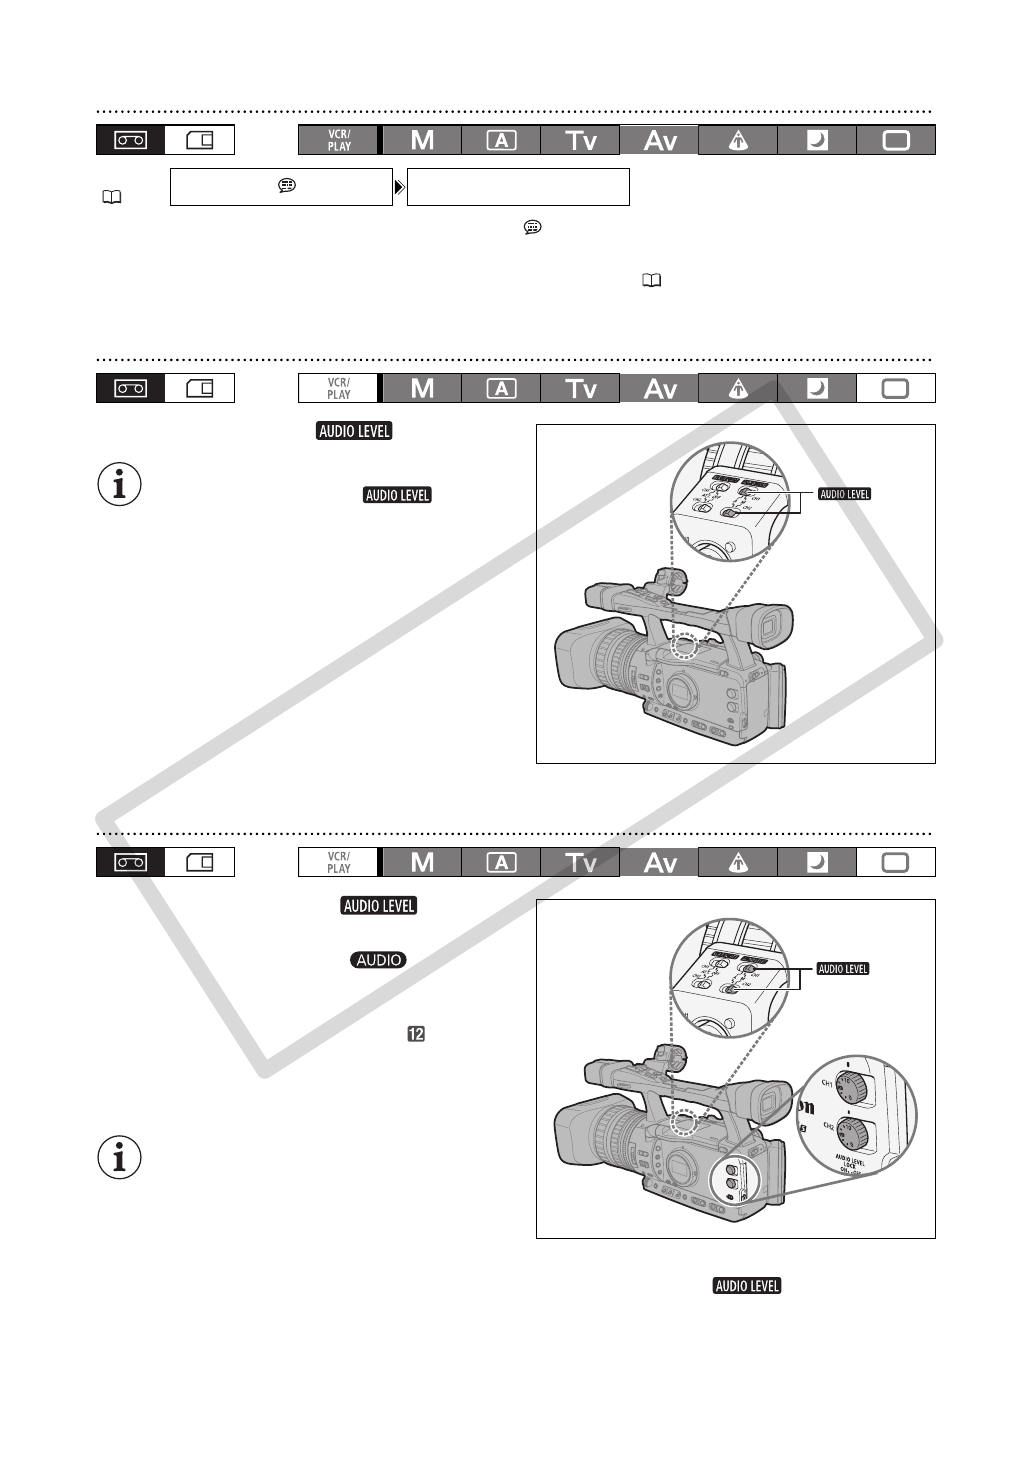
Manual Audio Adjustment
1. Set the corresponding switch to
M.
2. Turn the corresponding dial (CH1 or
CH2) to adjust each channel’s audio level.
Adjust the audio recording level so that the audio
level meter will go to the right of the
mark on the
side panel’s audio level meter (or the larger dot on
the level meter displayed on the screen) only
occasionally.
We recommend using headphones when
adjusting the audio level. If the input level is
too high, audio may become distorted even if
the audio level indicator shows an
appropriate level. Use commercially available
headphones.
When [CH1 INPUT] and [CH2 INPUT] are set to [INT/EXT MIC], if the switch for CH1 is
set to M, the audio level adjusted with the CH1 dial will automatically apply to CH2 as well.
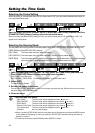
MENU
(27)
DISPLAY SETUP/ AUDIO LEVEL
••
ON
switches
switches
COPY