


11
Introduction
E
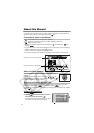
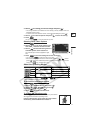
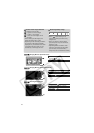
3. Select ( ) the setting you want to change and press ( ).
• The orange selection bar indicates the menu setting currently selected. Items not
available appear in black.
• To return to the menu selection screen, select ( ) [RETURN] and press ( ).
4. Select ( ) the desired option and press ( ) to save the setting.
5. Press .
You can press to close the menu at any time.
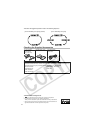
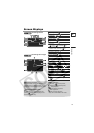
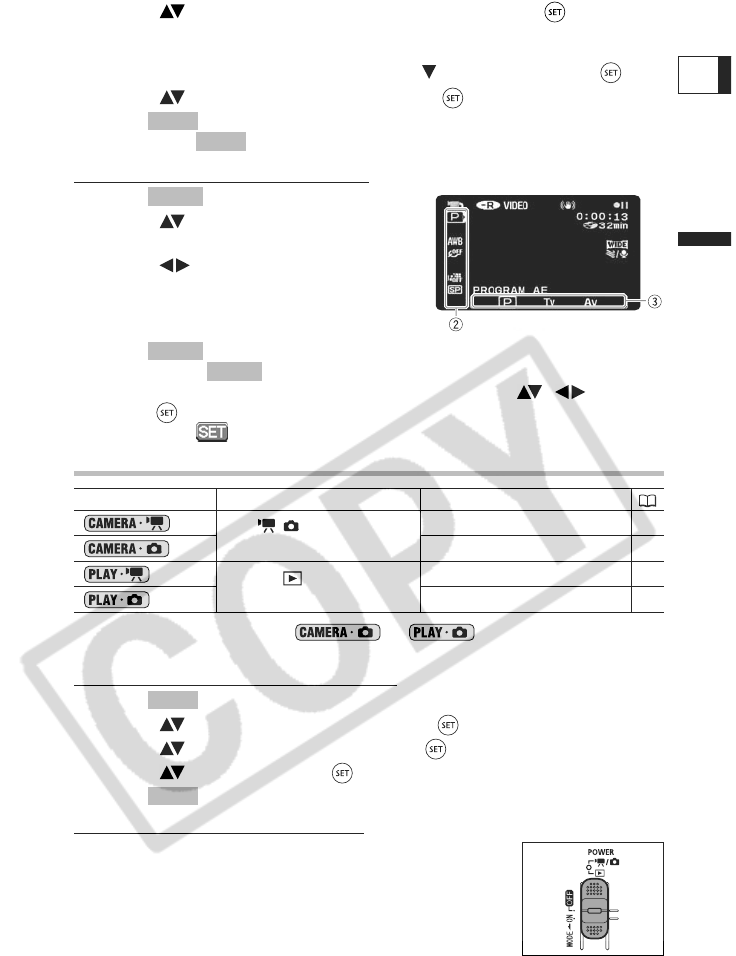
Selecting FUNC. Menu Options
1. Press .
2. Select ( ) the icon of the function you
want change from the left side column.
3. Select ( ) the desired setting from the
available options at the bottom bar.
The selected option will be highlighted in light
blue.
4. Press to save the settings and close the menu.
• You can press to close the menu at any time.
• With some settings, you will need to make further selections ( , ) and/or
press ( ). Follow the additional operation guides that will appear on the screen
(such as the icon, small arrows, etc.).
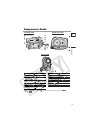
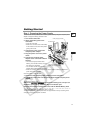
About the Operating Modes
* To use the still images functions ( or ) you need to set
[STILL IMAGES] to [ON] as explained below.
To activate the still images modes
1. Press .
2. Select ( ) [SYSTEM SETUP] and press ( ).
3. Select ( ) [STILL IMAGES] and press ( ).
4. Select ( ) [ON] and press ( ).
5. Press again to close the menu.
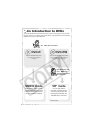
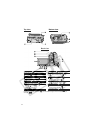
To change the operating mode
In addition to turning the camcorder on and off, the power switch
also toggles the camcorder’s operating mode.
From the ON position, slide down the power switch
momentarily towards MODE and release it.
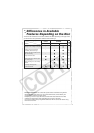
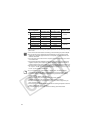
Operating Mode Operating Mode Indicator Operation
/ (CAMERA)
Red LED
Recording movies
24
*
Recording still images
26
(PLAY)
Green LED
Playing movies
28
*
Viewing still images
30
MENU
MENU
FUNC.
FUNC.
FUNC.
MENU
MENU