83
Options for creating AVCHD discs
(mode)
Options for creating Photo DVDs
(mode)
Preparations on the Camcorder
1 Turn on the camcorder and set it
to mode to create high-
definition discs of your movies or
mode to create Photo DVDs
of your photos.
• Power the camcorder using the
compact power adapter.
• Select in advance the media that
contains the recordings you want
to add to the disc ( 40).
2 Select the scenes or photos you
want to add to the disc.
[ Menu]
or
[Add Recordings to Disc]
Desired option
Connecting to the DW-100 DVD Burner
and Creating a Disc
1 Turn on the DVD Burner.
Refer to Creating DVDs.
2 Connect the camcorder to the
DVD Burner using the supplied
USB cable.
• Connection . Refer to
Connection Diagrams ( 79) and
Connections.
• If the device type selection screen
appears, select [DVD Burner] and
press .
• When the connection is
completed, [No disc] will be
displayed.
3 Insert a brand new disc into the
DVD Burner.
• Use the OPEN/CLOSE button on
the DVD Burner to open and close
the disc tray.
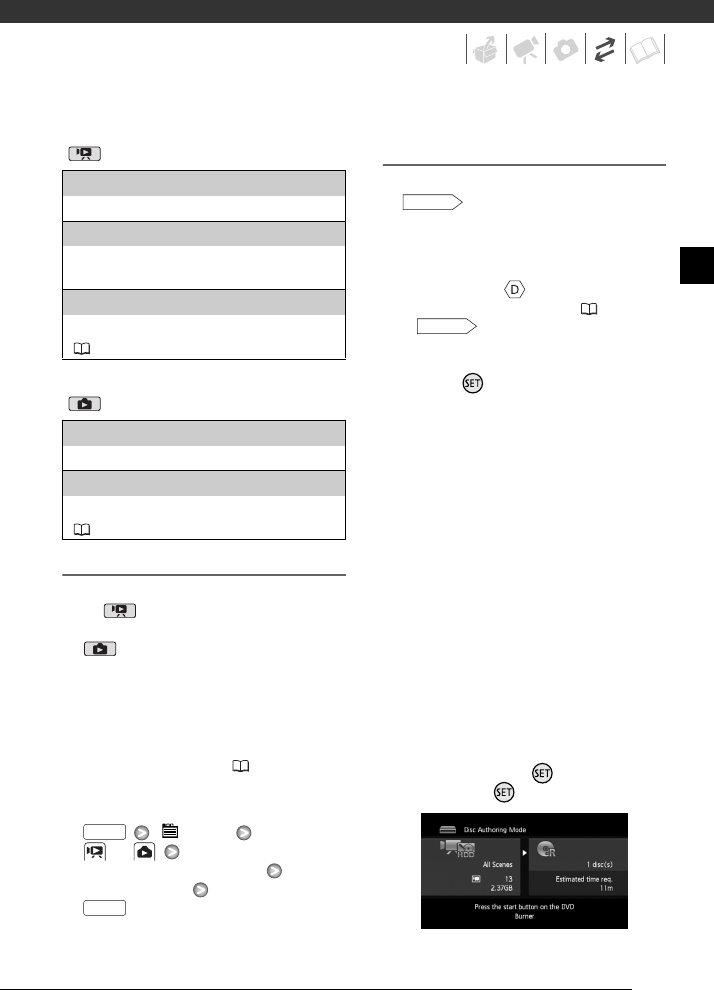
• After the disc is recognized, an
information screen will display the
type of DVD you are creating and
the estimated time and number of
discs it will require (based on the
disc you inserted).
• If you inserted a DVD-RW disc that
already contains data, [The disc
already contains data.] will be
displayed. To overwrite the data
(erasing the previous content of
the disc), press , select [Yes]
and press again.
[All Scenes]
Add all the scenes to the disc(s).
[Remaining Scenes]
Add only those scenes that have not been
previously added to a disc.
[Playlist]
Add only the scenes included in the playlist
( 58).
[All Photos]
Add all the photos to the slideshow on the disc.
[Transfer Orders]
Add only photos marked with transfer orders
( 89).
FUNC.
FUNC.
DW-100
DW-100


