


53
Snapshot Tutorial
To focus with manual focus
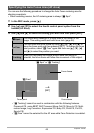
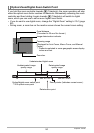
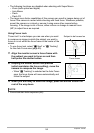
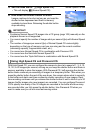
1. On the monitor screen, compose the image so
the subject you want to focus on is within the
yellow boundary.
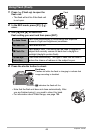
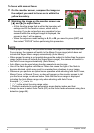
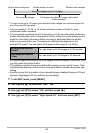
2. Watching the image on the monitor screen use
[4] and [6] to adjust focus.
• At this time the image that is within the boundary will
enlarge and fill the monitor screen, which aids in
focusing. If you do not perform any operation for two
seconds while the enlarged image is displayed, the
screen in step 1 will re-appear.
• When the exposure mode setting is A, S, or M, you need to press [SET] and
then select “FOCUS” before performing this procedure.
NOTE
• When proper focusing is not possible because the subject is closer than the Auto
Focus range, the camera will switch to the Macro Focus range (which does not
include the Super Macro range) automatically (Auto Macro).
• When proper focusing is not possible because the subject is further than the macro
range (which does not include the Super Macro range), the camera will switch to
the Auto Focus range automatically (Auto Macro).
• Auto Macro can be used when shooting snapshots and movies.
• Use of the flash together with Macro Focus can cause the light of the flash to
become blocked, which may result in unwanted lens shadows in your image.
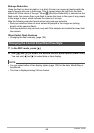
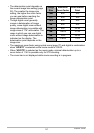
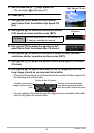
• Whenever you perform an optical zoom operation while shooting with Auto Focus,
Macro Focus, or Manual Focus, a value will appear on the monitor screen to tell
you the focus range, as shown below. Note that the focus range is displayed
including the Auto Macro range only when shooting with Auto Focus.
Example: oo cm to 9
* oo is the actual focusing range value.
* Products marketed in some geographic areas display inches and feet.
• Always be sure to select Auto Focus (AF) as the focus mode whenever using face
detection (page 96).
Yellow boundary
B