Installing WebCam Go 1-9
Verifying the
Installation
To verify that the camera has been installed properly:
1. Right-click the
My Computer
icon on your desktop.
2. On the menu that appears, click
Properties
.
3. In the
System Properties
dialog box, click the
Device Manager
tab.
4. Click the plus (+) sign next to the
Imaging Device
icon.
The entry “
Video Blaster WebCam Go (WDM)
” should appear.
Changing Batteries
for WebCam Go
When you disconnect the camera from the system and use it as a digital camera, it operates on
two 1.5 V ‘AAA’ alkaline batteries.
To insert or replace batteries
1. Press the Off button to switch off the
camera.
2. Flip the camera’s head unit upwards.
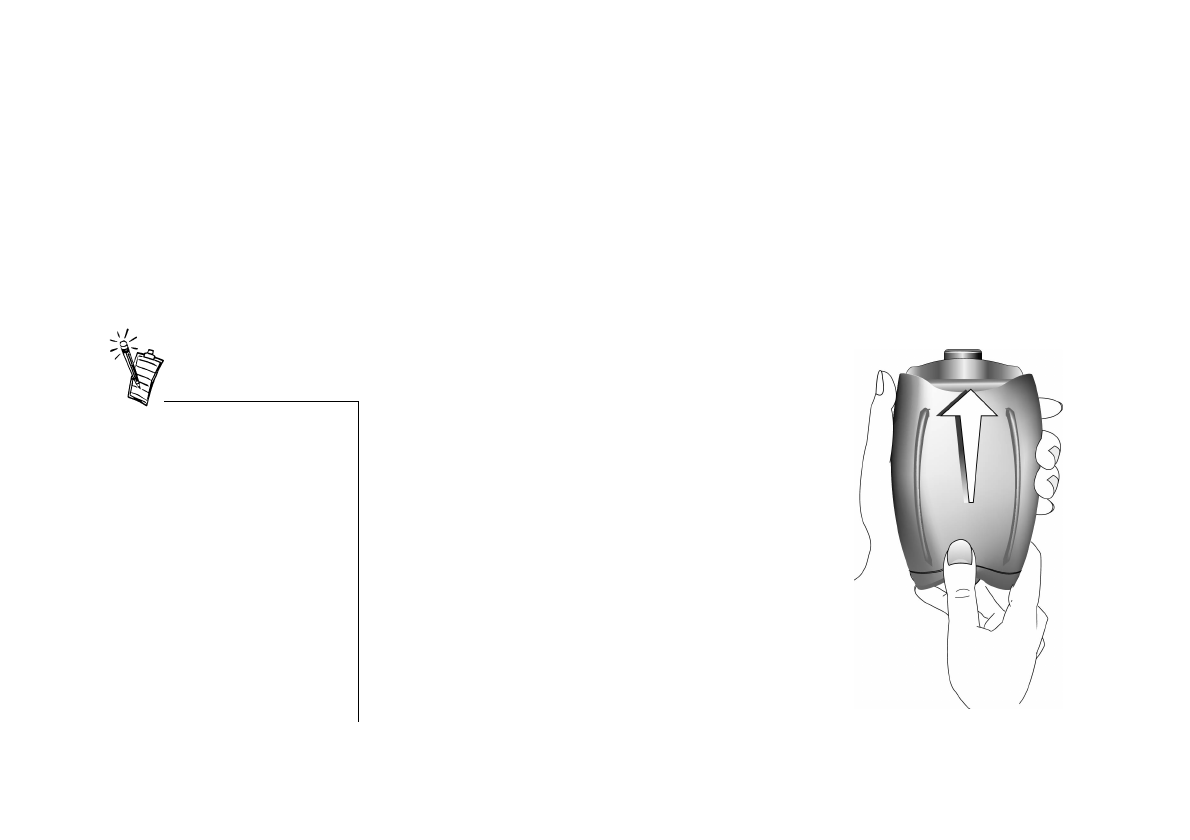
3. Hold the camera in one hand and press the
bottom area of the back cover with one
thumb until the catches on the cover are
detached from the grooves.
See Figure 1-9.
4. Push the cover outwards.
5. Lift the cover and put it aside.
6. Remove the old batteries (if any).
Figure 1-9: Removing the back cover of the camera.
• Batteries that are specifically
made for digital cameras are
recommended. There is
usually a camera icon on the
packaging of these batteries.
• No batteries are required when
the camera is connected to the
system.
• If the camera will be
connected to the system for a
long period of time, it is
advisable to remove the
batteries to prevent battery
leakage.


