


63
Recording
E
When connecting a microphone that does not support phantom power, make sure to set the +48V
switch to OFF. Otherwise the microphone may be damaged.
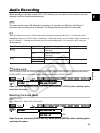
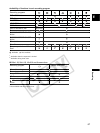
Adjusting the Audio Recording Level
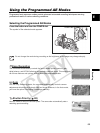
Hiding/Displaying the Audio Level Indicator on the Screen
Open the menu and select [DISPLAY SETUP/ ]. Select [AUDIO LEVEL], select a setting
option and close the menu.
The audio level indicator can also be turned on/off with the custom key ( 86).
Automatic Audio Adjustments
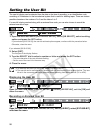
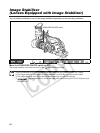
Set the REC LEVEL switch to A.
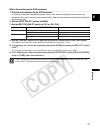
Manual Audio Adjustments
1. Set the REC LEVEL switch to M.
2. When recording on 4 channels, press the AUDIO MONITOR button and select CH1/2 or
CH3/4.
Repeatedly pressing the button will cycle through the settings in the following order: CH1/2, CH3/4,
CH1+3/2+4. Do not select CH1+3/2+4 when adjusting the level.
3. Turn the respective CH1, CH2, CH3 or CH4 dial to adjust the audio level.
We recommend using headphones when adjusting the audio level. If the input level is too high,
audio may become distorted even if the audio level indicator is displaying an appropriate level.
You can select to synchronize the audio signal with the video signal by adding an equal amount of
delay to the audio. Open the menu and select [AUDIO SETUP]. Select [AUD.M.SET], set it to [LINE
OUT] and close the menu. If you wish to monitor audio in real time, select [NORMAL]. In either
setting, the audio and video signals recorded on tape will be synchronized.
MENU
( 29)
DISPLAY SETUP/ AUDIO LEVEL
••
ON
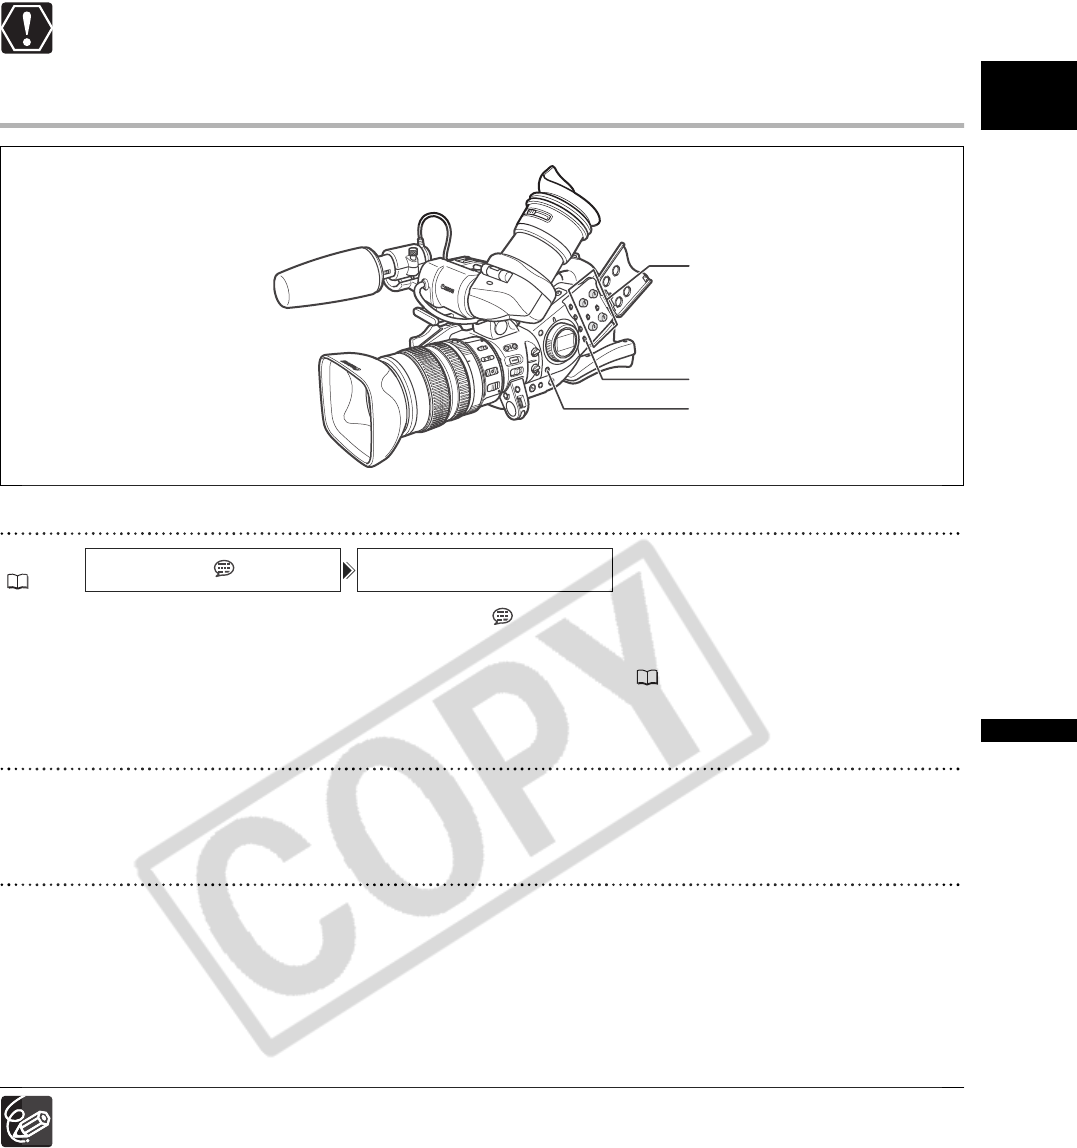
CH1, CH2, CH3, CH4 dials
REC LEVEL switch
AUDIO MONITOR button