• .£I-I:1:I:I:Ill=l--14
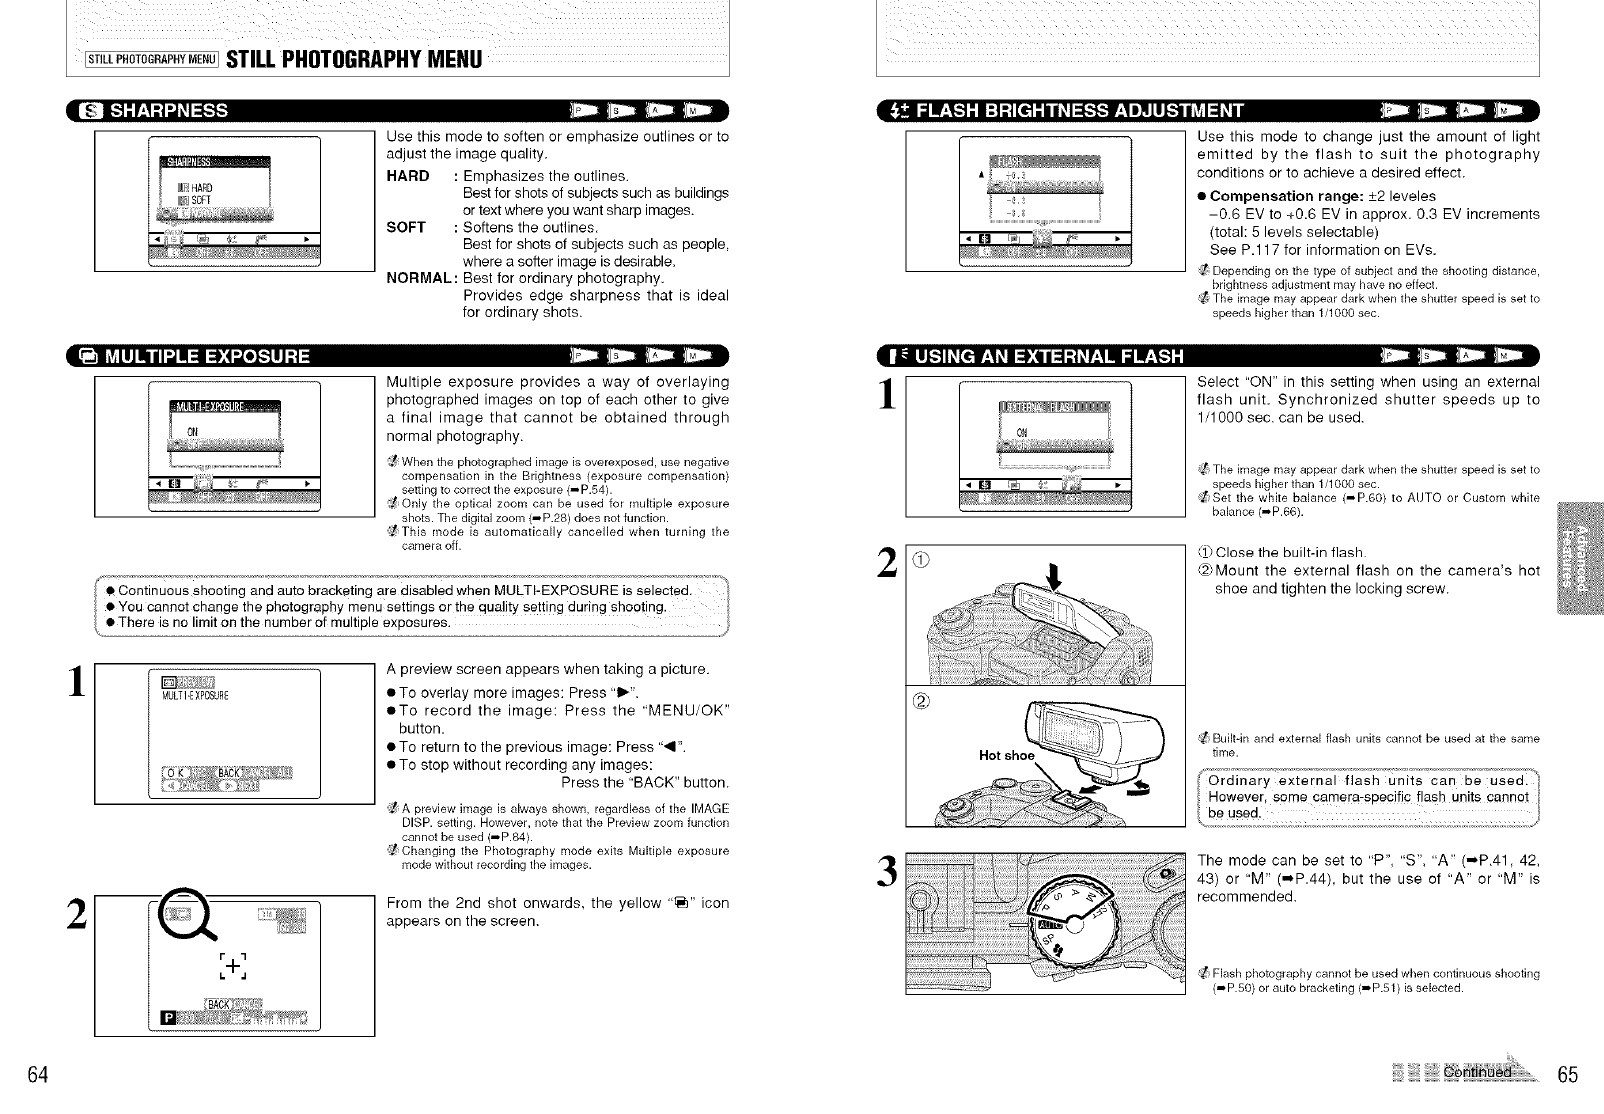
Use this mode to soften or emphasize outlines or to
adjust the image quality.
HARD : Emphasizes the outlines.
Best for shots of subjects such as buildings
or text where you want sharp images.
SOFT : Softens the outlines.
Best for shots of subjects such as people,
where a softer image is desirable.
NORMAL: Best for ordinary photography.
Provides edge sharpness that is ideal
for ordinary shots.
_,r'_ll kv_Ill Ii i I"J1:11:1:4"..Ze].lll :i
Multiple exposure provides a way of overlaying
photographed images on top of each other to give
a final image that cannot be obtained through
normal photography.
When the photographed image is overexposed, use negative
compensation inthe Bdghtness (exposure compensation)
settingtocorrect the exposure (-P.54).
Only the optical zoom can be used for multiple exposure
shots.The digital zoom (-P.28) does notfunction.
_This mode is automatically cancelled when turning the
cameraoff.
i_e"Coniinuous shooting and auto bracketing are disabled whe n MULTI-EXPOSURE isselected.
• You cannot change the photography menu sett ngs or the qua ty sett ng dur ng shoot ng
There is no limit on the number of multiple exposures.
!
MULT]-EXPOSURE
A preview screen appears when taking a picture.
• To overlay more images: Press "1_".
• To record the image: Press the 'MENU/OK"
button.
• To return to the previous image: Press "_11".
• To stop without recording any images:
Press the "BACK" button.
A preview image is always shown, regardless of the IMAGE
DISP. setting. However, note that the Preview zoom function
cannot be used (-P.84).
] Changing the Photography mode exits Multiple exposure
mode without recording the images.
2
r "1
L4-j
From the 2nd shot onwards, the yellow ,t_,, icon
appears on the screen.
|r/ll ;I I:_..1 -"I :! :|[_ -"I i _I:I.."._"t:1D]l[li..l i _V_1:1_i
Use this mode to change just the amount of light
emitted by the flash to suit the photography
conditions or to achieve a desired effect.
• Compensation range: +2 leveles
-0.6 EV to +0.6 EV in approx. 0.3 EV increments
(total: 5 levels selectable)
See P.11 7 for information on EVs.
_;;tDepending on the type of subject and the shooting distance,
brightness adjustment may have no effect.
;;t The image may appear dark when the shutter speed is set to
speeds higher than 1/1000 sec.
• ii1[_I I_[e'l:t _I :l:i i :1:t _r:l II ;I I:_..I -"
!
Select "ON" in this setting when using an external
flash unit. Synchronized shutter speeds up to
1/1000 sec. can be used.
The image may appear dark when the shutter speed is set to
speeds higher than 1/1000 sec.
;fSet the white balance (-P.6O) to AUTO or Custom white
balance (- P.66).
2
Ki)Close the built-in flash
_>Mount the external flash on the camera's hot
shoe and tighten the locking screw.
;;t Builtqn and external flash units cannot be used at the same
time.
3
The mode can be set to 'P", 'S", 'A" (-P.41 42,
43) or "M" (,-P.44), but the use of "A" or "M" is
recommended.
_;! Flash photography cannot be used when continuous shooting
(-P.50) or auto bracketing (-P.51) isselected.
64 .... 65


