


Tutorial 25
EN Camera
Series
The first two options, EN setup software, and Telnet, require that the network settings of the EN
camera such as IP address and Subnet Mask be known, while the last two options do not. If Ethernet
is not available, then the last two options will be useful.
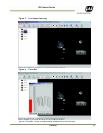
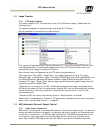
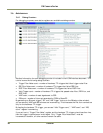
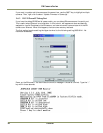
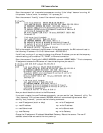
The EN setup software is the easiest way to change IP address. In the “Properties” window, change
the network setting registers. After changing these registers, reboot the camera. The new setting
appears at the next power-up.
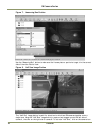
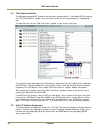
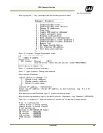
• Telnet
If you know the current IP address of the camera, you can telnet directly to the EN camera.
Login as User name = root, Password = JAI PULNiX. If you want to assign a new IP address
temporarily, you can use the “ifconfig” utility. If you want to assign a new IP address
permanently, you can use the “test_libcamera” utility (See Section 3.6.3, “RS-232 PowerPC
Debug Port,” on page 18).
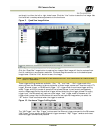
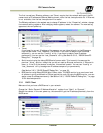
• Serial terminal using the debug RS-232 serial/power cable. This is exactly the same as the
previous “Telnet” solution, except that you do not need an Ethernet connection. If Ethernet is
down, or if the IP of the camera is unknown, this method is useful. You can use “ifconfig” or
“test_libcamera” utility to assign new IP address temporarily or permanently
(See Section 3.6.3, “RS-232 PowerPC Debug Port,” on page 18).
• BIOS/monitor using Debug RS-232 Serial/Power cable. The BIOS/monitor is an even lower level
of software running underneath of OS and application code. By using the BIOS/monitor, you can
assign a new IP address permanently. See Section 3.6.3, “RS-232 PowerPC Debug Port,” on page
18 for detailed operation.
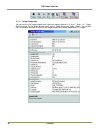
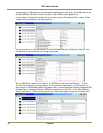
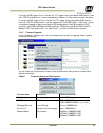
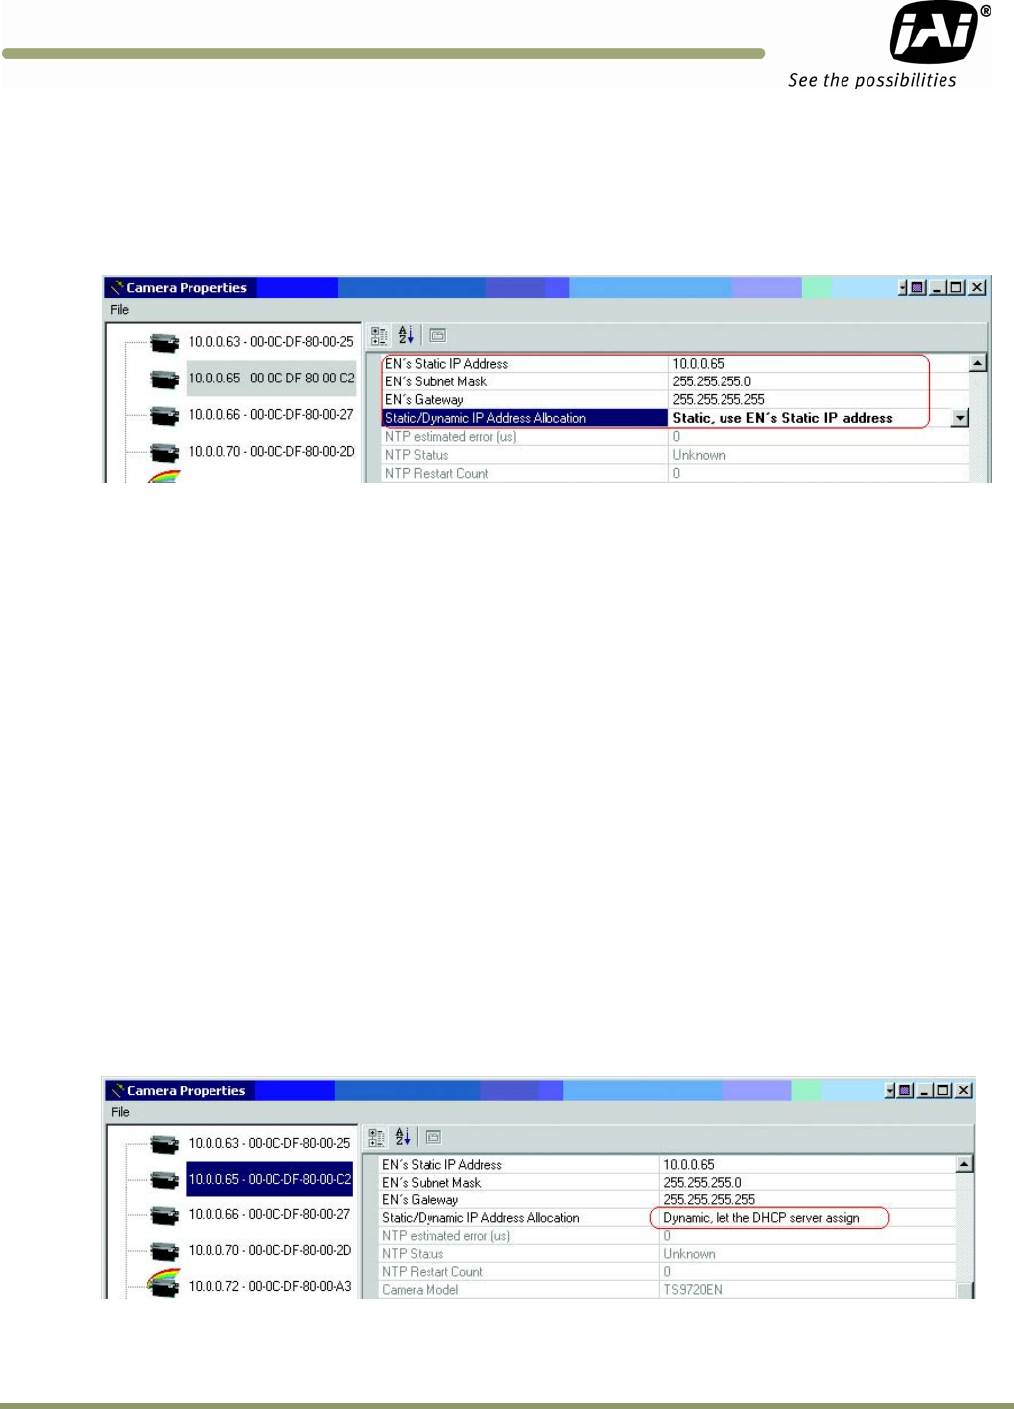
3.5.1 DHCP Client
Make sure that you have a DHCP server in your network.
Change the “Static/Dynamic IP Address Allocation” register from “Static” to “Dynamic.”
Reboot the camera. In the next power-up, the camera will get the IP address dynamically from the
DHCP server.