


EN Camera Series
30 Tutorial
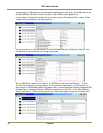
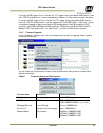
Enter the command “ps” to see what processes are running. If the “dhcpc” daemon is running, kill
this process. To do so, enter, for example, “kill <process_id>.”
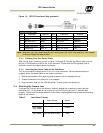
Enter the command “ifconfig” to see if the network is up and running.
Eth0 is the network interface of the EN camera. In the above example, the EN’s network is set to
the following: IP address = 10.0.0.65. Subnet mask = 255.255.255.0.
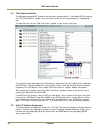
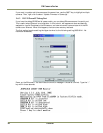
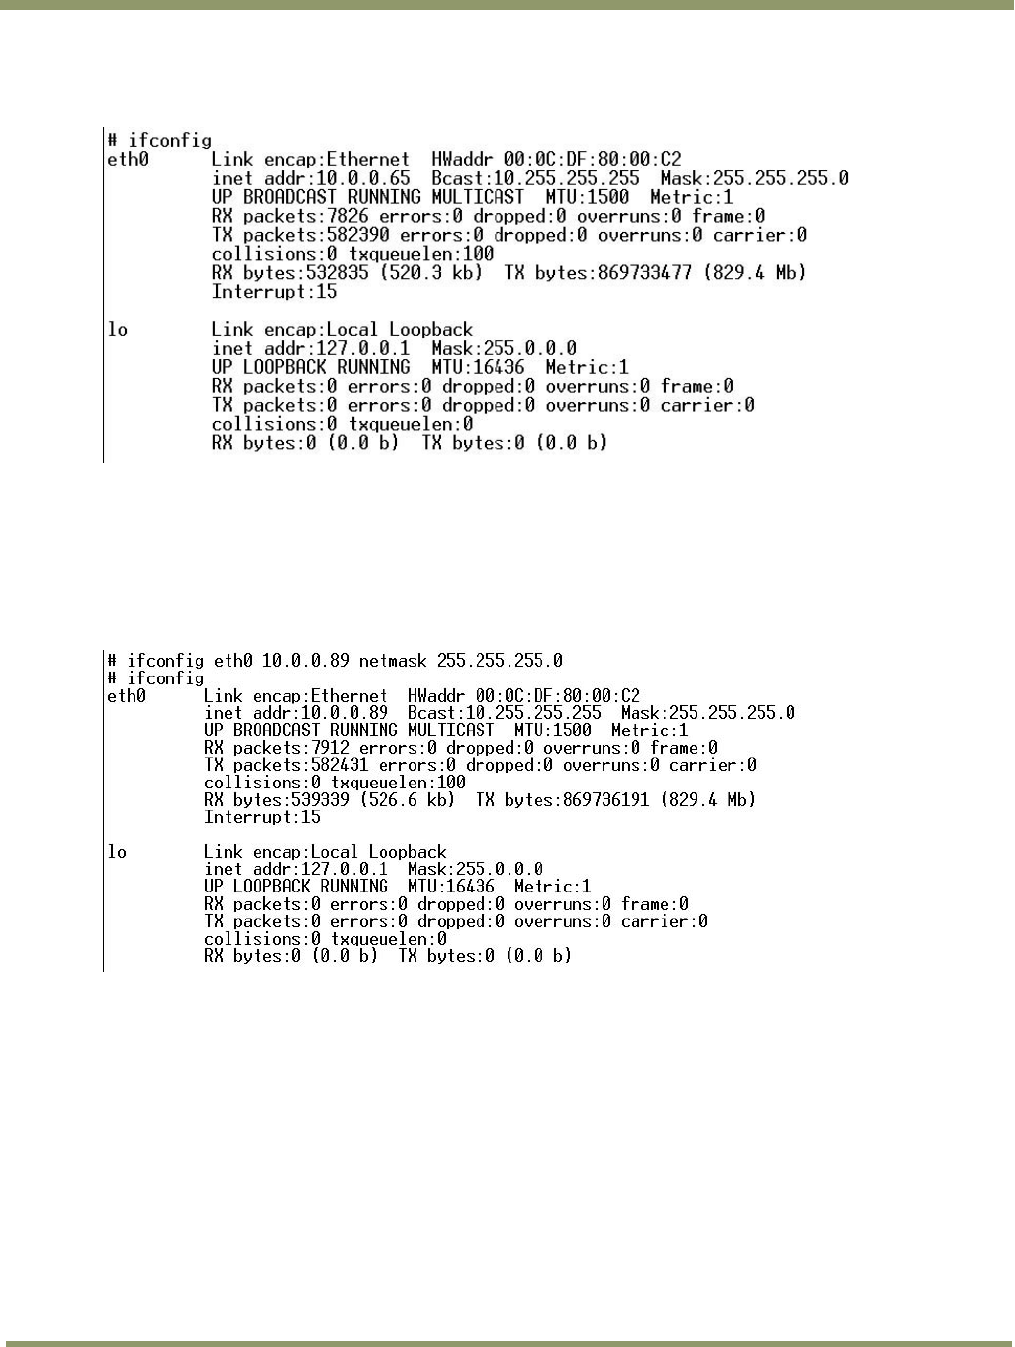
If eth0 is not running or if you want to change to a different IP address, you can set the temporary
network setting just to enable a FTP, TELNET, or Ethernet connection
Enter the command “ifconfig eth0 <NEW IP ADDRESS> netmask <SUBNET MASK>.” This is a temporary
IP assignment because the EN camera will lose this setting once you restart it.
Now you should be able to telnet to the EN cameras.
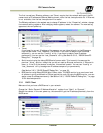
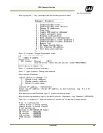
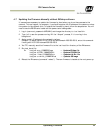
If you want to assign the new IP address permanently, you can use the “test_libcamera” utility. The
“test_libcamera” utility allows access to EEPROM, where all network settings are saved. After
starting “test_libcamera,” you can use the following commands:
rc : read IP assignment (static or dhcp) wc : write IP assignment
rp : read IP address wp : write IP address
rs : read Subnet mask ws : write Subnet mask
rg : read Gateway wg : write Gateway
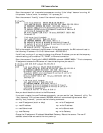
Change the IP assignment/IP address/SubnetMask/Gateway. Reboot the camera. The new IP
address/ subnet mask are used at the next power-up.