Setting Dynamic DNS on this Camera (OUTDOOR
MONITORING)
Sets the dynamic DNS information of the obtained account on the camera.
“Obtaining a Dynamic DNS (DDNS) Account” (A p. 140)
1
Tap “MENU”.
(Operation on this camera)
.
0
The top menu appears.
2
Tap the “Wi-Fi” (
Q
) icon.
(Operation on this camera)
.
3
Tap “OUTDOOR MONITORING” (M).
(Operation on this camera)
.
4
Tap “DDNS SETTING”.
(Operation on this camera)
.
5
Tap “DDNS”, then tap “ON”.
(Operation on this camera)
6
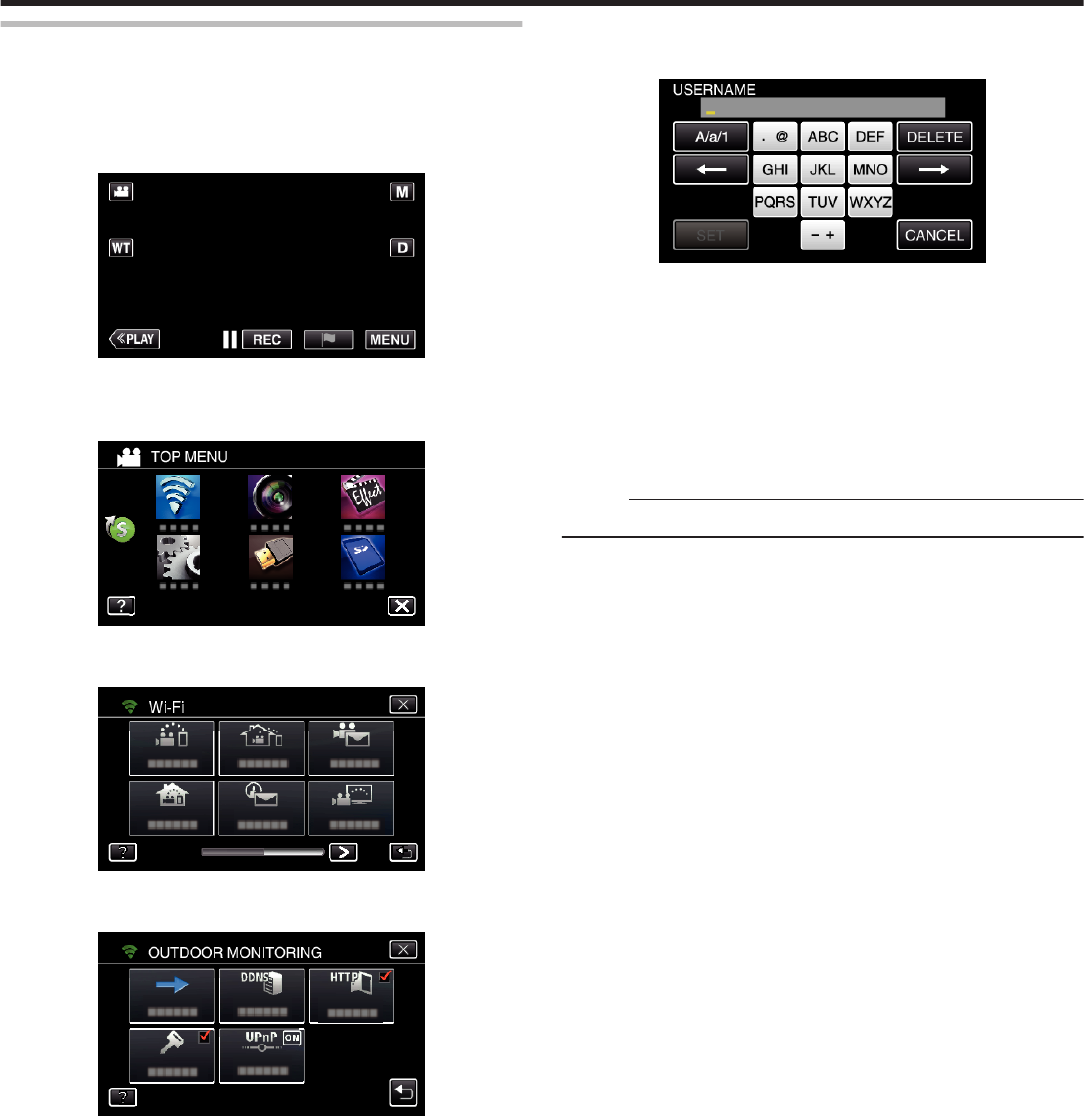
Enter the DDNS settings (username/password).
(Operation on this camera)
.
0
Tap on the on-screen keyboard to enter characters. The character
changes with every tap.
“ABC”, for example, enter “A” by tapping once, “B” by tapping twice,
or “C” by tapping 3 times.
0
Tap “DELETE” to delete a character.
0
Tap “CANCEL” to exit.
0
Tap “A/a/1” to select character input type from upper case letter, lower
case letter, and number.
0
Tap
E
or
F
to move one space to the left or right.
0
After setting, tap “SET”.
Memo :
0
Only the JVC dynamic DNS service can be set on this camera.
Using Wi-Fi (GZ-EX355/GZ-EX310)
141
