


11
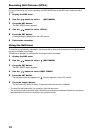
Recording Close-up Subjects (Macro Recording)
Macro recording is used when the subject is within a distance range of between 30 cm and 60 cm from
the lens. Use the LCD monitor for macro recording as the recording range and the field of view in the
viewfinder do not match.
1 Open the lens cover.
The LCD monitor turns on and the through-image (the image seen through the lens) is displayed.
2 Set the Macro switch under the lens to (Macro).
3 Perform recording while referring to Step 2 to 4 in “How to Record”.
• and a blue frame appear on the LCD monitor during recording in the macro mode.
• In the macro recording mode, the flash will always be off and recording with flash is not possible.
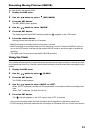
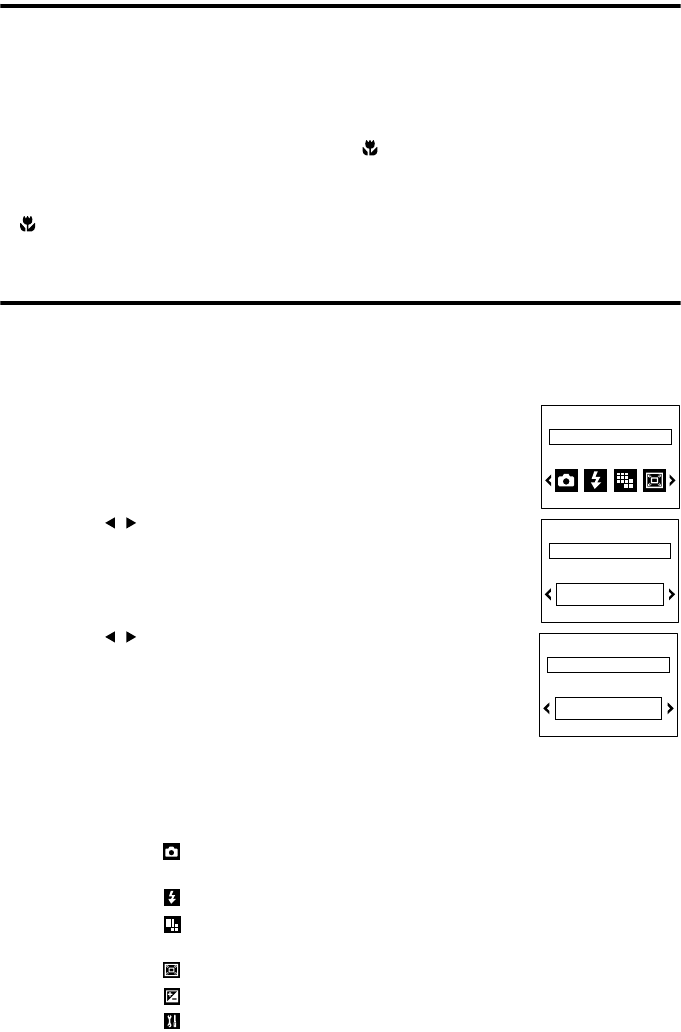
Using the REC Menu
You can use the REC menu to record with desired settings.
1 Open the lens cover.
The LCD monitor turns on and the through-image (the image seen through the lens) is displayed.
2 Press the MENU button.
The REC menu appears.
3 Use the / button to select the desired menu.
4 Press the SET button.
The contents of the settings of the menu appears.
5 Use the / button to select the desired settings.
6 Press the SET button.
The set values are saved, and the through-image is displayed as in
Step 1.
7 Perform the recording.
• If the MENU button is pressed, the previous screen returns without the settings being changed.
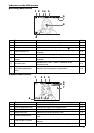
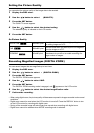
The REC menu is composed of the following items.
REC menu REC MODE
STILL (Still picture)/MOVIE/SELF TIMER
FLASH
QUALITY
FINE/S-FINE/ECONOMY
DIGITAL ZOOM
EXPOSURE
SETUP
QUICK VIEW/SHARPNESS/USB/DATE SET/
MONITOR/BEEP/LANGUAGE
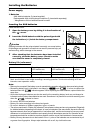
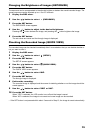
REC .............
REC MODE
2
REC MODE
STILL
REC .............
4
REC MODE
SELF TIMER
REC .............
5