


Printing finished.
OK
9594
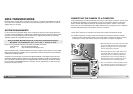
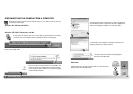
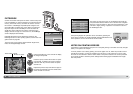
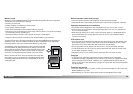
Confirm the transfer-mode option in section 3 of the setup menu
is set to PictBridge. To print the images in the camera’s internal
memory, remove the memory card from the camera. Connect
the camera to a PictBridge compatible printer using the cam-
era’s USB cable. The larger plug on the cable is connected to
the printer. Open the AV out/ USB port cover and insert the
smaller plug of the cable into the camera. Insert the plug in
straight, never at an angle. Turn the camera on; the PictBridge
screen is displayed automatically.
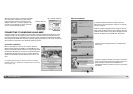
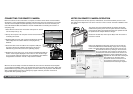
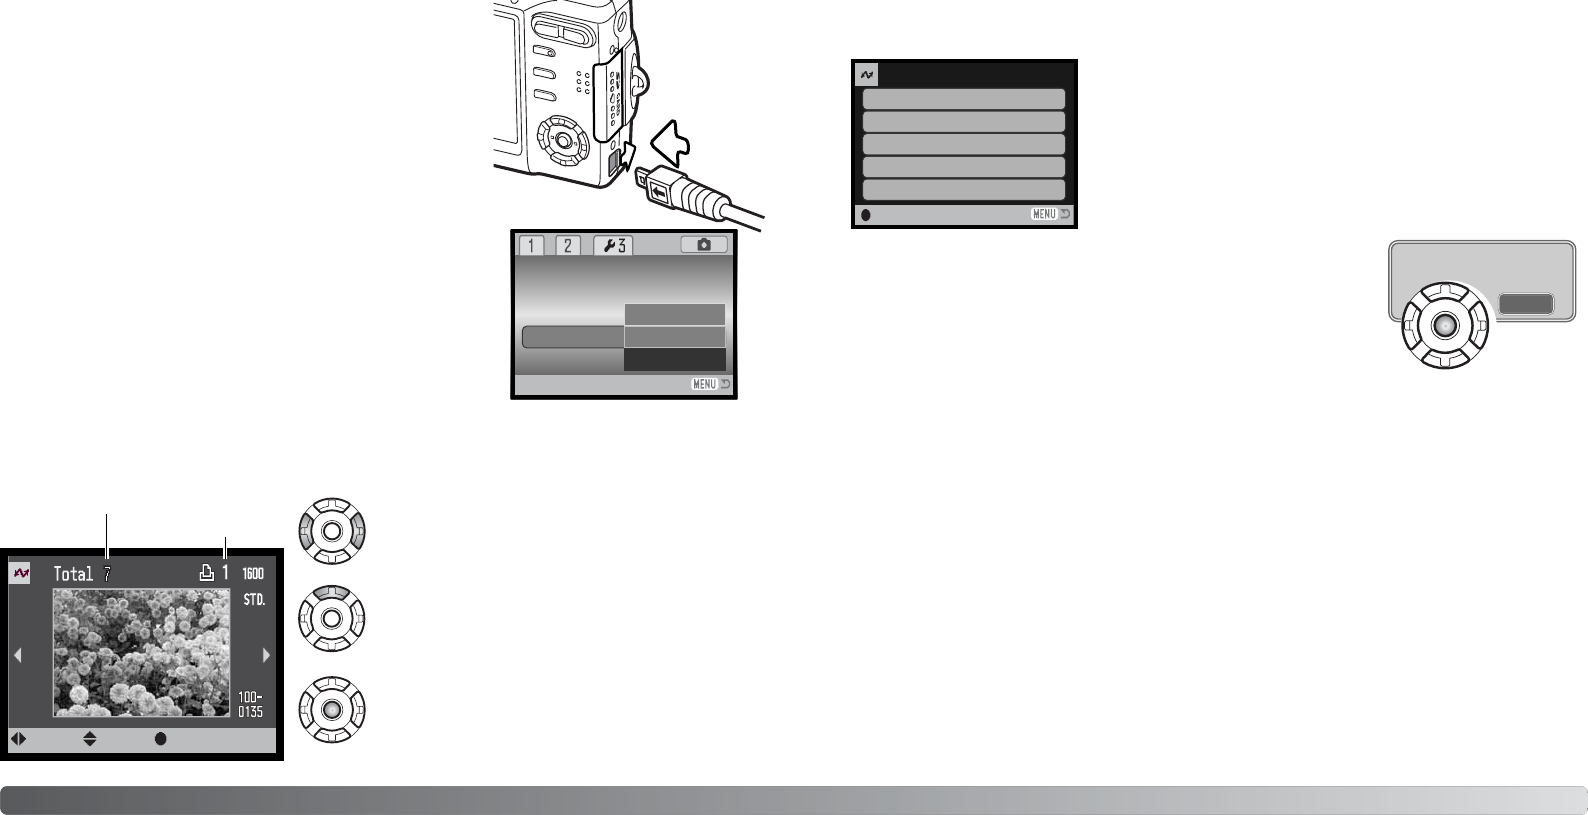
Individual still images can be selected for printing on the
PictBridge screen. For other printing options, see the menu navi-
gation section on page 96.
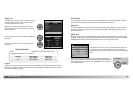
The zoom lever can be used to switch between single-frame,
index, and enlarged display formats.
PICTBRIDGE
Use the left/right keys of the controller to display
the image to be printed.
Total number of prints
Number of copies
Press the up key to select the number of copies
to be printed. To deselect an image for printing,
press the down key until the number of copies
reaches zero.
Repeat the previous steps until all the images to
be printed are selected. Press the central button
of the controller to continue.
:select:move :print
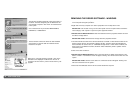
The number of prints in the print run are displayed as well as the
print parameters selected with the menu. See the menu navigation
section for more information (p. 96). Press the central button of the
controller to begin printing, or press the menu button to return to
the PictBridge screen.
Once printing begins, the operation can be canceled by pressing the
center of the controller. The printing-finished message indicates the end
of the operation; turn the camera off to end the routine.
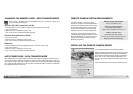
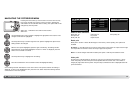
If the battery is exhausted before the print run is complete, printing is canceled. Use a fully-charged
battery or the optional AC adapter.
If a minor problem occurs during printing, such as the paper runs out, follow the procedure recom-
mended for the printer; no action is required for the camera. If a major printer error occurs, press
the center of the controller to end the routine. Refer to the printer manual for the correct procedure
for the printer problem. Check the printer settings before starting again and deselect the images
that were printed.
NOTES ON PRINTING ERRORS
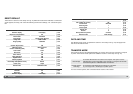
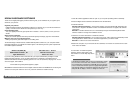
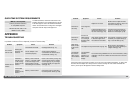
No. of prints:
Print size:
Data print:
7
Printer setup
Printer setup
Printer setup
Printer setup
Print quality:
Layout:
:start
Reset default
Date/Time set
PictBridge
Video out
Data storage
Transfer mode
Remote camera
Data-transfer mode