73 74
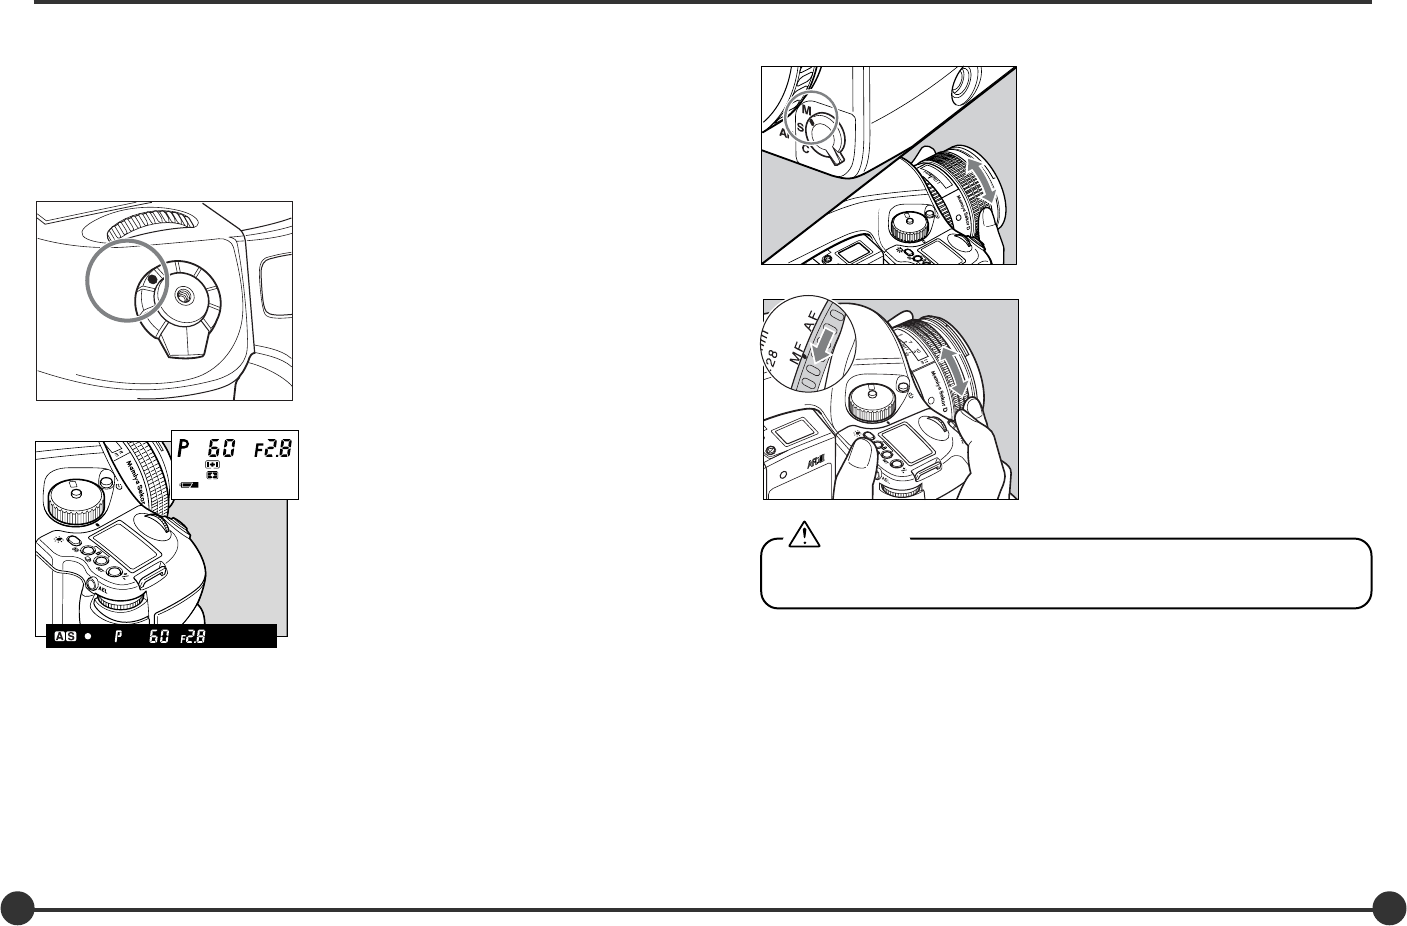
The procedure is the same as that taken up to
step 3 of auto focusing.
1. Set the focus mode selector lever to “M”
(manual focus mode).
2. Determine the exposure, focusing and frame
structure by pressing the shutter release button
halfway while looking into the view finder.
3. Mirror up by fully pressing the shutter release
button.
In the manual mode
This function prevents mirror-caused vibrations which may blur the image in close-up
photography, when shutter speed is slow, when a telephoto lens is used, or when photo-
graphing a poster or another picture.
When using the mirror-up, Electromagnetic Cable Release RE401 (optional) is recom-
mended.
Taking Photos with the Mirror Up
1. Set the drive dial to "M.UP."
2. Select “S” (single focus mode) by turning the
focus mode selector lever.
3. Turn the exposure mode-setting dial to choose
any of “P”, “Av”, or “Tv” exposure mode.
4. Focus the subject, and determine composition
and exposure.
5. The mirror moves up when the shutter button
is fully pressed.
6. Press the shutter button again to take pictures.
Using auto focus and auto exposure
P
A
v
T
v
M
X
CF
M
.
U
P
C
S
L
P
A
v
T
v
M
X
C
F
2
2
2
5
2
.
2
5
0
.
7
0
.
8
f
t
m
1
1
4
4
P
A
v
T
v
M
X
C
F
Auto bracket exposures can be made when the auto bracket mode is set before tak-
ing photos with mirror up.
The mirror goes back to the normal position in 30 seconds. This can be changed to
60 seconds or no limitation by the custom setting function. (See page 93)
Note that keeping the mirror up consumes more power.
The mirror will return to the original position if the lens is removed from the camera
body.
Caution
Do not point the lens at the sun during the mirror up mode. The sun’s
intense light can scorch and damage the shutter curtain.


