


49
Card Features
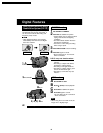
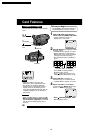
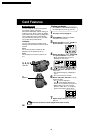
1
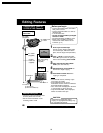
Repeat steps 1 and 2 on page 48.
2
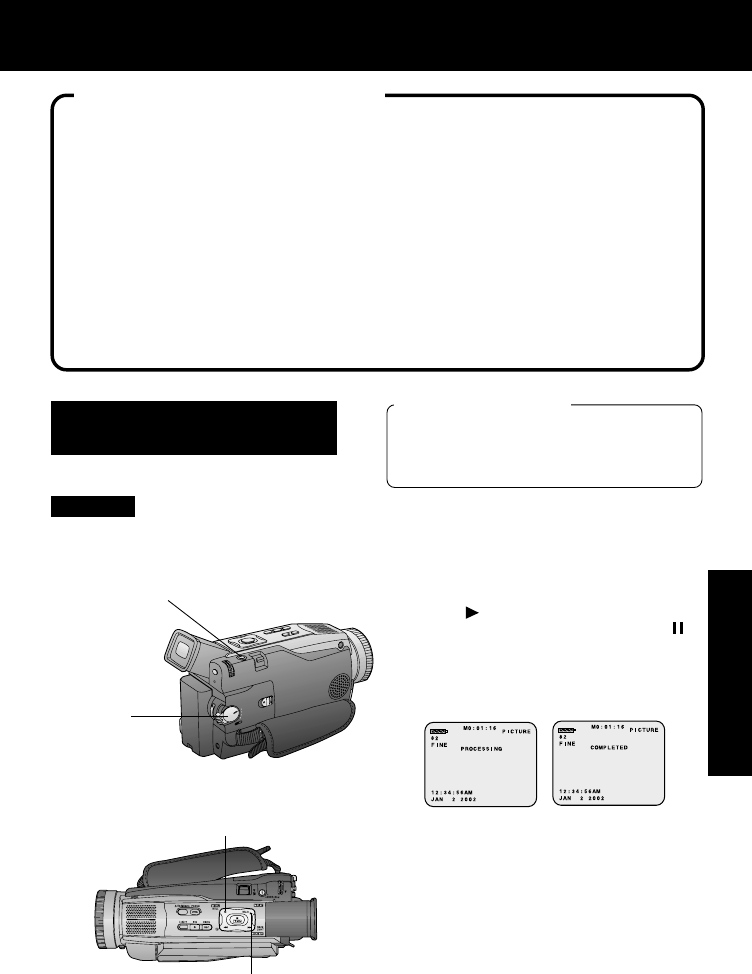
Set POWER to VCR.
3
Press (PLAY) to start playback of
the cassette tape. And then, press
(PAUSE) to select an image.
4
Press PHOTOSHOT to record the
desired image to the Memory Card.
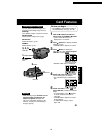
• When PHOTOSHOT is pressed in
PLAY or SLOW mode, the screen
goes to STOP mode.
• To playback the images of the
Memory Card, see page 50.
• When Variable Speed Search is
done (p. 35), this feature can
not be used.
5
Repeat steps 3~4 to record another
image to the Memory Card.
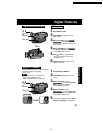
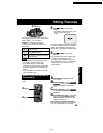
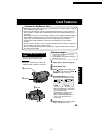
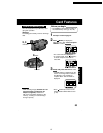
You can record still images from a
cassette tape to a Memory Card.
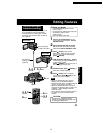
3
PLAY
Before you begin
• Connect the Palmcorder to a power
source. (pp. 14, 15)
• Set POWER to OFF before inserting a
Memory Card. (p. 13)
Recording images From a
Tape
3
PAUSE
• Memory Card will not work when DV
interface Cable (i.LINK) is connected.
Warning
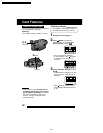
Card Features
Cautions for the Memory Card
• While Memory Card data is being read, do not remove it, turn off the power, or subject
unit to vibrations and/or shocks.
• Do not leave the Memory Card in a place with high temperature, a place exposed to
direct sunlight, or a place where electromagnetic waves and static electricity can be
generated.
• Electromagnetic waves, static electricity, malfunction of the Digital Video Palmcorder or
of the Memory Card itself could erase the data recorded on it. To prevent the loss of
picture data, we recommend that you make a backup copy on the computer.
• Do not bend or drop the Memory Card as this could damage it or the captured
contents.
• Do not touch the connector on the rear edge of the Memory Card with your fingers and
take care that no dirt, dust or water enters it.
• Do not affix other labels to the Memory Card face or back as Card insertion/removal
may become impossible.
2
POWER
4
PHOTOSHOT
PV-DV52 / PV-DV52-S / PV-DV102 / PV-DV202 / PV-DV402
53