66
For assistance, please call : 1-800-211-PANA(7262) or send e-mail to : consumerproducts@panasonic.com
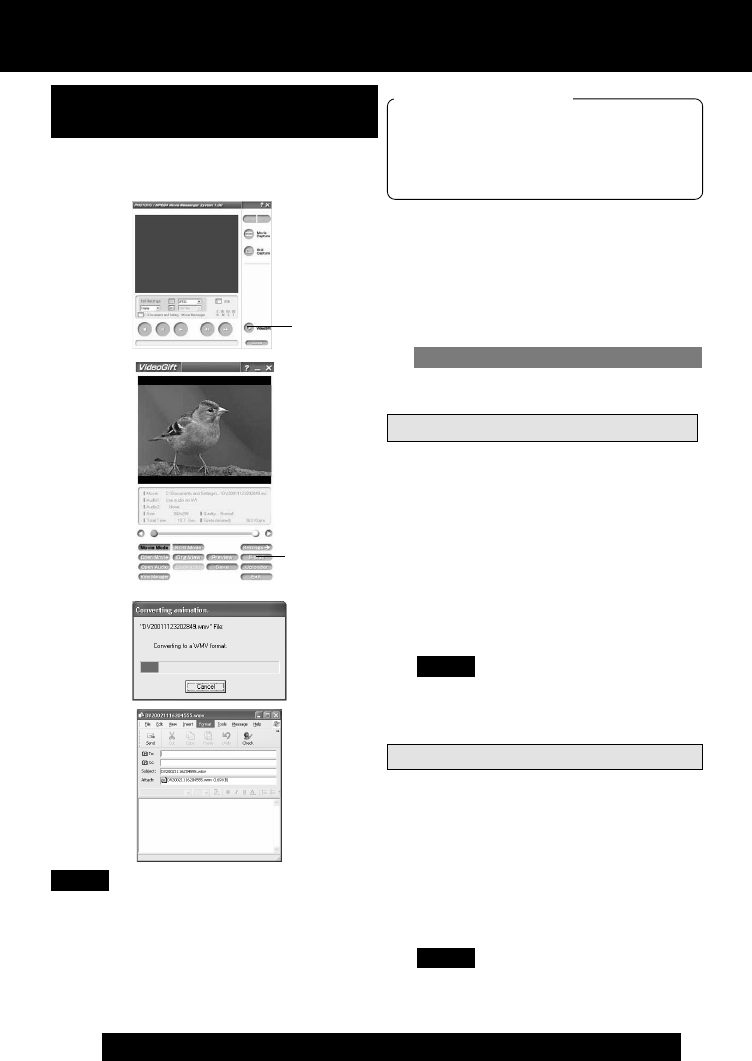
Attaching Motion images to e-mail
3
Repeat steps 4~6 on page 64 to
select a Motion Image.
• If sending a portion of a Motion
image, see “Sending a Portion of a
Motion Image” on page 67.
• To compress a Motion image, see
“Setting the Size and Quality of
Motion and Still Image” on page 68.
4
Clicking on [E-Mail] will convert the
selected image to WMV format.
• Follow the instructions as they appear
on your PC screen.
PHOTOVU/MPEG4 Movie Messenger™ System
4, 4
E-Mail
Attaching Still images to e-mail
3
Repeat steps 4~6 on page 64 to
select a Still Image.
• To compress a Still image, see
“Setting the Size and Quality of
Motion and Still Image” on page 68.
4
Clicking on [E-Mail] will convert the
selected image to WMV format.
• Follow the instructions as they appear
on your PC screen.
Before you begin
• Insert a recorded tape. (p. 11)
• Make Palmcorder-PC connections.
(pp. 58, 59)
• Turn your PC on. (p. 58)
• Set Palmcorder POWER to VCR.
Attaching captured Motion and
Still images to your e-mail
You can transfer and compress your
Motion images as attachments to your
e-mail easily.
1
Repeat steps 1~4 on page 60 to run
the PHOTOVU/MPEG4 Movie
Messenger™ System.
2
Click [VideoGift] to display the
VideoGift screen.
• The image captured last is displayed
in the VideoGift screen.
• If warning indication is displayed,
please see page 89.
2
VideoGift
Note
• Refer to Help for information about
application operations and Error
messages.
• If your e-mail software is not supported by
MAPI, pressing the [E-Mail] button will
automatically open the folder containing
the compressed file. To attach, drag and
drop the file into your e-mail.
Note
Note
Caution for Windows 2000 users
PV-DV52 / PV-DV52-S / PV-DV102 / PV-DV202 / PV-DV402
70


