English _59
● SETUP SCREEN
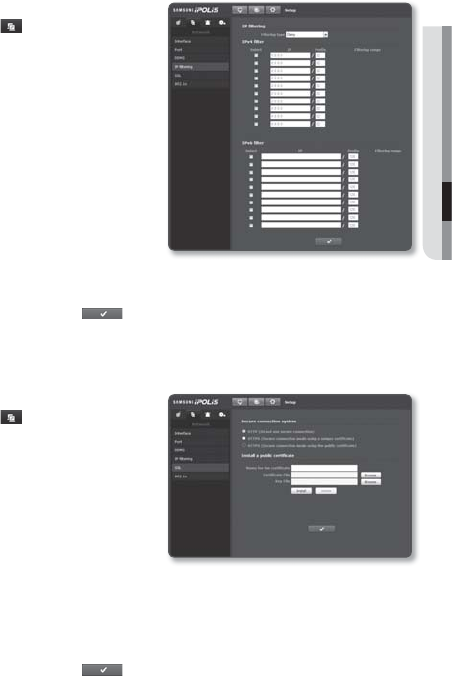
IP filtering
You can create a list of IPs that you want to grant or deny access to them.
From the Setup menu, select the
<Network (
)> tab.
Click <IP filtering>.
Select <Filtering type>.
Deny : If selecting this, access from
those IPs that are added to the
filtering will be restricted.
Allow : If selecting this, access from
only those IPs that are added to the
filtering will be accepted.
Provide the IP that you want to grant or
deny access from.
For IPv4, the default IP address is
0.0.0.0, and the default prefix is 32.
Select desired IP address to be approved or rejected from the entered IP addresses.
Only the selected IPs are filtered out.
When done, click [Apply (
)].
SSL
You can select a secure connection system or install the public certificate for this purpose.
From the Setup menu, select the
<Network (
)> tab.
Click <SSL>.
Select a secure connection system.
To access the camera using HTTPS mode,
you have to type the IP address for the camera
in the form of “https://<Camera_IP>”.
Search for the public certificate that you
want to install on the camera.
To install the certificate on the camera, you need to provide a certificate name (it
can be arbitrarily assigned by the user), certificate file issued from the certification
authority and a key file.
The <HTTPS (Secure connection mode using the public certificate)> item will be active only if
there exists a public certificate installed.
When done, click [Apply (
)].
1.
2.
3.
•
•
4.
5.
6.
1.
2.
3.
4.
5.


