Pan and Tilt Settings (PAN/TILT)
30
2
Use the joystick lever (xy) to select a preset
number to assign to a group, and press the
[ENTER] button.
The preset setting screen appears.
3
Use the joystick lever (xy) to select [SEQUENCE
GROUP] and use the lever (vw) to select a group to
assign the preset number.
Available settings:
• *: Does not assign to a group. (Registers the
preset number only.)
• A, B, C, D: Assigns a preset number to the group you
selected. Assigned group is shown in the
preset map screen.
4
Use the joystick lever (xy) to select [PAUSE TIME]
and use the lever (vw) to select the pause duration
for sequential panning operation.
Available settings:
3S, 4S, 5S, 6S, 7S, 8S, 9S, 10S, 15S, 20S, 30S, 45S, 1M
(S: Second, M: Minute)
☞ After completing setting, use the lever to move the cursor to
[MENU] and select “BACK” or “END”.
b Deleting a preset position (DELETE)
1
Use the joystick lever (xy) to select [PRESET
POSITION] – “SET y”, and press the [ENTER]
button.
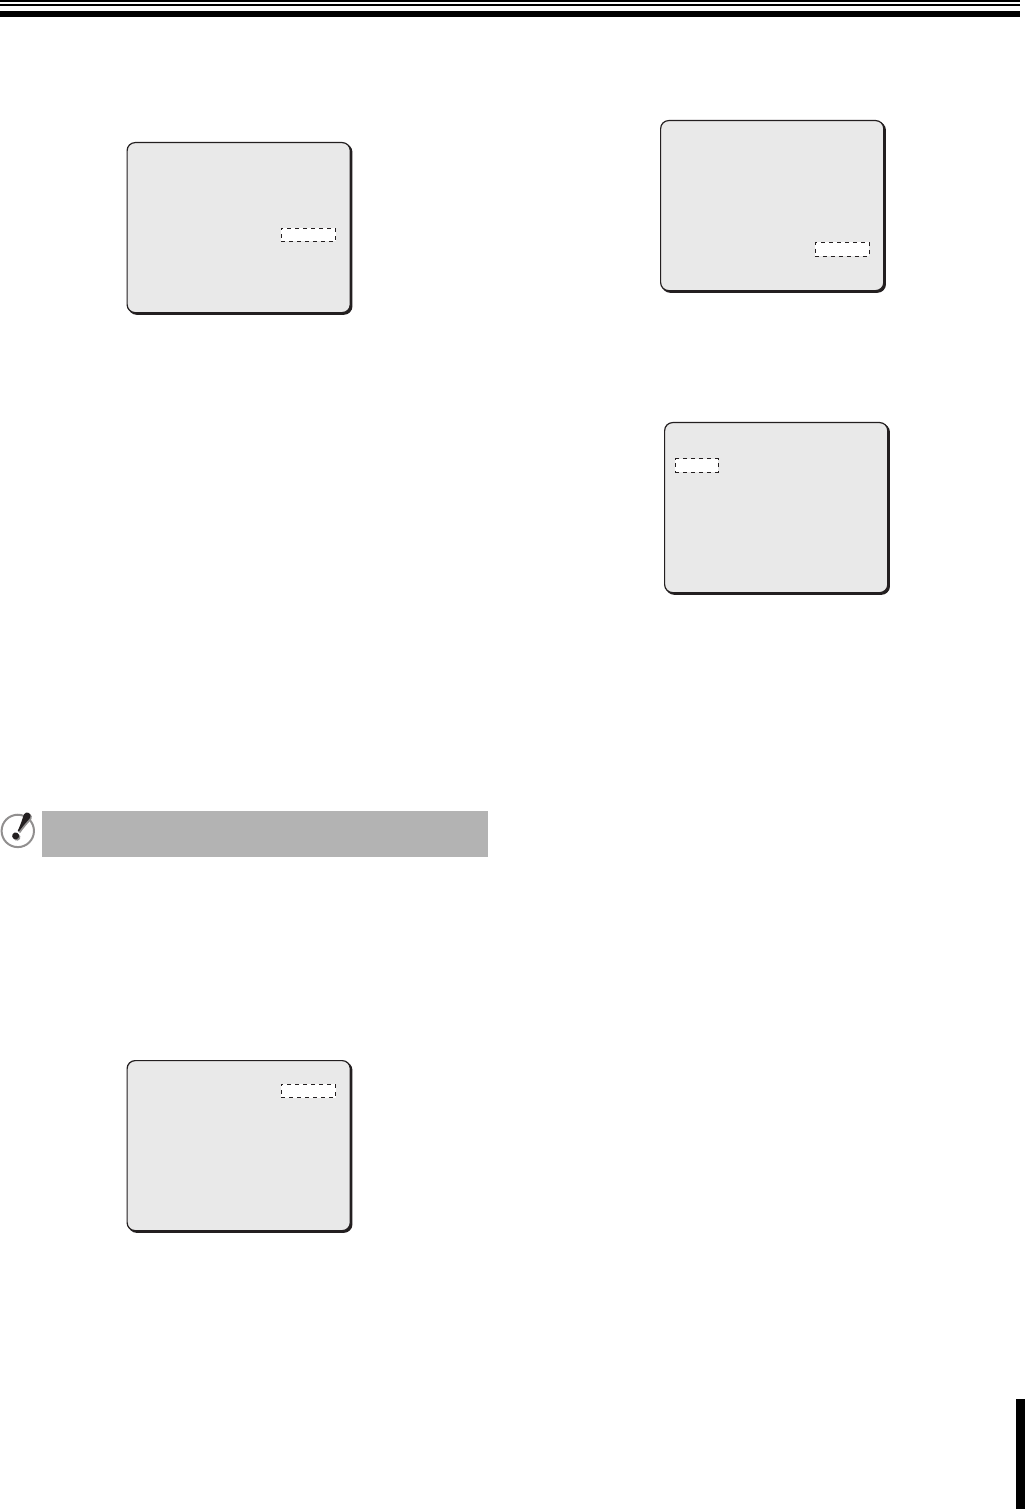
The preset map screen appears.
2
Use the joystick lever (xy) to select a preset
number to delete, and press the [ENTER] button.
The preset setting screen appears.
3
Use the joystick lever (xy) to select [DELETE] –
“SET y”, and press the [ENTER] button.
“OK? y” appears under “SET y”.
4
Use the joystick lever (xy) to select “OK?”, and
press the [ENTER] button.
The preset position you selected is deleted and the indication
in the preset map screen changes to “-”.
b Switching to a preset position
(PRESET GO)
You can switch the surveillance location to a preset position by using
the following procedure.
1
Use the joystick lever (xy) to select [PRESET
POSITION] – “SET y”, and press the [ENTER]
button.
The preset map screen appears.
2
Use the joystick lever (xy) to select a preset
number, and press the [ENTER] button.
The preset setting screen appears.
When a preset position is registered, the surveillance location
moves to the preset position.
3
Use the joystick lever (xy) to select [PRESET GO] –
“SET y”, and press the [ENTER] button.
The menu screen closes with the surveillance position being at
the preset position.
The preset number “1” cannot be deleted.
PRESET NO.001
POSITION y
TITLE y
CAMERA VIEW y
HOLD
SEQUENCE
GROUP
PAUSE TIME
PRESET GO y
MENU
SET
ON
1
OFF
A
5S
SET
BACK
PRESET NO.002
POSITION y
TITLE y
CAMERA VIEW y
HOLD
SEQUENCE
GROUP
PAUSE TIME
DELETE y
PRESET GO y
MENU
SET
ON
1
OFF
A
5S
SET
SET
BACK
y
y
y
SEQUENCE
y
y
y
PRESET NO.002
POSITION
TITLE
CAMERA VIEW
HOLD
GROUP
PAUSE TIME
DELETE
PRESET GO
MENU
SET
ON
1
OFF
A
5S
SET
OK?
SET
BACK
PRESET NO.SELECT
1:A 11:- 21:- 31:-
2:- 12:- 22:- 32:-
3:- 13:- 23:- 33:-
4:- 14:- 24:- 34:-
5:- 15:- 25:- 35:-
6:- 16:- 26:- 36:-
7:- 17:- 27:- 37:-
8:- 18:- 28:- 38:-
9:- 19:- 29:- 39:-
10:- 20:- 30:- 40:-
MENU
BACK


