


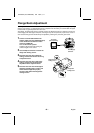
Network Camera (Wired LAN) Settings
In order to use the camera as a network camera, you must make the following settings in the order
given.
1
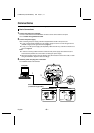
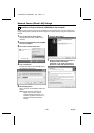
Installation of Plug-in Software
(JPEG2000) to the Computer (p. 12)
Insert the contents of the supplied setup
CD-ROM to the computer.
Note: The same setup CD-ROM is
supplied with both the network
camera and the network video
server. You can use either CD-ROM
to carry out the installation.
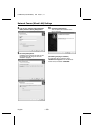
2
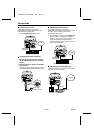
Browser Settings (p. 14)
Set up the Internet Explorer browser.
3
Cookie Settings (p. 14)
Set the cookies.
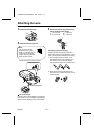
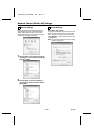
4
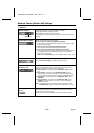
Wired LAN Settings (p. 15)
Connect an Ethernet cable between the
camera and the computer and then make
the required initial settings such as the
computer IP address, user name, password
and language.
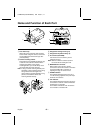
When these settings are completed, the
initial camera screen will be displayed. This
section gives descriptions of the various
parts of the initial screen for you to refer to.
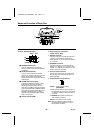
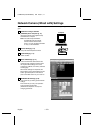
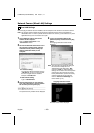
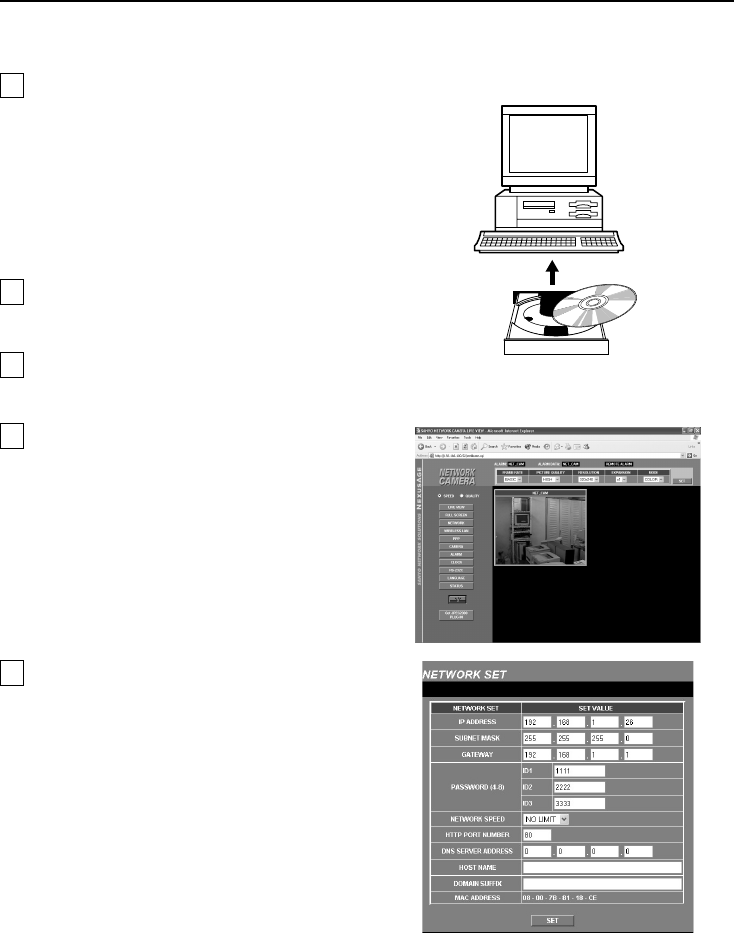
5
NETWORK SET Settings (p. 20)
This screen lets you make general network
settings.
This screen lets you carry out operations
such as setting access levels
(Administrator, Operator or User) and
changing passwords.
Computer
L5AM2/XE (VCC-WB4000P) GB 2004, 2, 17
English
– 11 –