AUDIO RECORDINGS
4
Press [j] or [l] on the arrow button
to select the recording icon æ,
and press the SET button.
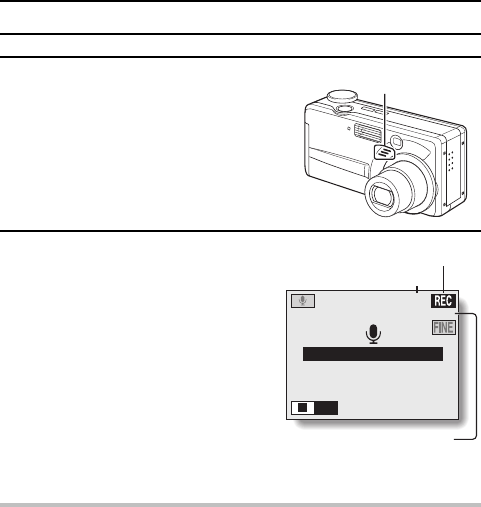
œ Recording begins. Point the
microphone toward the sound you
wish to record.
œ K (recording) appears on the LCD
monitor during recording.
5
End the audio recording.
œ Press the SET button once more to
end the recording. You are returned
to the Audio Recording Screen.
œ When the remaining recording time
becomes little, a countdown of the
remaining recording time is shown.
œ To return to the Shooting Option
Setting Screen, in the Audio
Recording Screen mode, press the
MENU button, or select the C
icon and press the SET button.
HINT
œ Each single recording can consist of up to 12 hours of recording time.
You can perform an audio recording even after turning off the Audio
Recording Screen
œ After displaying the Audio Recording Screen and æ is selected (step 4),
you can set the main switch to [à] to put the digital camera into the audio
recording standby mode. In this condition, just press the SET button to start
recording. Or, after turning on the power to the digital camera, if you set the
selector dial to [P], even when the LCD monitor is off, you can press the
SET button to start recording.
Microphone
REC (recording) indicator
Remaining recording time
Recording time (min:sec)
AUDIO REC 00:08
4
RECORDING
STOP
SX612/EX, GX, U (VPC-MZ3 GB2) Thu. Sept., 05/2002
71
English


