


23
Shooting still images
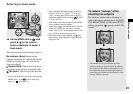
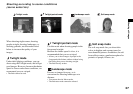
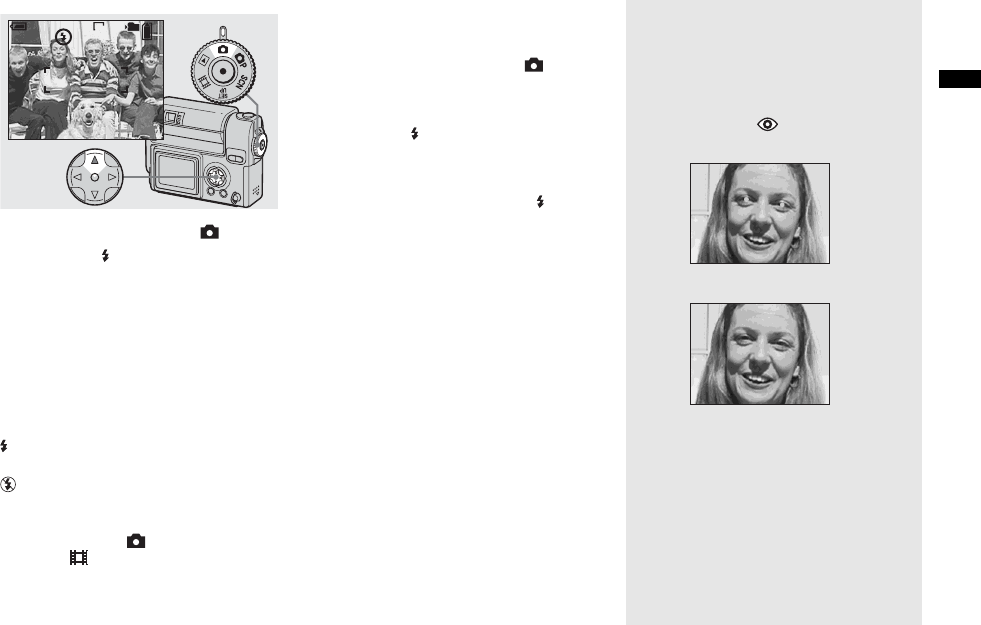
Selecting a flash mode
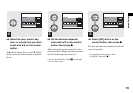
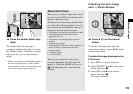
, Set the MODE dial to , and
press v ( ) on the control
button repeatedly to select a
flash mode.
The flash mode has the following features.
No indicator (Auto): Based on the
lighting conditions, the camera will decide
if there is enough light, and will use the
flash accordingly.
(Forced flash): The flash will be used
regardless of the amount of ambient light.
(No flash): The flash will not be used.
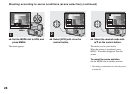
• You can carry out this operation even when the
MODE dial is set to P
, SCN (Soft snap
mode), or (Clip motion).
• The recommended distance using the flash is
about 0.5 m to 1.7 m (1 foot 7
3
/
4
inches to
5 feet 7 inches) when [ISO] is set to [AUTO].
(When the MODE dial is not set to P, [ISO]
is set to [AUTO].)
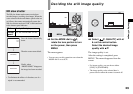
•
If the menu is currently displayed, press MENU
first to make the menu disappear.
• In the Auto or (Forced flash) mode, you look
at the LCD screen in a dark place, you may
notice some “noise” in the image, but this will
have no effect on the image you shoot.
• While the flash is being charged, the /CHG
lamp flashes. After charging is completed, the
lamp goes out.
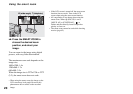
To reduce “red-eye” when
shooting live subjects
The flash pre-strobes before shooting to
reduce the red-eye phenomenon. Set [RED
EYE REDUCTION] to [ON] in the SET UP
settings (page 98). appears on the LCD
screen.
• The amount of red-eye reduction possible
varies according to the individual. In addition,
the distance to the subject, and whether or not
the subject has seen pre-strobe light begin to
strobe may also reduce the effectiveness of the
red-eye reduction process.
640
60
min
101
98
m