


77
Recording – Advanced Operations
Chapter 3 Recording and Playback
2
Move the x mark to the digit you want to change and
then press the MENU knob.
3
Turn the MENU knob to move the x mark to the
desired digit in the list of selectable digits, and then
press the MENU knob.
4
Repeat steps 2 and 3 to enter the remaining digits.
5
When you have finished entering the value, turn the
MENU knob to move the x mark to END, and then
press the MENU knob.
The camcorder exits numeric input mode, and the
original CLIP TITLE page appears.
To check the titles of recorded clips
Press the THUMBNAIL button to display the
thumbnail screen, and then select the clip whose title
you want to check.
The title of the selected clip appears in the upper left of
the screen.
See “Cuing up with sub clip thumbnails” (page 86) for
more information about the thumbnail screen.
• It is not possible to specify 00000 as the initial value.
Even if you enter 00000, the value is reset to 00001
when the camcorder exits numeric input mode.
• The value of the serial number is incremented by 1
every time a title is generated. When the value
reaches 99999, the next number restarts from 00001.
• Duplicate clip titles can be generated if you reset the
serial number after recording several clips or the
same is true depending on the value setting. Care
should be taken when setting the serial number.
Assigning User-Defined Clip and
Clip List Names
The following standard format names are assigned
automatically to clips and clip lists that are created or
recorded by XDCAM devices.
Clips: C0001 to C0300
Clip lists: E0001E01 to E0099E01
You can use the supplied PDZ-1 Proxy Browsing Software
to assign user-defined names instead of the standard
format names
1)
. Assigning meaningful names to clips and
clip lists can facilitate file management. You can also use
this unit’s “AUTO TITLING” function to assign user-
defined names to clips.
1) 3/-'%-'%'0FF#1&(;%I1#.%I-1.$+1(%:(1'-#,%J<K <
To assign clip names on this unit
The title assigned to clip becomes its clip name (file
name).
Proceed as follows.
(How to select an item in the menu screen: Turn the
MENU knob to move the b mark to the desired item.)
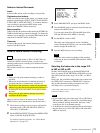
1
Set TITLE in the CLIP TITLE page of the
OPERATION menu to “ENABLE” (see page 76).
For details on menu operations, see “Basic Menu
Operations” on page 131.
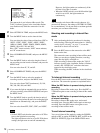
2
Display the FILE NAMING page of the OPERATION
menu, and then press the MENU knob.
The current setting parameters appear at the left of the
screen.
3
Turn the MENU knob to select “NAMING FORM”,
and then press the MENU knob.
Notes
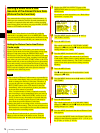
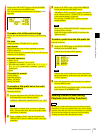
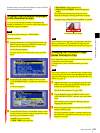
005 CLIP TITLE
0123456789
INS DEL RET ESC END
CLEAR NUMERIC : EXEC
LOAD PREFIX DATA: EXEC
PREFIX : TITLE
NUMERIC : 00001
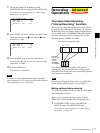
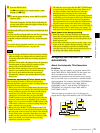
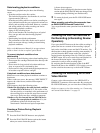
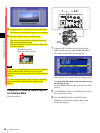
C0001.MXF
TITLE00001
When sub item “AUTO NAMING” is set to “C****”
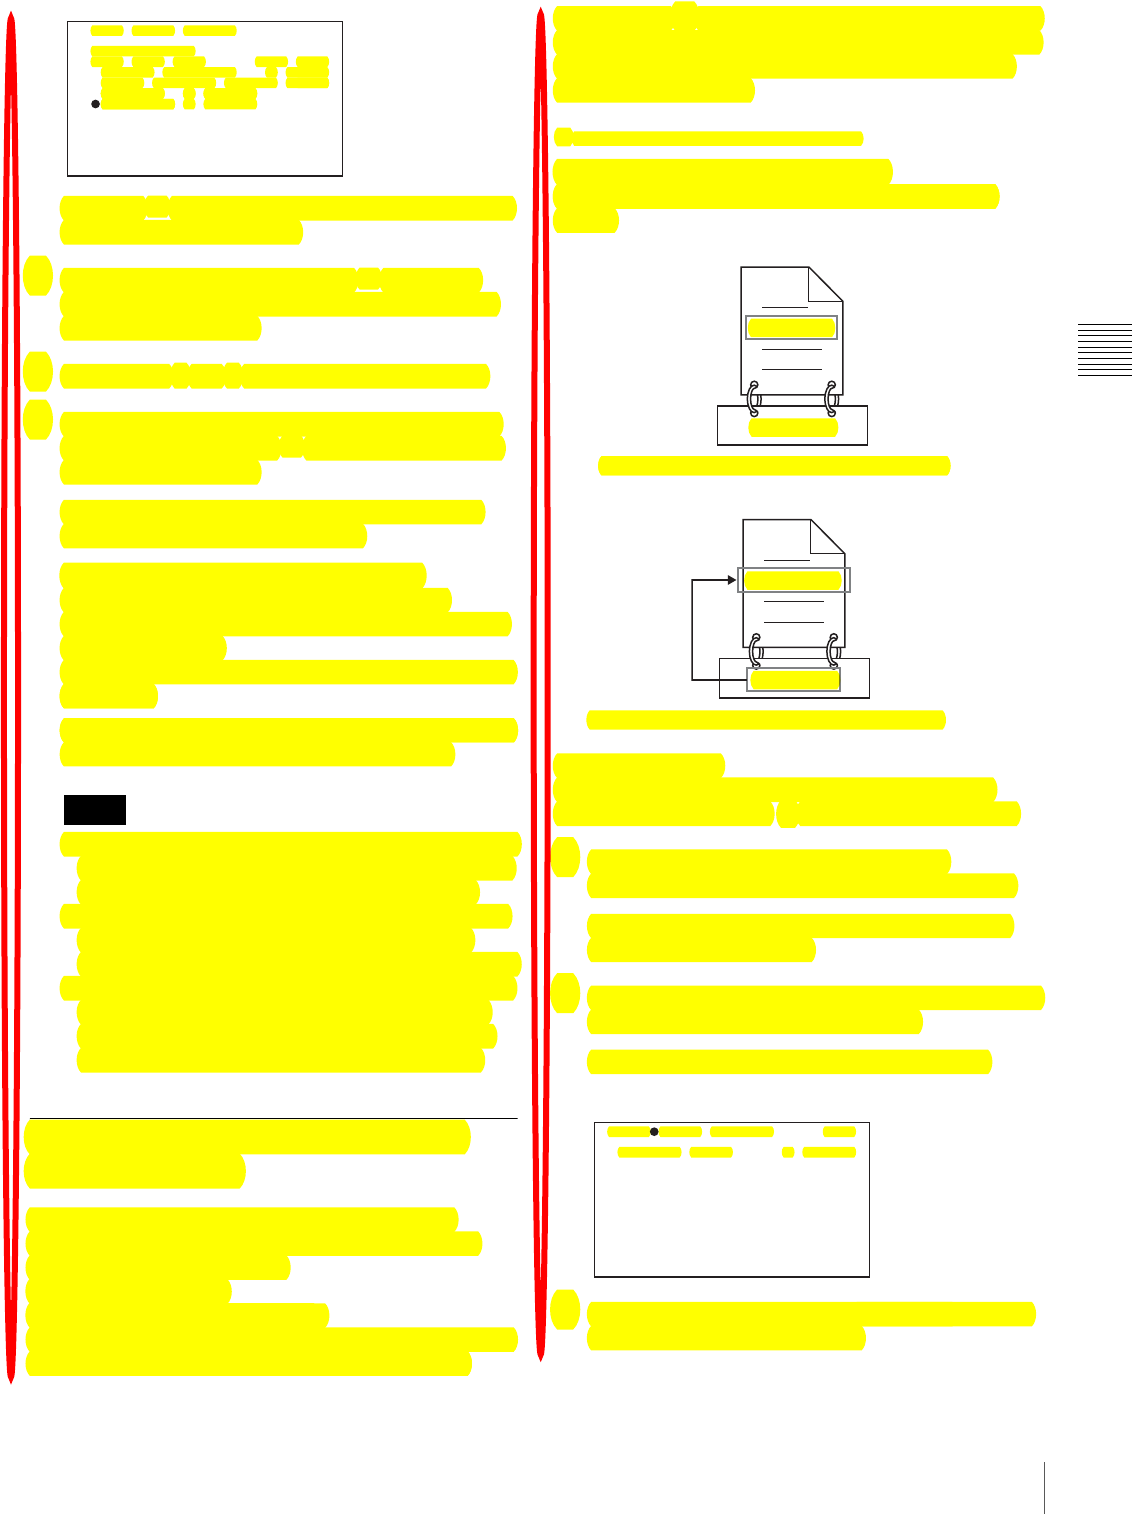
TITLE00001.MXF
TITLE00001
When sub item “AUTO NAMING” is set to “TITLE”
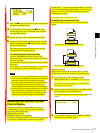
TOP?006 FILE NAMING
NAMING FORM : C****