164
eh
eg
ej
ek
el
r;
r
a
eg Video control buttons (p. 28, 31, 84)
C SLOW (slow playback)
AUDIO DUB (dubbing)
x STOP (stop)
m REW (rewind)
N PLAY (playback)
M FF (Fast-forward)
X PAUSE (pause)
z REC (recording)
The control buttons light up when you
set the POWER switch to VCR.
eh INPUT2 connector (p. 55)
ej INPUT1 connector (p. 10)
ek REC START/STOP button (p. 18)
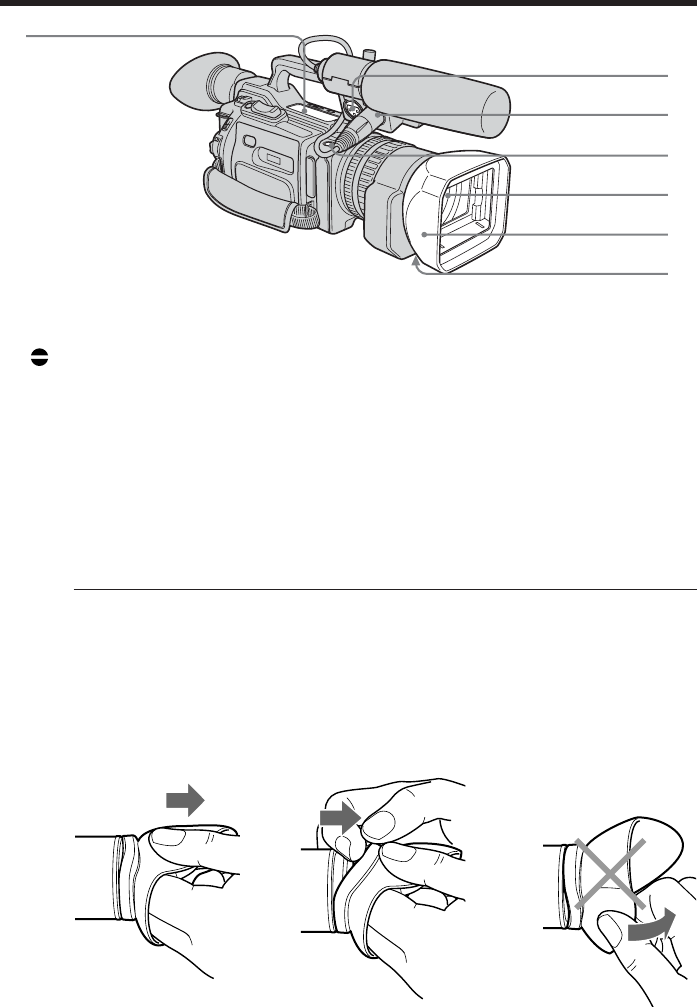
el Lens
r; Hood with a lens cap
ra Lens hood fixing screw
Attaching/removing the eyecup
• When removing the eyecup, pull lightly the upper edge of it with your fingers [a],
insert a finger into the gap that appears between the eyecup and viewfinder [b], then
remove it.
When attaching the eyecup, fit it onto the camcorder and slide it all the way along
grooves until it stops.
• Do not pull the eyecup inward or with excessive force [c]. Doing so may damage the
eyecup.
Identifying the parts and controls
[a] [b] [c]


