23
Setting Items
Chapter 3 Setup
Start Guide
Selects the time period for which the Start Guide is
displayed. When the time has elapsed, the unit
automatically switches to the promotional image. When
[OFF] is selected, the Start Guide is not shown.
It is not possible to set Image 1, Image 2, and Start Guide
all to [OFF] at the same time.
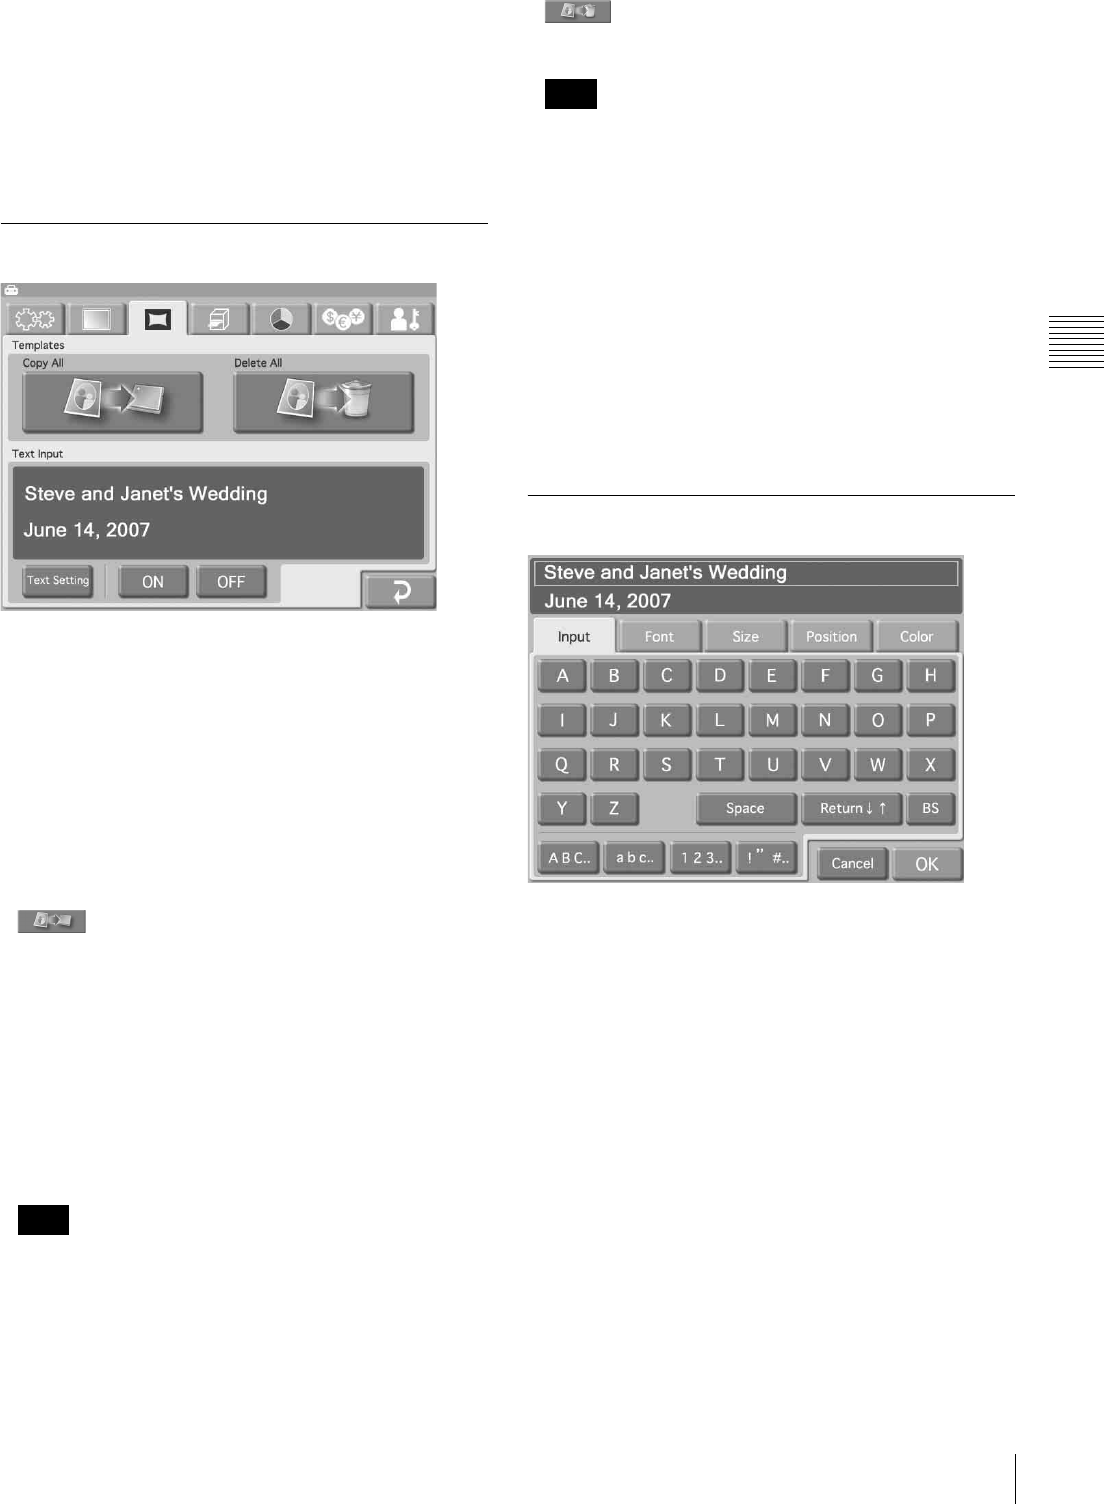
Template Tab
This lets you load and delete templates for border print and
enter text to be generated.
To use the Template tab, an expansion CompactFlash card
is required. For information on the expansion
CompactFlash card, see the section “Preparing an
Expansion CompactFlash Card” on page 17.
Templates are created using the Adobe Photoshop plug-in
that is contained on the supplied CD-ROM. For details, see
the documentation of the Adobe Photoshop plug-in.
Templates
• (Copy All)
Copies all template data stored on a memory card
inserted front-side memory card slot to the expansion
CompactFlash card.
Touch the button and then follow the instructions that
appear.
If an error message appears, check the following likely
causes.
– The expansion CompactFlash card has insufficient
free space.
– The file selected for copying does not meet the
promotional image specifications.
If there are templates with the same name stored on the
expansion CompactFlash card, they will be overwritten.
Be careful when performing this procedure, because
even read-only files will be forcibly overwritten.
• (Delete All)
Deletes all template data stored on the expansion
CompactFlash card.
Be careful when performing this procedure, because
even if the existing templates are read-only files, they
will be forcibly deleted.
Text Input
You can enter text for addition to images. When [Print] or
[Border Print] is performed, the entered text is printed
along with the image. Alphanumeric characters and
symbols can be used to create text.
To enter text, touch the [Text Setting] button to bring up
the text input screen. For information on how to use this
screen, see the section “Text Input Screen” below.
To use the entered text, select [ON].
Text Input Screen
[Input] tab
Touch the keys shown on the screen to enter text. Up to 2
lines containing a total of 128 alphanumeric characters can
be entered. To make a correction, touch the [BS]
(Backspace) button. If you keep touching the button, the
entire line where the cursor is located will be erased.
[Font] tab
Lets you select the font to be used.
[Size] tab
Use the [+] and [-] buttons to control the text size. The size
setting range is 8 - 72 points, in 2-point steps.
Note
Note


