43
Image Editing
Chapter 4 Operation
Image Editing
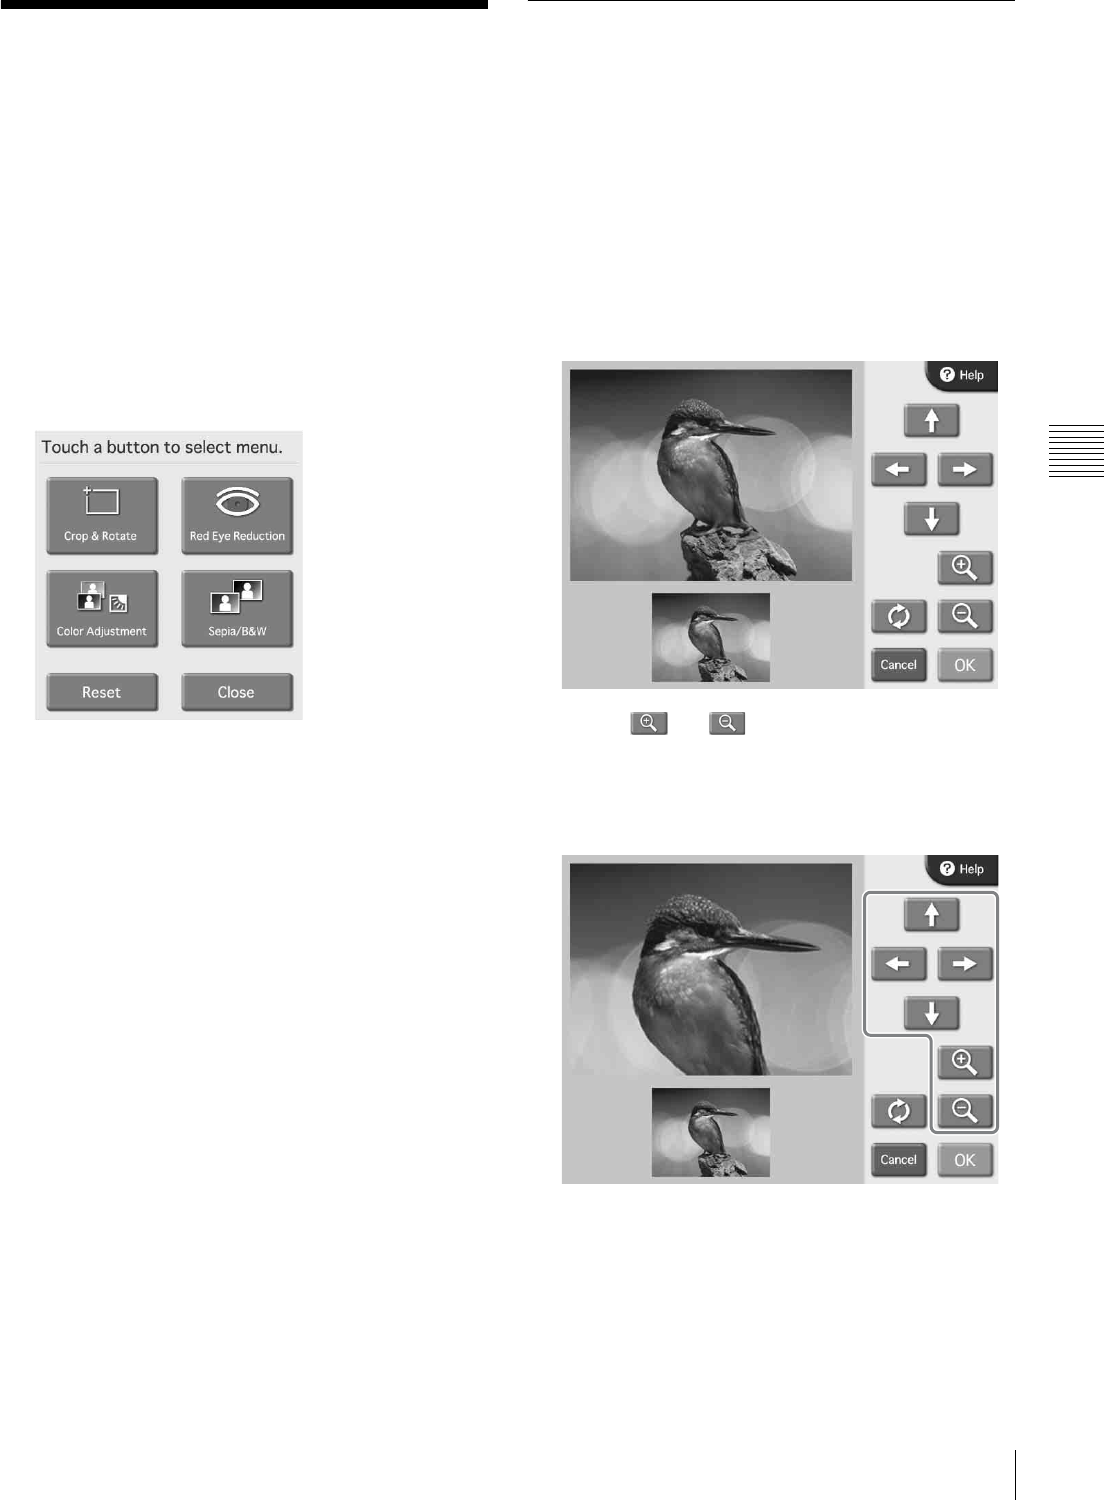
The Edit Menu gives access to the following functions:
•Crop & Rotate (page 43)
• Color Adjustment (page 44)
• Sepia/Black&White printing (page 45)
• Red Eye Reduction (page 45)
The steps for image editing are described below.
1
Touch the [Edit] button.
The Edit Menu appears.
2
Touch the item you want to edit.
The respective editing screen appears. For details on
operation steps, see the later sections.
3
When finished editing, touch the [OK] button on the
respective editing screen.
The original screen reappears.
An edited image is indicated by a pencil symbol in the list
display.
To remove editing effects
You can return a temporarily edited image to its original
unedited state.
1
Select an edited image on the image list screen, and
touch the [Edit] button.
The Edit Menu appears.
2
Touch the [Reset] button.
A confirmation message appears. Touch the [Yes]
button.
The editing effects for the selected image are removed,
and the Edit Menu reappears.
Specifying the Layout (Crop &
Rotate)
This function allows you to trim the image or rotate it,
thereby changing the composition of the image.
To crop the image
You can perform cropping by zooming the image in and
out, and by shifting the position of the zoomed portion.
1
On the Edit Menu, touch [Crop & Rotate].
The following screen appears.
2
Use the and buttons to adjust the size of the
image.
3
Use the arrow buttons to adjust the position of the
image.
4
Repeat steps 2 and 3 to obtain the correct printing
image.
5
When the composition of the image is as desired,
touch the [OK] button.
The original screen reappears.


