


6
Step 1. Press the WPS button on the router supporting WPS for 2 seconds.
Step 2. Press the WPS button on the Camera within 2 minutes.
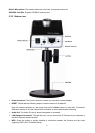
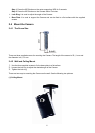
¾ Lock Ring: It is used to adjust the angle of the Camera.
¾ Base Plate: It is used to support the Camera and can be fixed to a flat surface with the supplied
screws.
2.4 Mount the Camera
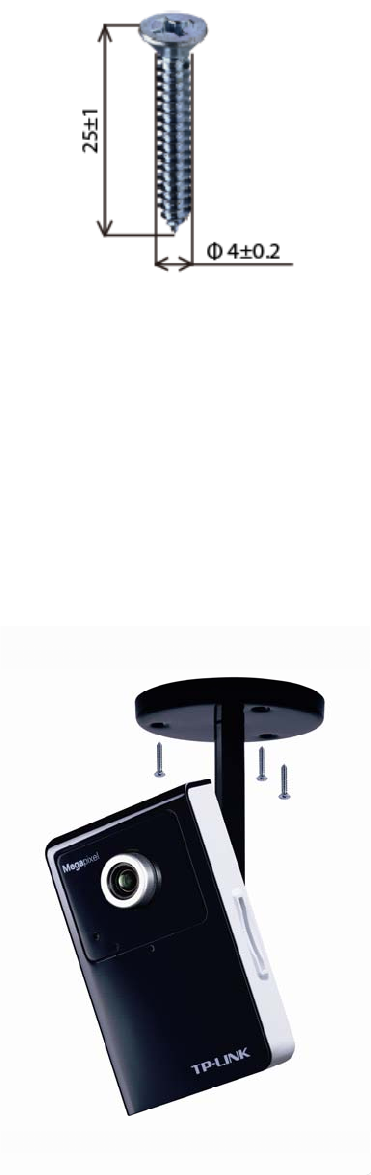
2.4.1 The Screw Size
There are three supplied screws for mounting the Camera. The length of the screws is 25±1 mm and
the diameter is 4±0.2 mm.
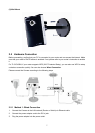
2.4.2 Wall and Ceiling Mount
1. Use the three supplied screws to fix the base plate to a flat surface.
2. Loosen the lock ring to adjust the desired angle of the Camera.
3. Tighten the lock ring.
There are two ways to mounting the Camera on the wall. See the following two pictures.
(1) Ceiling Mount