


UVS-7111 User's Manual
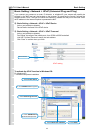
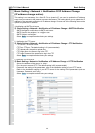
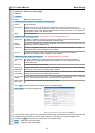
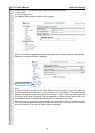
Add Event : Add Event setting page
Options:
• General:
Name: Name the trigger event here.
• Response to event trigger: the time setting of the trigger event
Always: Always monitoring
During time: Check the date you want to monitor (Sun~Sat) and the duration of monitoring here. For
example, if you want to set the camera to monitor from 7 pm after work to 7 am next morn ing
from Monday to Friday, check the boxes from Monday to Friday, enter “19:00” in the “Start From”
eld, and enter “12:00” in the “Duration” eld.
Never: Do not set the time.
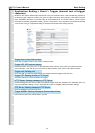
• Trigger by: sources of trigger events (Note: You can only set one trigger event once.)
Alarm input: The alarm is triggered by the security equipment connected from the DI terminals behind
the machine, such as door/window detectors, infrared sensors.
Motion The alarm is triggered when motion is detected. The camera will send an alarm when any
Detection: objects appear in the set detection area.
Video Loss: The alarm is triggered by video loss. The camera will send an alarm when there is no video
transmission due to camera sabotage or other reasons.
On boot: The alarm is triggered by reboot. The camera will send an alarm when the system is
rebooted due to power shortage, sabotage, or other reasons.
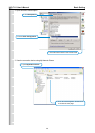
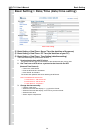
• Response process: trigger event response (Note: Multiple selections are available)
Active alarm An event is detected by the security equipment connected from the DI terminal behind
out: the machine, such as high-decibel alarms, light projectors. You can set the alarm duration
in the “Duration” eld.
Send mail: The alarm will be sent to you by email.
Send HTTP The alarm will be sent to the HTTP server you specied. To use this function, set the notication:
coordinative HTTP server in the Event Server setting page in advance.
Send TCP The alarm will be sent to the TCP Server you specied. To use this function, set the notication:
coordinative TCP server in the Event Server setting page in advance.
Go to preset The camera will move to the location you specified when a trigger event occurs. To use this
location: function, set the present location of the camera in the main page in advance.
Return to home The camera will move back to the home position (center)
after event:
Click Save to save and activate your settings when you completed setting.
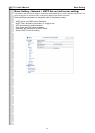
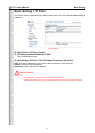
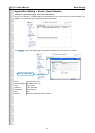
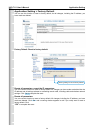
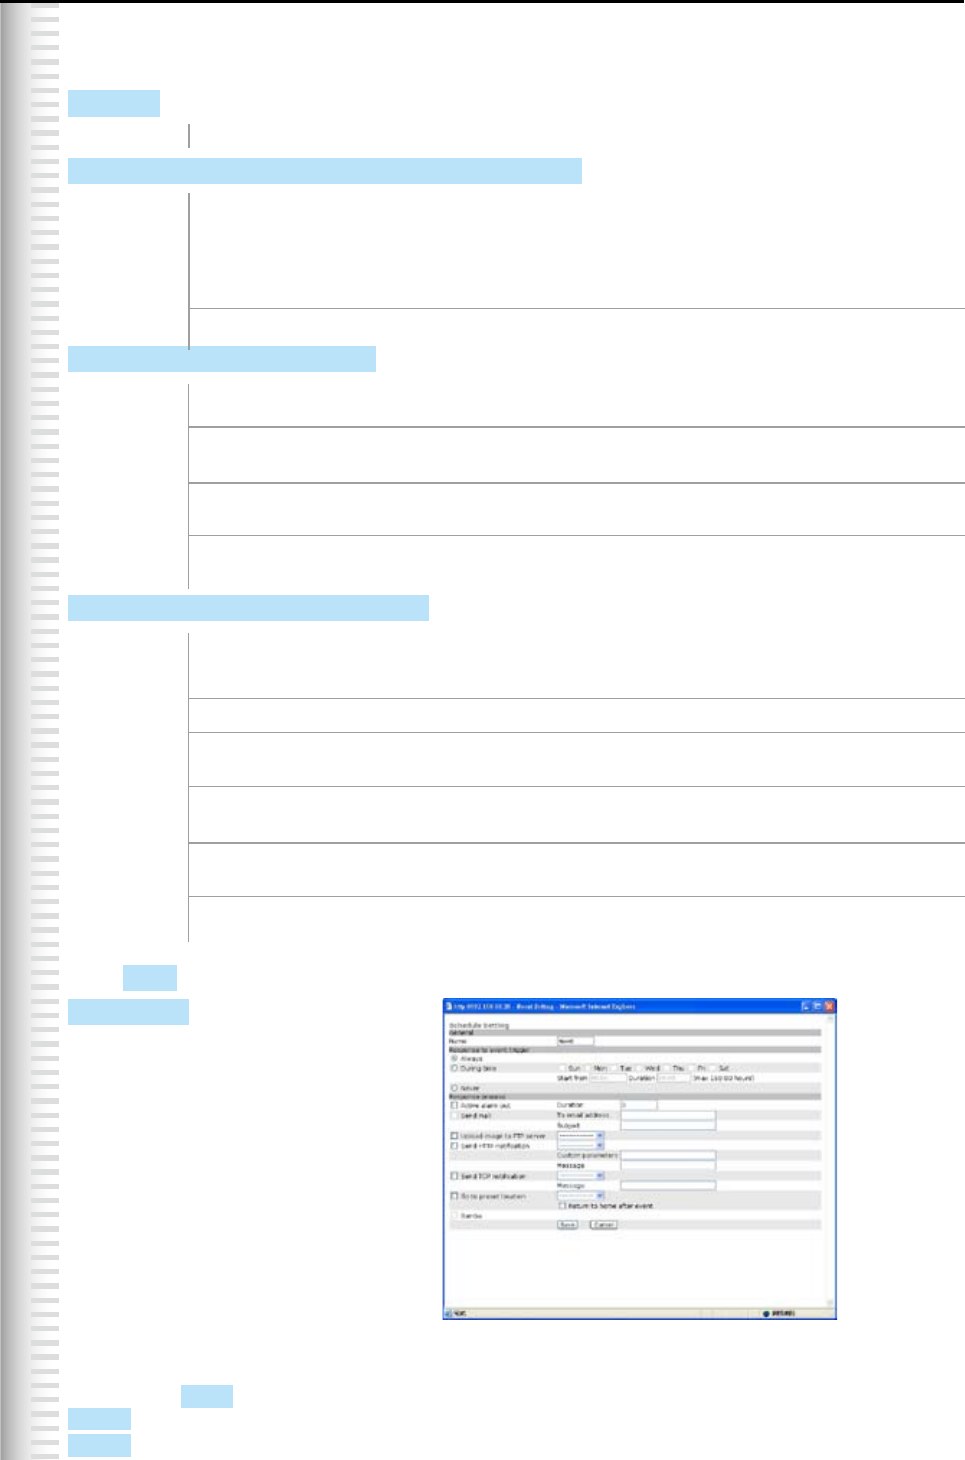
Add Schedule : Add Schedule setting page
The Add Event setting page and the Add Schedule setting page are basically the same except that the Add
Schedule setting page does not have the option “Trigger by” to indicate the sources of the trigger event.
Click Save to save and activate your settings when you complete setting.
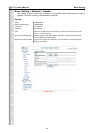
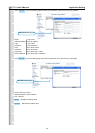
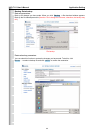
Delete : delete the event cluster setting.
Modify : modify the event cluster setting.
53
Basic Setting