92
Before Use
Basic Guide
Advanced Guide
Camera Basics
Auto Mode
Other Shooting
Modes
P Mode
Playback Mode
Setting Menu
Accessories
Appendix
Index
Before Use
Basic Guide
Advanced Guide
Camera Basics
Auto Mode
Other Shooting
Modes
P Mode
Playback Mode
Setting Menu
Accessories
Appendix
Index
• Not all of your DPOF settings may be applied in printing by the
printer or photo development service, in some cases.
• [ ] may be displayed on the camera to warn you that the memory
card has print settings that were congured on another camera.
Changing the print settings using this camera may overwrite all
previous settings.
• Setting [Date] to [On] may cause some printers to print the date
twice.
• Specifying [Index] will prevent you from choosing [On] for both [Date] and [File
No.] at the same time.
• Index printing is not available on some Canon-brand PictBridge-compatible
printers (sold separately).
• The date is printed in a format matching setting details in [Date/Time] on the
[3] tab (=
12).
Still Images
Setting Up Printing for Individual Images
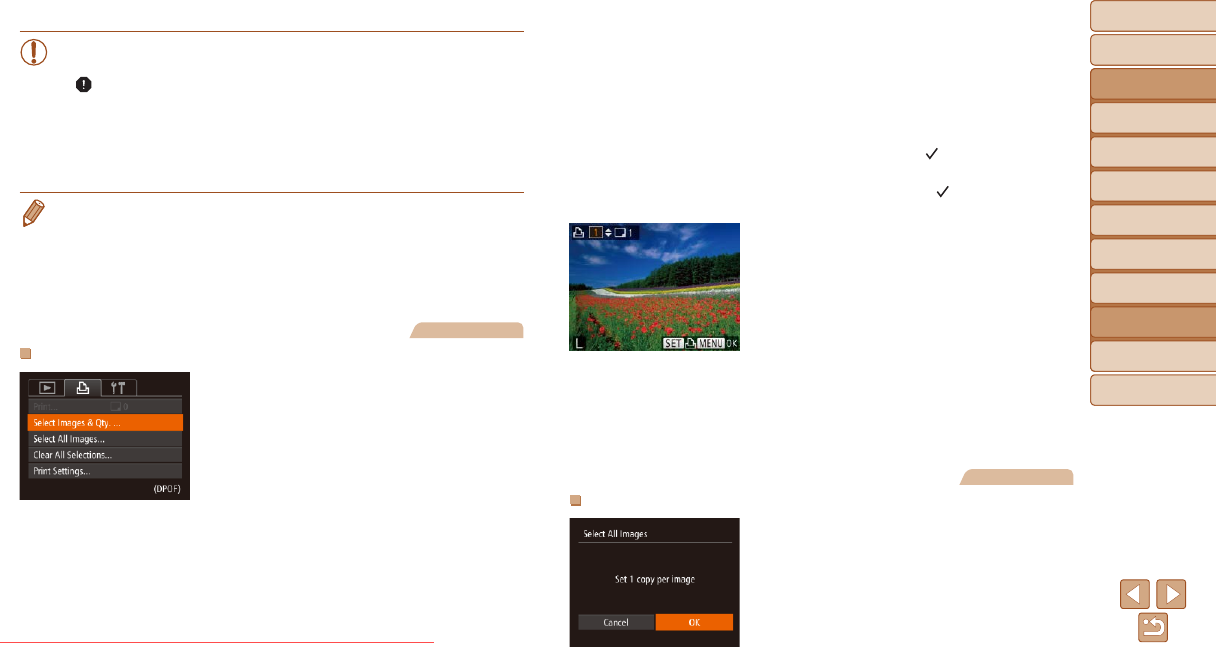
1 Choose [Select Images & Qty.].
Press the <n> button, choose
[Select Images & Qty.] on the [2] tab,
and then press the <m> button.
2 Choose an image.
Press the <q><r> buttons to choose an
image, and then press the <m> button.
You can now specify the number of
copies.
If you specify index printing for the image,
it is labeled with a [
] icon. To cancel
index printing for the image, press the
<m> button again. [
] is no longer
displayed.
3 Specify the number of prints.
Press the <o><p> buttons to specify
the number of prints (up to 99).
To set up printing for other images and
specify the number of prints, repeat steps
2 – 3.
Printing quantity cannot be specied for
index prints. You can only choose which
images to print, by following step 2.
When nished, press the <n> button
to return to the menu screen.
Still Images
Setting Up Printing for All Images
Following step 1 in “Setting Up Printing
for Individual Images” (=
92), choose
[Select All Images] and press the <m>
button.
Press the <q><r> buttons to choose
[OK], and then press the <m> button.
Downloaded From camera-usermanual.com Canon Manuals


