


20
1
2
3
4
5
6
7
8
9
Cover
PreliminaryNotesand
LegalInformation
Contents:
BasicOperations
AdvancedGuide
CameraBasics
SmartAuto
Mode
OtherShooting
Modes
PMode
Wi-FiFunctions
SettingMenu
Accessories
Appendix
Index
BasicGuide
PlaybackMode
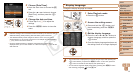
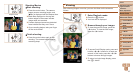
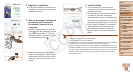
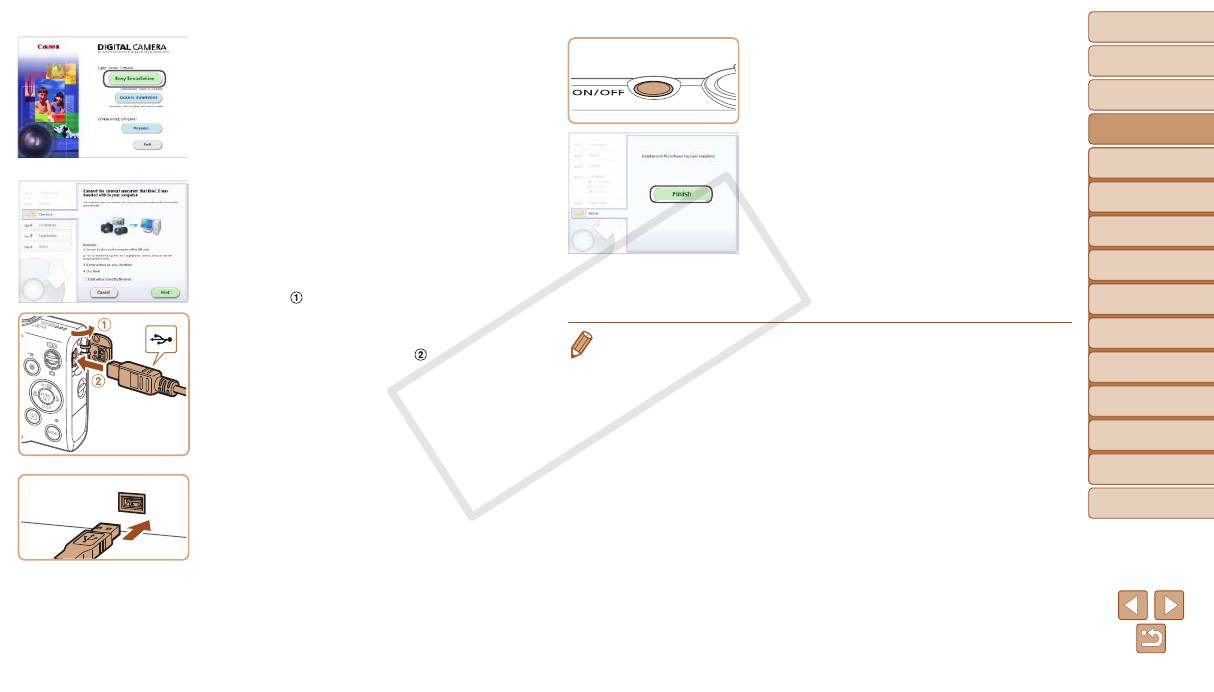
2 Begintheinstallation.
Click [Easy Installation] and follow the
on-screen instructions to complete the
installation process.
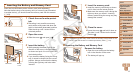
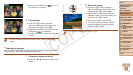
3 Whenamessageisdisplayed
promptingyoutoconnect
thecamera,connectittoa
computer.
With the camera turned off, open the
cover (
). With the smaller plug of the
included interface cable (=
2) in the
orientation shown, insert the plug fully
into the camera terminal (
).
Insert the larger plug of the interface
cable in the computer’s USB port. For
details about USB connections on the
computer, refer to the computer user
manual.
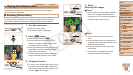
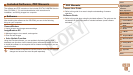
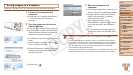
4 Installtheles.
Turn the camera on, and follow the
on-screen instructions to complete the
installation process.
The software will connect to the Internet
to update to the latest version and
download new functions. Installation may
take some time, depending on computer
performance and the Internet connection.
Click [Finish] or [Restart] on the screen
after installation and remove the CD-
ROM when the desktop is displayed.
Turn the camera off and disconnect the
cable.
•When not connected to the Internet, there are the following limitations.
- The screen in step 3 will not be displayed.
- Some functions may not be installed.
•The rst time you connect the camera to the computer, drivers will be installed,
so it may take a few minutes until camera images are accessible.
•If you have several cameras that were bundled with ImageBrowser EX on the
included CD-ROMs, be sure to use each camera with their included CD-ROM
and follow the on-screen installation instructions for each. Doing so will ensure
that each camera will receive the correct updates and new functions via the
auto update function.
C OPY