Printing on CDs and DVDs 73
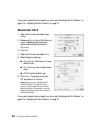
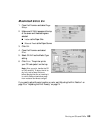
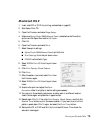
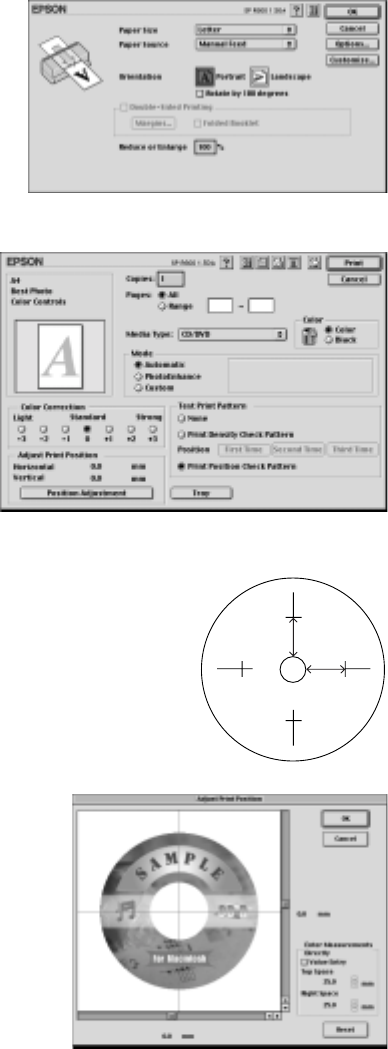
3. Open the File menu and select Page
Setup
.
4. Make sure SP R800 appears at the top
of the screen and these settings are
selected:
■ Letter as the Paper Size
■ Manual Feed as the Paper Source
5. Click
OK.
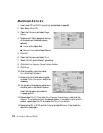
6. Open the File menu and select
Print.
7. Select CD/DVD as the Media Type
setting.
8. Select Print Position Check
Pattern
.
9. Click Print, then click OK on the
next screen.
The confirmation pattern is printed on the check disc
or CD and the printer ejects it.
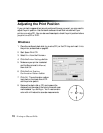
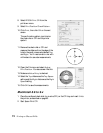
10. Remove the check disk or CD and measure the
distance from the edge of the hole to the small cross
marks labeled Top and Right. You’ll need a metric
ruler with millimeters for accurate measurements.
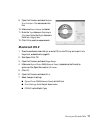
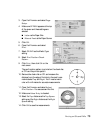
11. Open the File menu and select Adjust
Print Position
. You see a screen like this:
12. Make sure Value Entry is checked.
13. Select the Top distance as the Top Space
setting and the Right distance as the Right
Space
setting.
14. Click OK to save the measurements.
Top
Right


