Chapter 4: Using hp instant share 55
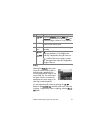
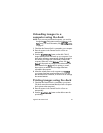
6 If you are using a:
• Windows computer, you will be asked to sign in to HP’s
Passport program. HP Passport allows you to use HP’s
free e-mail service and other services that may be
available in the future. The first time you see this screen,
you will need to register as a new user. Follow the
instructions on the screen to register.
• Macintosh computer, add the e-mail addresses you want.
Then skip to step 8.
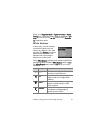
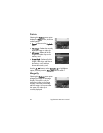
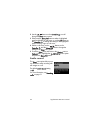
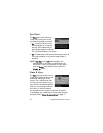
7 Once you have successfully registered, sign in to the HP
Passport program, and then the Photo E-mail Setup screen
will appear. Here, you can enter an e-mail address and
specify how you want it to appear in the camera’s Share
menu. You can also enter a subject and message to go with
all e-mails that will be sent to that address. After completing
the form, click Next. In the confirmation screen that appears,
click Finish.
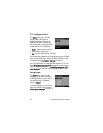
8 Your newly added e-mail destination should now appear in
the Modify Share Menu screen (in the Current Share Menu
section). To add additional e-mail addresses to the camera
Share menu, repeat steps 5-7 on Windows, or steps 5-6 on
Macintosh. If you are using a Windows computer, you will
not need to sign in to the HP Passport program again.
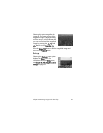
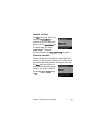
9 When you have finished adding e-mail addresses, click on
Save to Camera on a Windows computer or click on Next
on a Macintosh computer to add the new addresses to the
camera Share menu. When the computer confirms that the
addresses were saved to your camera, disconnect the
camera from the computer, and press the Share button to
view the new e-mail destinations in the Share menu.
10You are now ready to select images on the camera to be
e-mailed. See the next section for how to do this.