


Master Page: Right
—15—
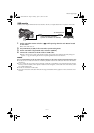
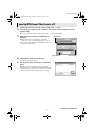
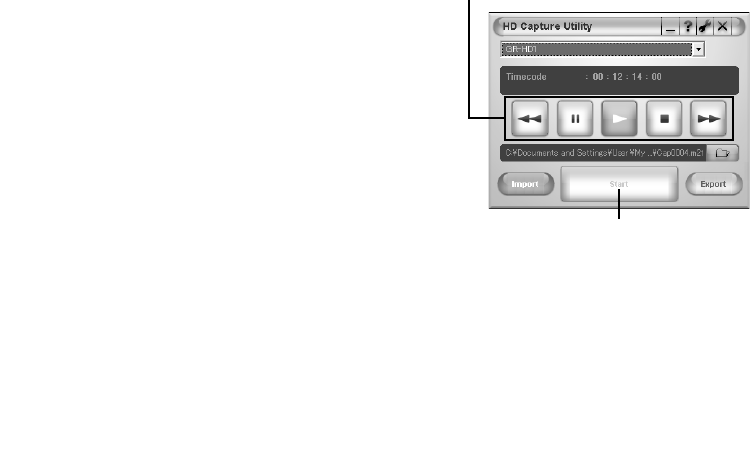
7 Check playback on the camcorder’s LCD monitor, and then click [Start] approximately 2
seconds before the scene from where importing to be started.
8 Check playback on the camcorder’s LCD monitor, and then click [Cancel] after the scene to
be imported finishes.
9 Click the close button on the upper right of the window to quit HD Capture Utility.
10 Disconnect the i.LINK cable.
11 Set the camcorder’s Power Switch to ”OFF”.
The camcorder turns off.
NOTES:
● It is not possible to import a scene less than 5 seconds.
● The continuous scene may be divided into two or more files depending on the environment of you PC or
condition of the tape.
● It is not possible to import video stream from other devices such as a D-VHS VCR.
● The HD Capture Utility is compatible only with MPEG-format video stream. To import DV-format video
stream, use commercially available video edit software which is compatible with DV format.
● It is recommended to import video stream a little longer (including parts before and after the necessary part)
than that you actually need. Unnecessary parts of the video clip can be deleted (cut) by MPEG Edit Studio
TM
Pro LE.
● If there are blank or drop-out parts, or switching point of recording mode between 480p and 720p, the
video stream will be automatically divided into two or more files. The numbers are added to the file, for
example ”Cap0001.m2t”, ”Cap0001(0001).m2t”, and ”Cap0001(0002).m2t”.
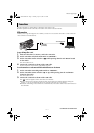
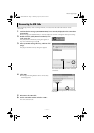
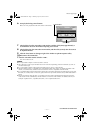
6 Start playback using control buttons.
● You can view playback on the camcorder’s LCD monitor.
Start button
Control buttons
CONTINUED ON NEXT PAGE
M3D8_InstaGuide01.fm Page 15 Monday, April 14, 2003 6:52 PM