


o
Regular Operation
Connecting the Smartphone to the Camera Wirelessly
o
Connection by entering the Wi-Fi password
1
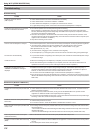
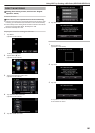
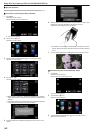
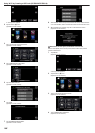
Tap “MENU”.
(Operation on this camera)
Set the camera to the recording mode.
.
0
The top menu appears.
2
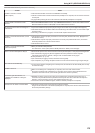
Tap the “Wi-Fi” (Q) icon.
(Operation on this camera)
.
3
Tap the “DIRECT MONITORING” (N) icon in the “Wi-Fi” menu.
(Operation on this camera)
.
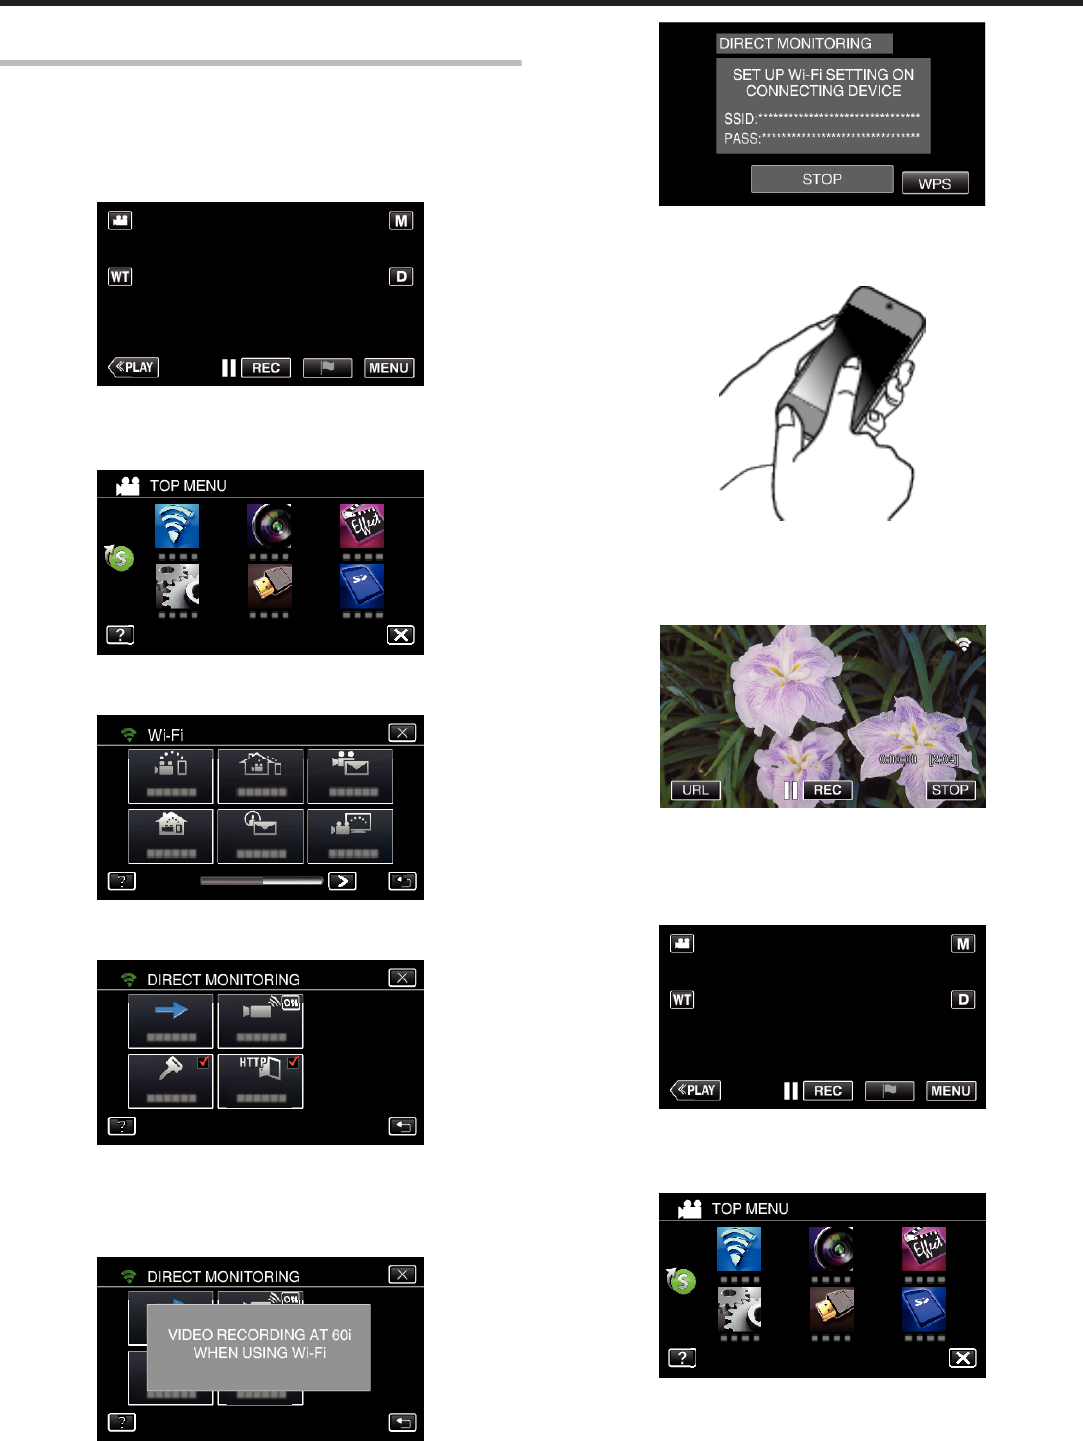
4
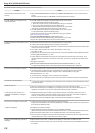
Tap “START” (I).
(Operation on this camera)
.
0
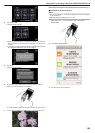
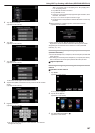
When iFrame is selected for “VIDEO REC FORMAT”, the following
display appears and recording mode is switched to the 60i mode in
AVCHD.
0
This display disappears automatically after approximately 3 seconds,
but disappears immediately if the screen is tapped.
.
5
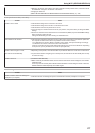
Check the SSID and the PASS being displayed on the screen of the
camera.
.
6
Select the SSID in step 5 from the Wi-Fi network selection screen of your
smartphone, and enter the PASS on the password screen.
(Operation on the smartphone (or computer))
.
0
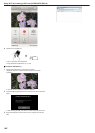
For details on connecting your smartphone (or computer) to a Wi-Fi
network, please refer to the instruction manual of the phone terminal
in use.
7
A connection is established and Q appears on the camera’s screen.
.
o
Connection by Wi-Fi Protected Setup (WPS)
1
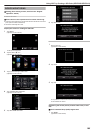
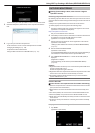
Tap “MENU”.
(Operation on this camera)
Set the camera to the recording mode.
.
0
The top menu appears.
2
Tap the “Wi-Fi” (Q) icon.
(Operation on this camera)
.
3
Tap the “DIRECT MONITORING” (N) icon in the “Wi-Fi” menu.
(Operation on this camera)
Using Wi-Fi by Creating a QR Code (GZ-EX355/GZ-EX310)
182