


6
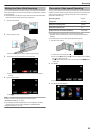
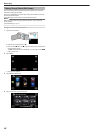
Select the type if the clock with 0 or 1, and tap “SET”.
.
0
When “SET” is tapped, the precaution for date/time recording
appears.
0
Tap L to exit the menu.
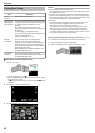
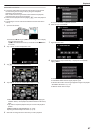
7
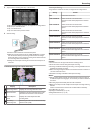
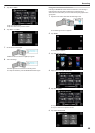
Adjust the display position of the date and time display with a finger mark
by touching it with your finger and dragging it.
.
0
Move the date and time display while touching it with your finger and
tracing it on a screen.
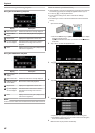
8
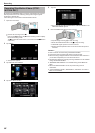
Press the START/STOP button to start recording.
.
.
0
Press the START/STOP button again to stop recording.
0
Tap J to return to the screen for selecting the types of clock.
0
Tap L to exit “DATE/TIME RECORDING”.
(To perform operations other than recording, tap L to cancel the
“DATE/TIME RECORDING” first.)
Caution :
0
The date and time cannot be deleted after recording.
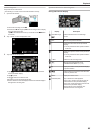
Checking the Remaining Recording Time
You can check the remaining recording time on the built-in memory and SD
card as well as the remaining battery power.
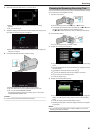
1
Open the LCD monitor.
.
0
Set the recording mode to either A video or B still image.
0
To switch the mode between video and still image, tap A or B on the
recording screen to display the mode switching screen.
Tap A or B to switch the mode to video or still image respectively.
2
Press the INFO button.
.
0
If in the still image mode, go directly to step 4.
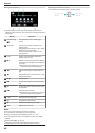
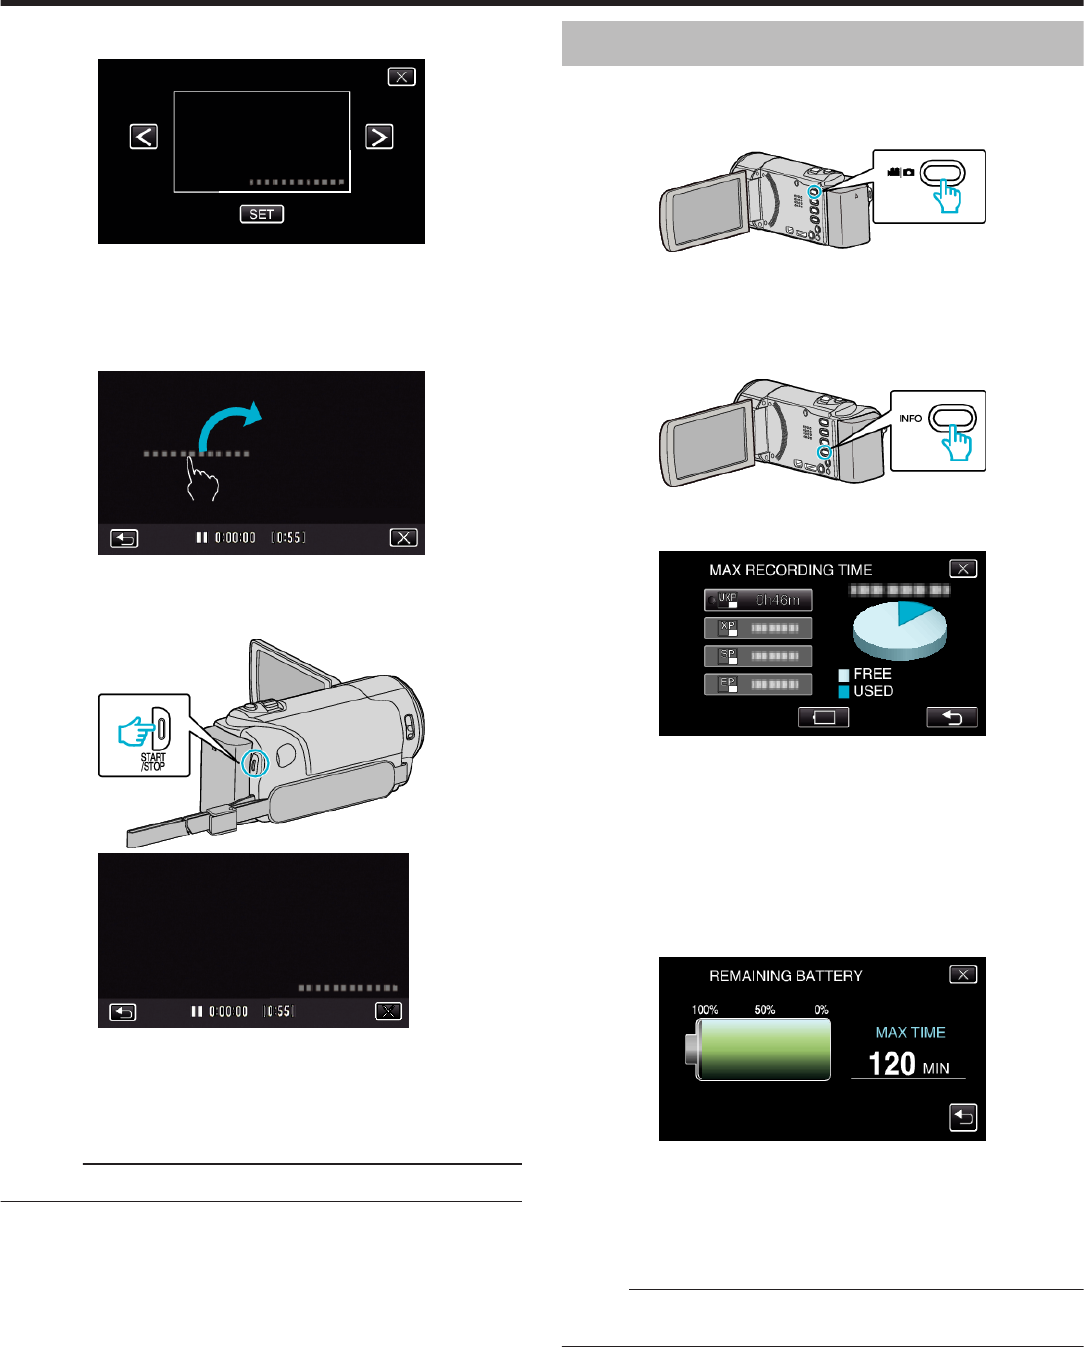
3
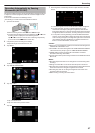
Display the remaining recording time.
.
0
The remaining recording time is displayed only in the video recording
mode.
0
Press the INFO button to check the remaining recording time of each
recording media.
0
To display the remaining battery power, tap l.
0
l will not be displayed when the AC adapter is connected.
0
Tap J to return to the recording mode.
0
To exit the display, tap L.
4
Display the remaining battery power.
.
0
For video recording, tap J to return to the remaining recording time
display. For still image recording, tap J to return to the recording
mode.
0
To exit the display, press the INFO button or tap L.
0
Remaining battery power will not be displayed when the AC adapter
is connected.
Memo :
0
You can change to the desired video quality by tapping on it from the
remaining recording time display.
Recording
61