o
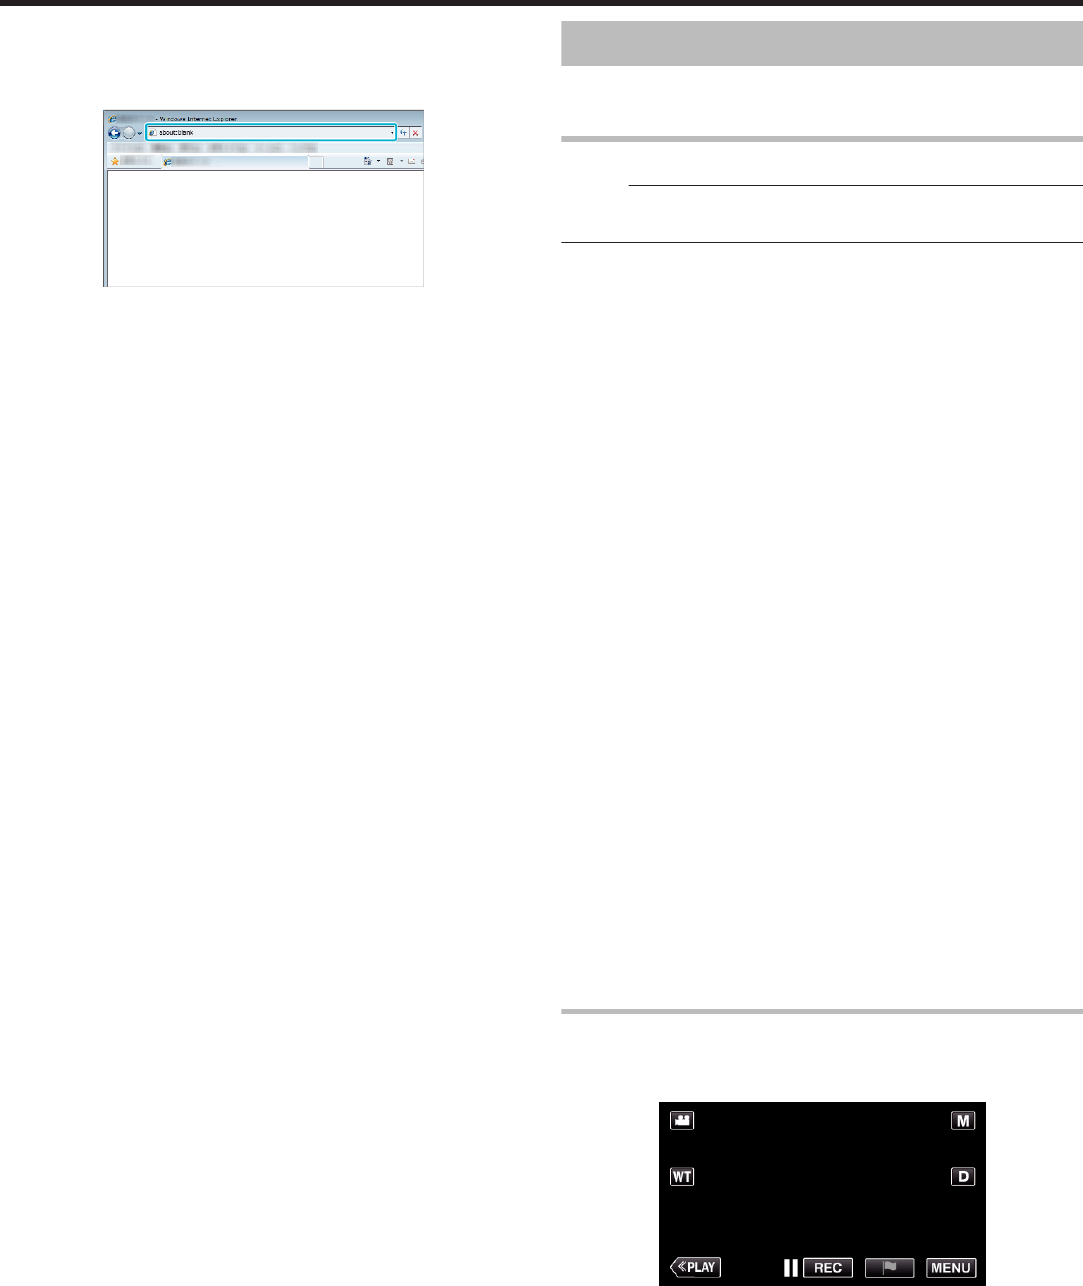
Monitoring from the computer (Windows7)
1
On the Internet Explorer (web browser), enter the URL (WAN) that is
checked by “Operation on this camera”.
.
2
Log in with your username and password.
0
The username is “everio” and the default password is “0000”.
“Changing the Settings” (A p. 136)
0
Operations from the Web browser
DETECT/MAIL
o
Setting (Once setting is done, start from the “Regular
Operation” below)
Create a QR code.
Memo :
0
Perform operations in step 2 and 3 after creating a QR code, and read the
QR code one by one by the camera.
o
Enter values in the required items for setting the recipient’s
e-mail address.
0
E-mail address: set the recipient’s e-mail address.
0
E-mail function: set the function of the e-mail that is transmitted to the
recipient’s e-mail address.
0
Up to 8 e-mail addresses can be set.
0
Start reading from (1) if multiple e-mail addresses are set. Click the number
or “<”, “>”.
o
Enter values in the required items for setting the sender’s
e-mail address.
0
E-mail address: set the sender’s e-mail address.
o
Enter values in the required items for setting the e-mail
server (SMTP server).
0
SMTP server: set the name of the e-mail server (SMTP server) from which
an e-mail account is obtained.
0
SMTP port number: set according to the condition when the e-mail
account is obtained. Normally set to “25”.
0
SMTP authentication method: set according to the condition when the e-
mail account is obtained.
0
User name: set if the SMTP authentication method is set to other than
“None”. (same as the registered user name (account name) when the e-
mail account is obtained)
0
Password: set if the SMTP authentication method is set to other than
“None”. (same as the registered password when the e-mail account is
obtained)
o
Enter values in the required items for setting notification
mails.
0
Detection method: set the detection method of when to start recording
video for notification e-mails.
0
Detecting interval: select the time period to enable detection again after
the previous one.
0
Self recording: specify whether to save the detected video on the camera
(ON) or not (OFF).
Display the screen for reading the QR code.
1
Tap “MENU”.
(Operation on this camera)
.
0
The top menu appears.
2
Tap the “Wi-Fi” (
Q
) icon.
(Operation on this camera)
Using Wi-Fi by Creating a QR Code (GZ-EX355/GZ-EX310)
194


