


5-22 April 28, 2004
Configuring your Camera
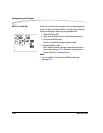
ISO
ISO sets the sensitivity of the camera system to light. Increasing or
decreasing the ISO increases or decreases sensitivity.
The ISO range is 160 - 1600 (Raw files), or 160 - 800 (JPEG files). See
page 6-4.
You can change the ISO in 1/3 stop increments.
You can set ISO using the Image LCD (see below) or using camera
controls.
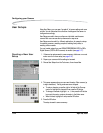
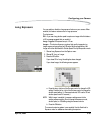
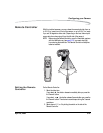
Setting ISO using the
Image LCD
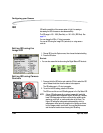
1. Choose ISO from the Capture menu, then choose the desired setting.
2. Press the OK button.
Shortcut:
• You can also access this function using the Digital Status LCD shortcut.
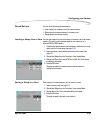
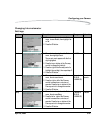
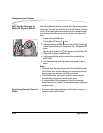
Setting ISO using Camera
Controls
1. Press and hold the ISO button and rotate the C-Dial to select the ISO
value. Release the button when the desired value appears.
The ISO settings are in 1/3 stop increments.
2. To confirm the ISO setting, press the ISO button.
The ISO icon and the current ISO setting appear in the Top Status LCD.
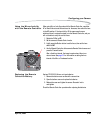
NOTE: A lower ISO setting generally produces images with less digital
noise (compared with images with higher ISO settings). However,
lower ISO image captures require slower shutter speeds, wider
apertures, more light, or some combination of the three. The
higher ISO settings provide greater photosensitivity, which is
advantageous when capturing images in dim lighting conditions,
but the images contain more noise. You must analyze the scene
and the desired results when choosing the ISO setting.