


Configuring your Camera
April 28, 2004 5-31
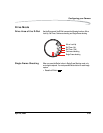
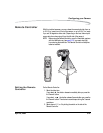
Lens Optimization
Overview Some lenses produce a color shift in the corners of images. Your camera
has a feature that corrects this color shift to create a more uniform image.
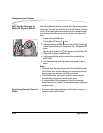
There are three methods for controlling the strength of this correction.
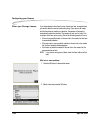
Method one: Auto—(see page 5-32) This method automatically
determines the correction strength for each image based on analysis of the
image data. This feature works with most lenses and may be the only
method you ever need to use. When the camera is in Auto, all of the work is
done for you.
NOTE: The Auto method is recommended if your images are not showing
anomalies.
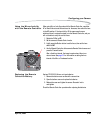
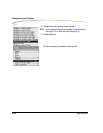
Method two: Manual—(see page 5-33) This method allows you to
directly input the correction strength. This method is provided for testing,
and is not for daily use.
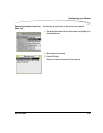
Method three: Lens Selection—(see page 5-33) This method
determines the correction strength by selecting the specific lens you are
using. Since the camera cannot uniquely identify every lens attached, you
must select the lens from a list. Your camera contains a master list of
commonly used, current model lenses from several manufacturers. You
can easily add additional lenses to the master list. There is a conveniently
accessible user list for the lenses you use most often. The camera can
usually automatically identify and select the current lens if it is in the user
list. It is easy to maintain this list by adding and removing lenses.
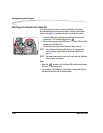
The master list includes default correction strengths for each lens.
Sometimes these defaults are not ideal. You can adjust the strength for any
lens in the master list. If you define new lenses (see page 5-39), you will
need to set the strengths for them as well.
We recommend that you try the Auto method first and only use the Lens
Selection method if you are not satisfied with the results of the automatic
optimization.