


5588
Advanced recording
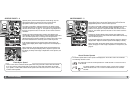
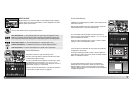
BRACKETING NOTES
Bracketing is a method of taking a series of images of a static subject in which each image has a
slight variation in exposure. Exposure and flash brackets can be made.
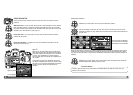
Select continuous-advance bracketing or single-frame advance bracketing with the drive-mode dial
(p. 56). Continuous-advance bracketing creates a successive series of images automatically when
the shutter-release button is pressed and held. The shutter-release button must be pressed for each
exposure when using single-frame advance bracketing.
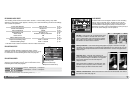
The number of frames and the bracketing increment is displayed on the Ev scale on the monitor.
This can be changed in section 2 of the recording mode menu (p. 64, 70). The bracketing order can
also be set on the menu (p. 70).
5599
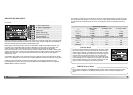
When exposure brackets are made in S exposure mode, the aperture controls the bracket. In A and
M exposure modes, the shutter speed controls the bracket; in M mode, pressing the AEL button
during the bracket changes the exposure control to the aperture. The camera uses both the
aperture and shutter speed control the bracket in P and full-auto program mode.
To make a flash bracket, raise the camera flash; the ambient exposure is not bracketed. The flash
recharges between exposures. Exposure brackets are made when the flash is down.
Compose the picture as described in the basic recording section (p. 28). As the bracket is made,
the index marks disappear from the Ev scale to show the remaining frames. When making a
continuous-advance bracket, if the shutter button is release before the bracket is completed, the
bracket resets. If using continuous AF or Auto AF with moving subjects (p. 52), the camera focuses
between each exposure.
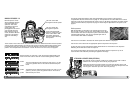
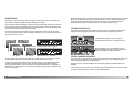
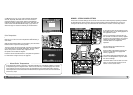
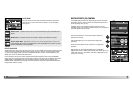
0.3 Ev bracket 0.5 Ev bracket
Normal
Under
Over
Flash bracket: 0.5 Ev / 5 frames
Exposure bracket: 0.3Ev / 3 frames
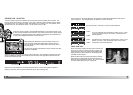
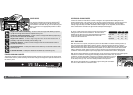
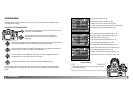
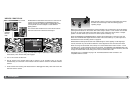
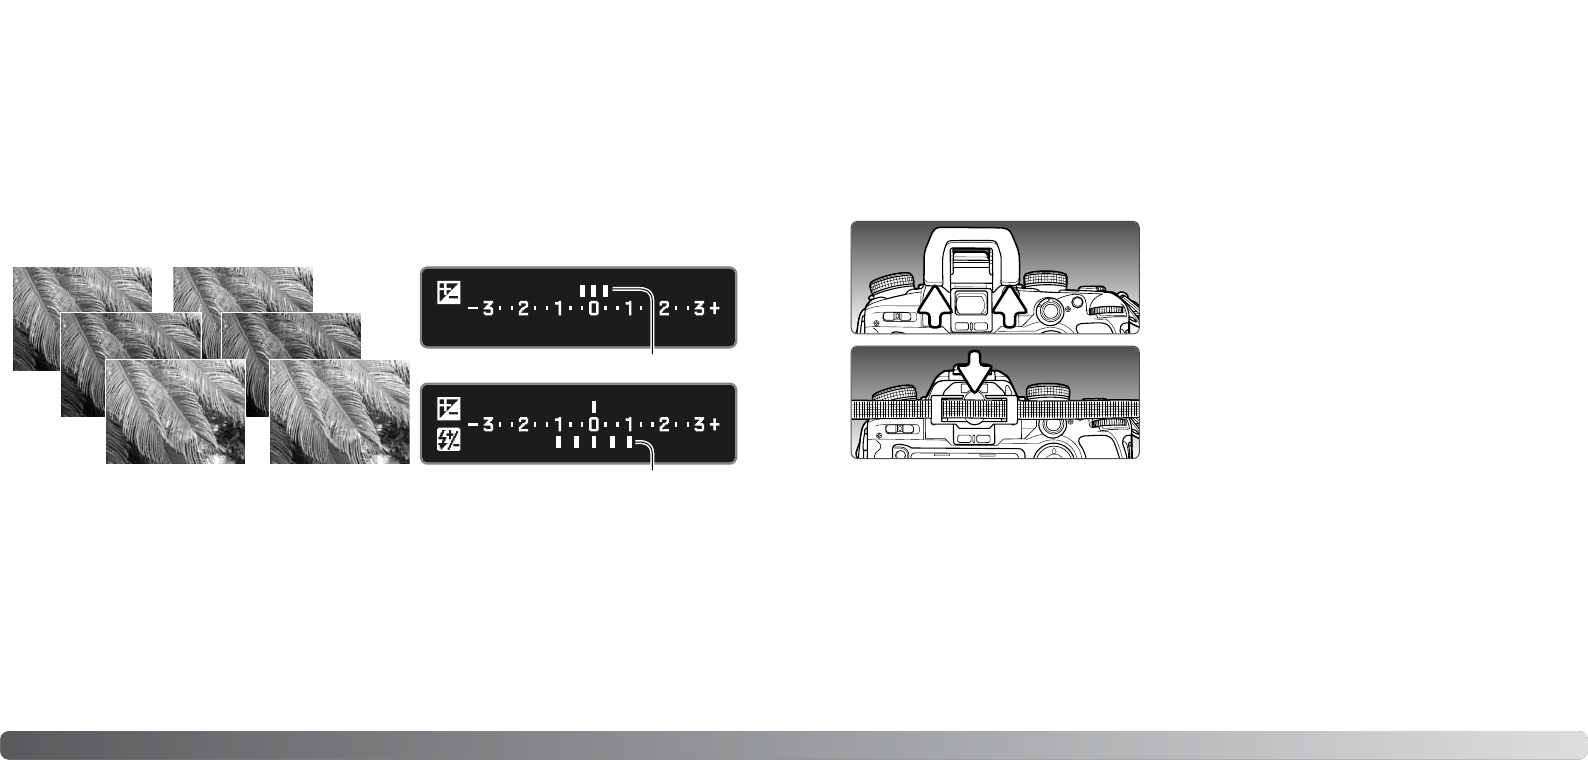
The supplied eyepiece cap prevents light from entering through the viewfinder and affecting the
exposure meter or fogging the image when using the self-timer or during long exposures.
Carefully slide the eyepiece cup from around the
viewfinder frame by pushing on each side of the cup.
Slide the eyepiece cap over the viewfinder. The cap
should be attached to the camera strap to prevent loss.
Replace the eyepiece cup after the exposure.
The Angle Finder Vn and Magnifier Vn can be used with this camera. The Angle Finder makes using
the camera at low angles easier. The Magnifier enlarges the center of the viewfinder image for
critical focusing especially for macro photography.
Eyepiece Corrector 1000 series diopters can be used if the adjustable viewfinder diopter is not
sufficient.
These accessories are mounted on the viewfinder frame as described above. For more information
on these and other accessories, contact your Konica Minolta dealer.
ATTACHING THE EYEPIECE CAP
OPTIONAL VIEWFINDER ACCESSORIES