


35
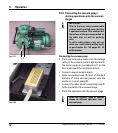
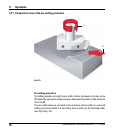
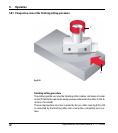
Leica SP 2600 Ultramilling attachment
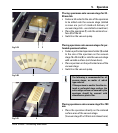
Insert the specimen (see chapters 5.5.2 and 5.5.4, pages 30 and 33 of this
manual) or - if you need to mill a vacuum table prior to first use - see
chapter 5.5.3, page 31 of this manual).
Wear protective gloves when working with potentially infectious
specimen material!
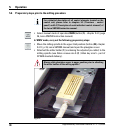
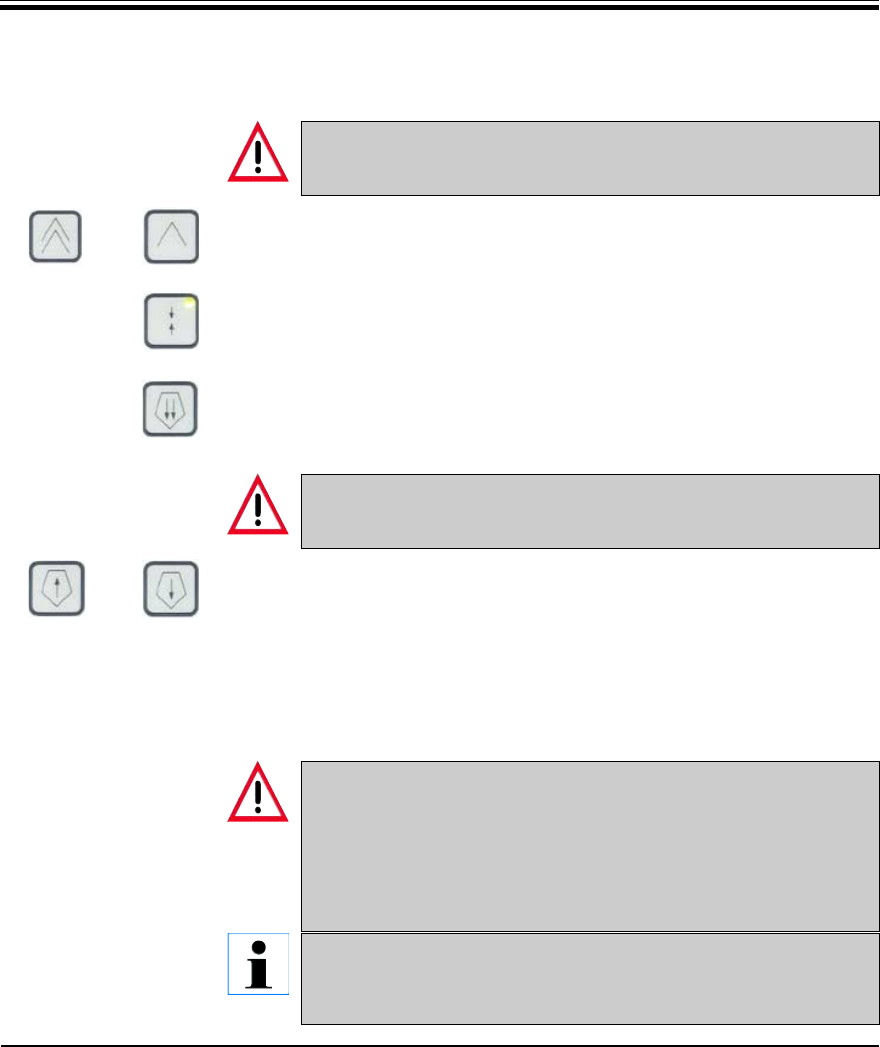
Move the specimen sledge underneath the miller (buttons (56) or (57),
chapter 5.4.14, page 37, Leica SM2500 instruction manual).
Set the milling window (button (61) and others - see chapter 5.4.14, page
37, Leica SM2500 instruction manual).
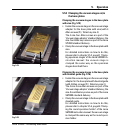
Press button (51) (chapter 5.4.13, page 36, Leica SM2500 manual) to bring
the cutting edge of the miller close to the specimen surface (coarse ad-
justment - small gap must still remain).
Always slide the plexiglass cover to the upper position prior to the
distance check milling edge / specimen surface! - Risk of injury!
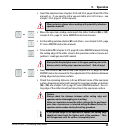
Next, use buttons (50) and/or (49) (see chapter 5.4.13, page 36, Leica
SM2500 instruction manual) for fine adjustment of the distance between
milling edge and specimen surface.
Check the remaining distance in three different zones of the specimen
surface (beginning/center/end) moving the specimen sledge via buttons
(56) - (59), see chapter 5.4.14, page 37, Leica SM2500 manual) - the cut-
ting edge of the miller should just about touch the specimen surface.
Caution:
Always check the distance between miller cutting edge and
specimen surface thoroughly prior to milling!
Under no circumstances may the miller cutting edge be positioned
more than a few microns (= selected milling thickness) below the
specimen surface when starting the milling procedure.
If the surface height of the specimen is uneven, the cutting edge
should just about touch the highest point of the specimen. - Then
mill the specimen until the surface is completely level.
or
5. Operation
or