


33
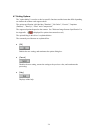
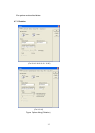
4.6 Setting "Scanning Area"
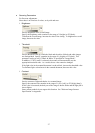
Specify the scanning area in the preview window as follows:
Setting:
1. Press the left mouse button to specify the origin (top left corner) of the scanning area.
(The cursor appears as a "+".)
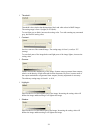
2. Drag the mouse to show the outline of the scanning area. (As the cursor moves, a range
frame is shown.)
3. Release the left mouse button again to set the range (bottom right corner) of the
scanning area.
Movement:
1. Move the cursor into the range frame. (The cursor appears as a hand.)
2. Press the left mouse button. (The cursor changes to a fist.)
3. Drag the mouse to move the range frame.
4. Release the left mouse button to set the current range.
Cancellation:
The range frame can be canceled by either of the following ways:
− Click the left mouse button outside the range frame (inside the scan document).
− Select other paper types.