23
DP12
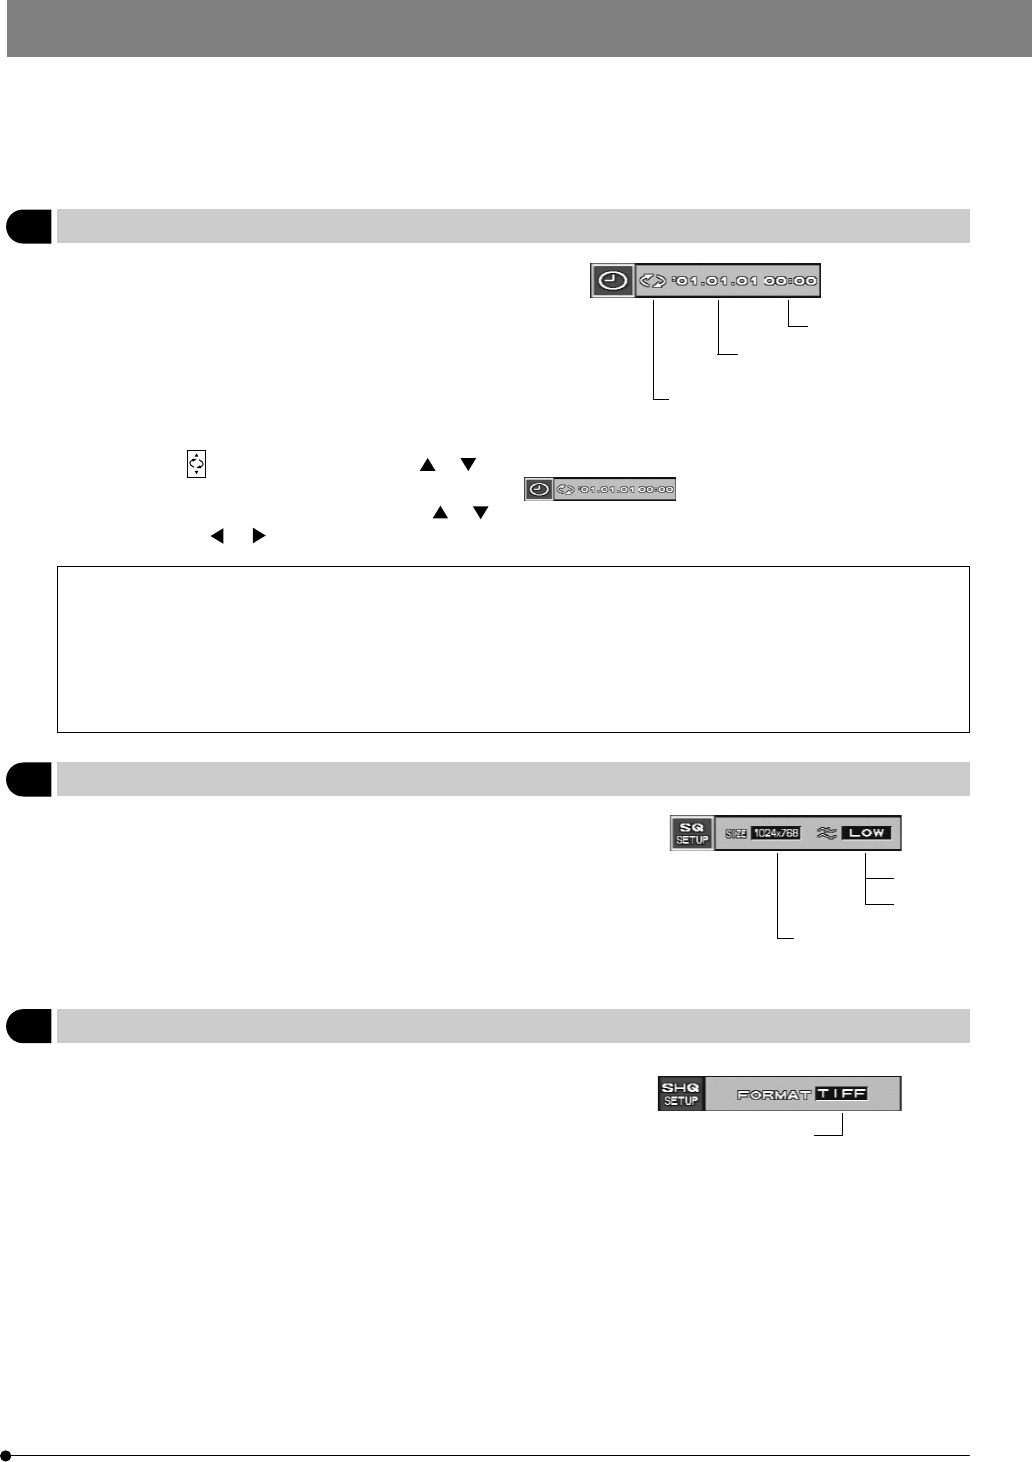
7 Setting the Date/Time
Factory setup: ——
}The date and time can be set in the camera system.
The recording date and time are recorded together with pic-
tures.
Time
· After selecting , press either MOVE button or to select the order of the figures of year, month and day.
· When the order of figures has been set, the display becomes , where the figures which can be set nor
are displayed in green. Press either MOVE button or to set the desired figures. To move across the year, month and day,
use MOVE button or . (Press the SET/OK button after having set the figures of the date or time.)
· When the order of the figures is changed, the order of the figures of year, month and day in the print reservation
are also changed.
· Even when the date and time are recorded with a picture, they will be altered to the processing date and time
when the picture is processed on the PC.
To check the recording date and time of a picture recorded with the DP12, use the CD-ROM provided with the
optionally available DP12-BSW PC connection kit.
8 Setting the SQ Picture Size and Compression Rate
Factory setup: 1024 x 768/LOW
640 x 480 or 1024 x 768
}When the picture quality mode is set to SQ, the size of the
recorded picture can be selected.
Decreasing the picture size makes it possible to record more
pictures per SmartMedia.
An item for selecting LOW compression or HIGH compression
is provided together with this item.
9 Setting the SHQ Picture Format (JPEG/TIFF)
Factory setup: TIFF
JPEG or TIFF
}When the picture quality mode is set to SHQ, the format of
the recorded file can be selected from compressed JPEG or
non-compressed TIFF.
Month-Day-Year, Year-Month-
Day or Day-Month-Year
Select the order of the figures of year,
month and day.
HIGH
LOW


