


32
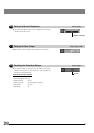
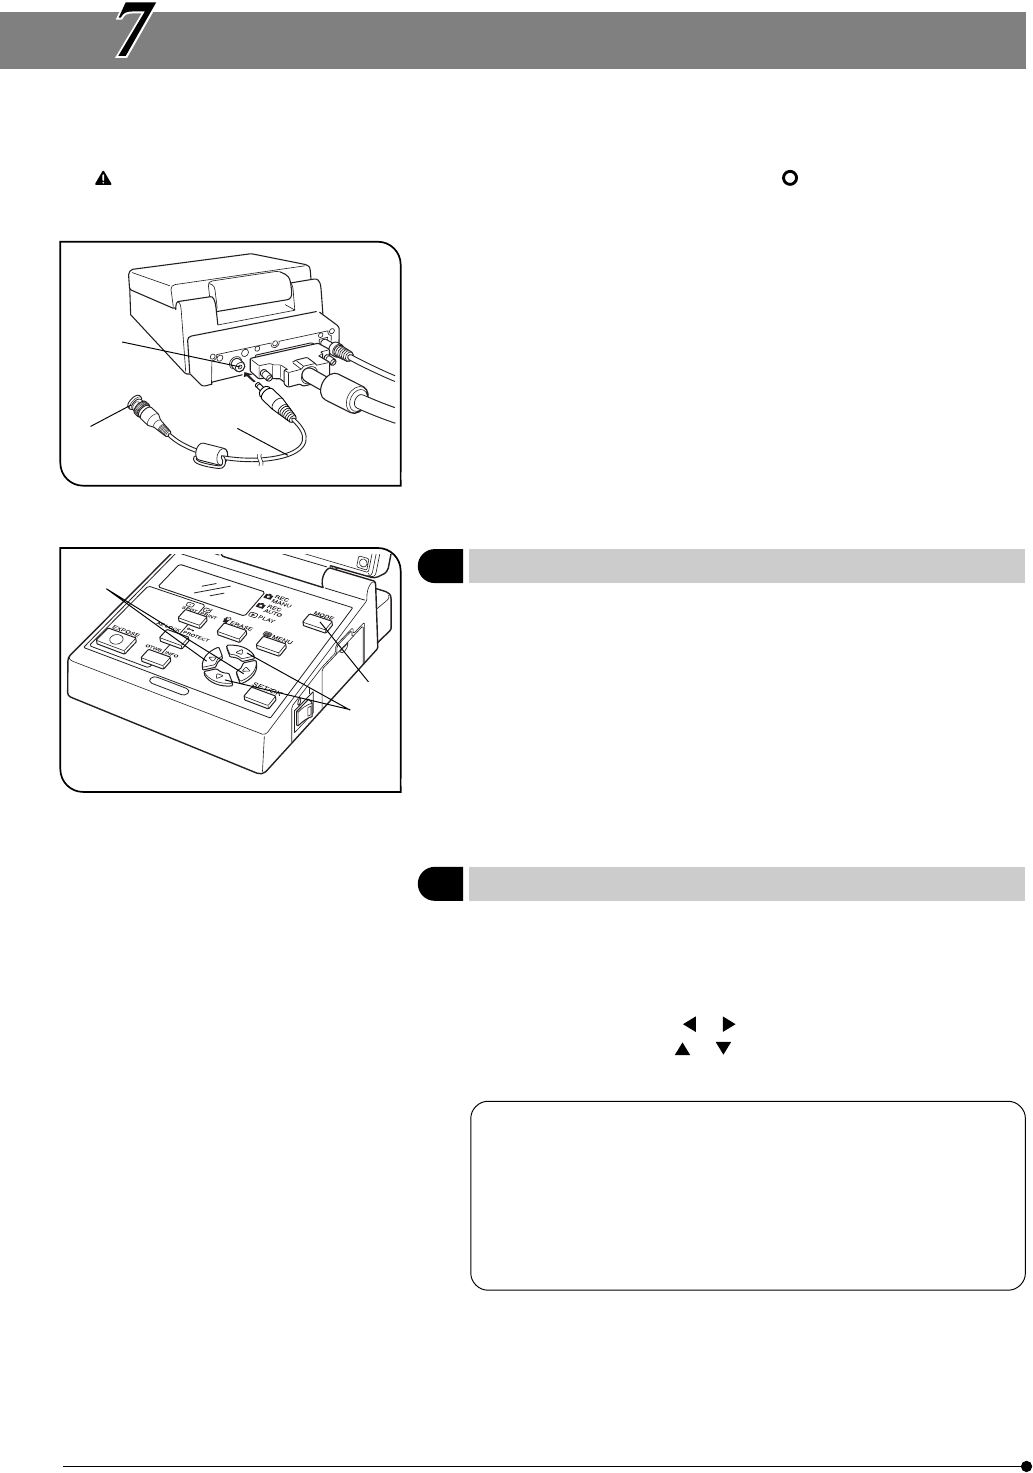
Fig. 22
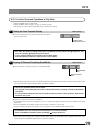
Fig. 23
MONITOR DISPLAY OF PICTURES
}The recorded pictures can be displayed on a video monitor by using the provided video cable.
This makes it possible to view the pictures on a large screen even when a PC is not available.
Before connecting the cable, be sure to set the main switch of the control box to “ ” (OFF) and also turn off the
video monitor.
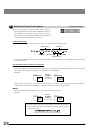
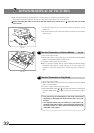
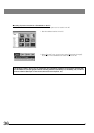
1. Connect the video cable 1 to the video output connector 2 on the
control box.
2. Connect the other end 3 of the video cable to the video input connector
of the monitor.
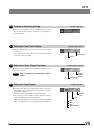
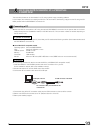
1 Monitor Observation in Record Modes
(Fig. 23)
1. Turn on the video monitor.
2. Set the main switch of the control box to “ I ” (ON), then press the MODE
button 1 to select REC MANU or REC AUTO.
3. The video monitor shows the live image.
}Even if “Up/down inverted display" is set at “Setting the Picture Display
Orientation" (page 25), the image displayed is an erect image. Then
characters in the scale displayed are inverted (Up/down inverted) im-
ages.
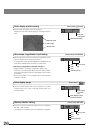
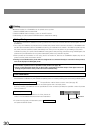
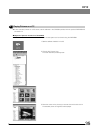
2 Monitor Observation in Play Mode
1. Turn on the video monitor.
2. Set the main switch of the control box to “ I ” (ON), then press the MODE
button 1 to select PLAY.
3. The video monitor shows a playback picture.
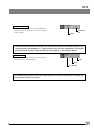
4. Press either MOVE button or 2 to select the picture to be displayed.
Use either MOVE button or 3 to select the magnification (1/16X to
4X).
· The picture may not be displayed on the center of the screen
depending on the adjustment of the monitor. This is not a mal-
function.
· The displayed picture may be enclosed in a black frame de-
pending on the video monitor in use. If the picture is output from
the video monitor to a video printer, the black frame may be
noticeable in the printout.
²
³
@
²
³
@