10
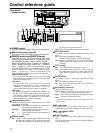
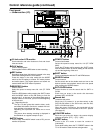
Control reference guide
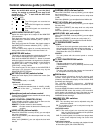
HEADPHONES
PULL PULL
AUDIO MIX
1&2
CH1/3CH2/4
REC CH1/3
REC CH2/4
3&4
CH1/3CH2/4
AUDIO MON SEL
AUDIO VOL SEL
LRMIX
REC
PB
UNITY
VAR
METER
FULL/FINE
INPUT SELECT
VIDEO AUDIO
CH 1 CH 2 CH 3 CH 4
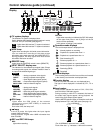
COUNTER
MENU
TC PRESET
SELECT
SLOT
RESET
THUMBNAIL
MARKER
BAR
MENU
SET
SEARCH
RECPLAY
FFREW STOP
PREV NEXT
SHIFT
SHTL
PUSH
JOG
SLOW
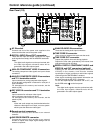
Memory Card Recorder AJ-
ENC
CONTROL
REMOTE
LOCAL
VIDEO
LEVEL
PRESET
MANUAL
CHROMA
LEVEL
PRESET
MANUAL
SET UP
PRESET
BLK
MANUAL
HUE
PRESET
CHROMA PH
MANUAL
TC
REGEN
PRESET
REC RUN
FREE RUN
DIAG
ON
POWER
USB 2.0
OFF
REMOTE
LAN
USB
1
2
3
4
5
SUPER
ON
OFF
TCG
INT
EXT
MODE
PB
EE
REC INH
ON
OFF
DVCPRO 50
DVCPRO
DV
PLAY LIST EVENT
INSERT
DELETE
GO TO
ENTRY OUTIN
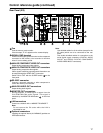
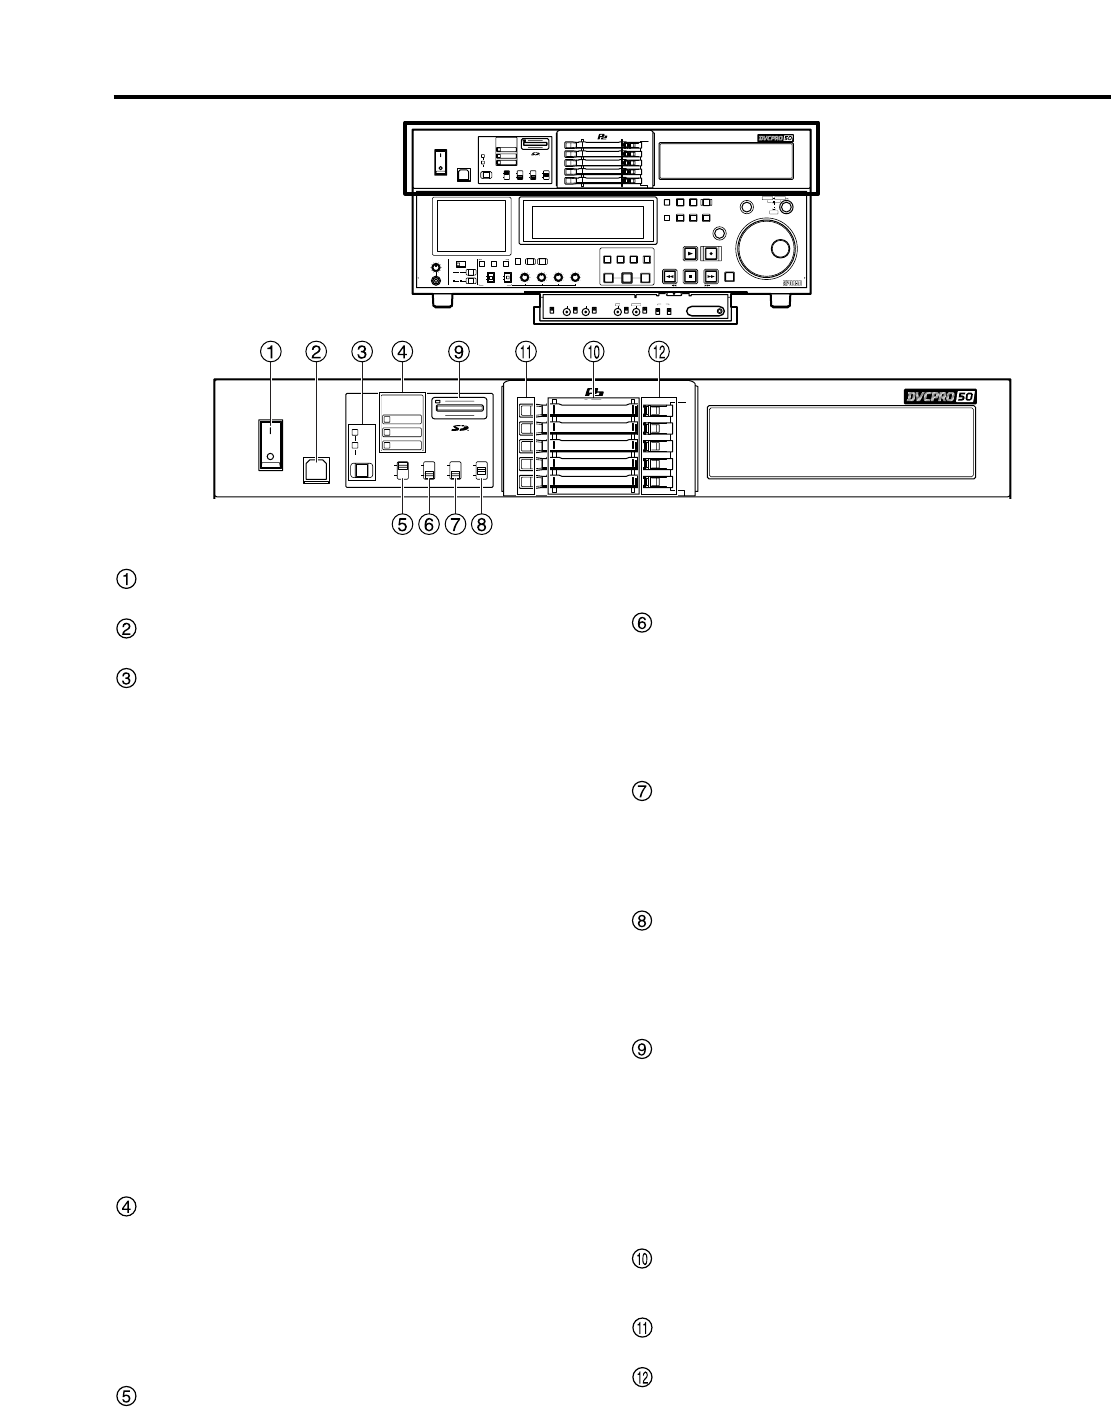
Front panel
— Upper section
ON POWER
USB 2.0
OFF
REMOTE
LAN
USB
1
2
3
4
5
SUPER
ON
OFF
TCG
INT
EXT
MODE
PB
EE
REC INH
ON
OFF
DVCPRO 50
DVCPRO
DV
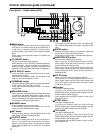
POWER switch
Use when switching between ON and OFF of the power.
USB 2.0 connector (Type B)
Use when connecting a personal computer (See page 20).
REMOTE button and REMOTE display
Use when operating the memory card recorder under
external control or copying files on P2 cards through the
9-pin REMOTE, RS-232C, LAN, or USB 2.0 terminal.
When the REMOTE button is pressed, the REMOTE
display changes as follows: [Lights out]
→
[REMOTE
lights]
→
[Lights out]. When it is pressed while holding
down the SHIFT button, the displays change as follows:
[Lights out/REMOTE lights]
→
[LAN lights]
→
[USB
lights]
→
[Lights out]. (These operations are not
performed while thumbnails or play lists are displayed.)
REMOTE button lights:
You can operate the memory card recorder under
external control set at setup menu No. 201 (9P SEL)
or No. 204 (RS232C SEL).
→
LAN lights:
You can check files on P2 cards with a personal
computer on the network through 100BASE-TX
/10BASE-T connection. At this time, front panel
controls of the memory card recorder are disabled.
USB lights:
By connecting a personal computer with USB2.0, you
can use the P2 cards in the memory card recorder as
mass storage. At this time, front panel controls of the
memory card recorder are disabled. You will need to
install the USB driver onto your computer.
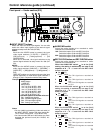
Format display area
Shows the recording format and the format of the files
recorded on the P2 card.
DVCPRO50 : This indicates recording and playback of
DVCPRO50 (50 Mbps) format.
DVCPRO : This indicates recording and playback of
DVCPRO (25 Mbps) format.
DV : This indicates recording and playback of
DV format.
SUPER switch
ON :
The time code and other superimposed information
are output to the VIDEO OUT 3 connector, and when
the SDI OUT 3 connector (optional) is provided, they
are output to this connector as well.
OFF: The superimposed information is not output.
REC INH switch
This switch is used to enable or disable recording to P2
cards.
ON : Recording is disabled (inhibited).
The REC INH lamp lights on the display panel.
OFF: Recording is enabled so long as the write-protect
switch mechanism on the card is set to enable
recording.
TCG switch
INT : The internal time code generator is used.
EXT: The external time code which is input from the
time code input connector or video signal VITC is
used. Select at setup menu No. 505 (EXT TC
SEL).
MODE switch
This switch is used to select the signals in the stop
mode.
PB : The signal from the card is output.
EE : The input signal selected by the INPUT SELECT
button is output.
SD memory card slot
Insert an SD memory card.
Insert : With the label facing up and the cut-corner
facing in, press until the card locks in place.
Eject : After checking that the lamp has gone off, press
the card in to release the lock.
Note:
Insert only SD memory cards: do not insert any other
type of cards.
P2 card slots
Press the card in until the eject button pops out. After
inserting the card, push the button over (See page 18).
P2 card access LEDs
See page 19.
EJECT buttons
Press to eject the card. Raise the button and press
firmly.
Do not use this button while the card’s access indicator
is on (See page 18).


