24
Working with clip thumbnails (continued)
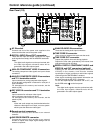
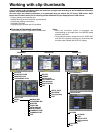
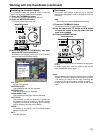
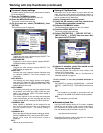
Menu bar
The menu bar contains menu items for performing clip
operations, switching/setting the thumbnail display, etc.
To use the menu bar, press the MENU BAR button on
the thumbnail screen. Menu items are selected with the
search dial, FF button, REW button or SET button.
THUMBNAIL :This menu is used to switch the
thumbnail display or set the display
method.
OPERATION :This menu is used to delete clips and
format P2 cards.
PROPERTY :This menu is used to display clip
properties and P2 card statuses.
EXIT :This menu is used to return the pointer to
the thumbnail area.
Instead of pressing EXIT, the STOP button can be
pressed while holding down the SHIFT button to return
the pointer to the thumbnail.
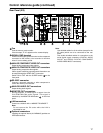
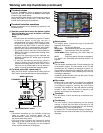
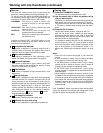
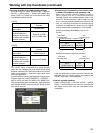
Incomplete clip indicator
Regardless of whether a recording extends over a
multiple number of P2 cards, this appears when none of
these P2 cards are inserted into the P2 card slots.
Voice memo indicator
This marker is displayed on clips containing a voice
memo. For details, see “Voice memos” on page 26.
Shot mark indicator
This marker is displayed on clips in which a shot mark
has been added to the thumbnail.For details, on shot
marks see “Shot marks” on page 25.
Wide indicator
This marker is displayed on clips recorded with a 16:9
aspect ratio.
Bad clip indicator
This marker is displayed on clips which were improperly
recorded because, for example, the power was cut off
during recording.It may be possible to repair clips for
which the yellow bad clip indicators were displayed. For
details, see “Repairing clips” on page 27. Clips which
contain red bad clip indicators cannot be repaired, so
they should be deleted. If a clip cannot be deleted,
format the P2 card. appears instead of when the
clips have different formats, etc.
Edit copy clip indicator
This marker is displayed on edit-copied clips.
Indicator for clips with proxy
This marker is displayed for clips with proxy attached.
P
E
X?
X
W
M
V
!
Playing clips
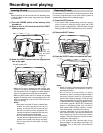
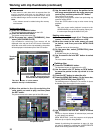
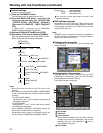
(1) Press the THUMBNAIL button.
The thumbnail screen is displayed on the LCD.
(2) Use the search dial to move the pointer to the
clip you want to play.
The pointer can also be moved to the left by pressing the
REW button and to the right by pressing the FF button.
The pointer moves to the first or last clip when the REW
or FF button is pressed while holding down the SHIFT
button.
(3) Press the PLAY button.
The clip at the pointer location is played on the LCD.
After the clip at the cursor location has been played,
subsequent clips are played in the order in which they
were recorded. After the last clip has been played, the
thumbnail screen is displayed again.
It is possible to display and play only the selected clips
on the thumbnail screen. (It is also possible to select
only those clips which satisfy specific conditions, as the
clips to be displayed on the thumbnail screen.) For
details, see “Switching the thumbnail display” on page
25.
Notes:
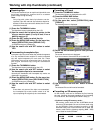
•Clips with clip numbers displayed in red cannot be
played.
•It is not necessary to select a clip (so that its thumbnail
has a green box around it) in order to play clips.
•If the REW button is pressed while a clip is being
played, the clip is played in reverse. If the FF button is
pressed, the clip is played in fast forward mode.
•If the STOP button is pressed while a clip is being
played, playback is stopped and the thumbnail screen is
displayed again.
•While playback is stopped, the pointer remains on the
thumbnail of the clip which was being played, regardless
of where the pointer was located at the start of playback.
•The images and sound will be disrupted during playback
between clips that have different formats (DVCPRO50,
DVCPRO, DV): This is normal and not indicative of
malfunctioning.
If the THUMBNAIL button is pressed to close the thumbnail
screen, the playback start position will change back to the
clip with the oldest recording time (Clip number 1).


