38
Editing Mode
For assistance, please call : 1-800-211-PANA(7262) or, contact us via the web at: http://www.panasonic.com/contactinfo
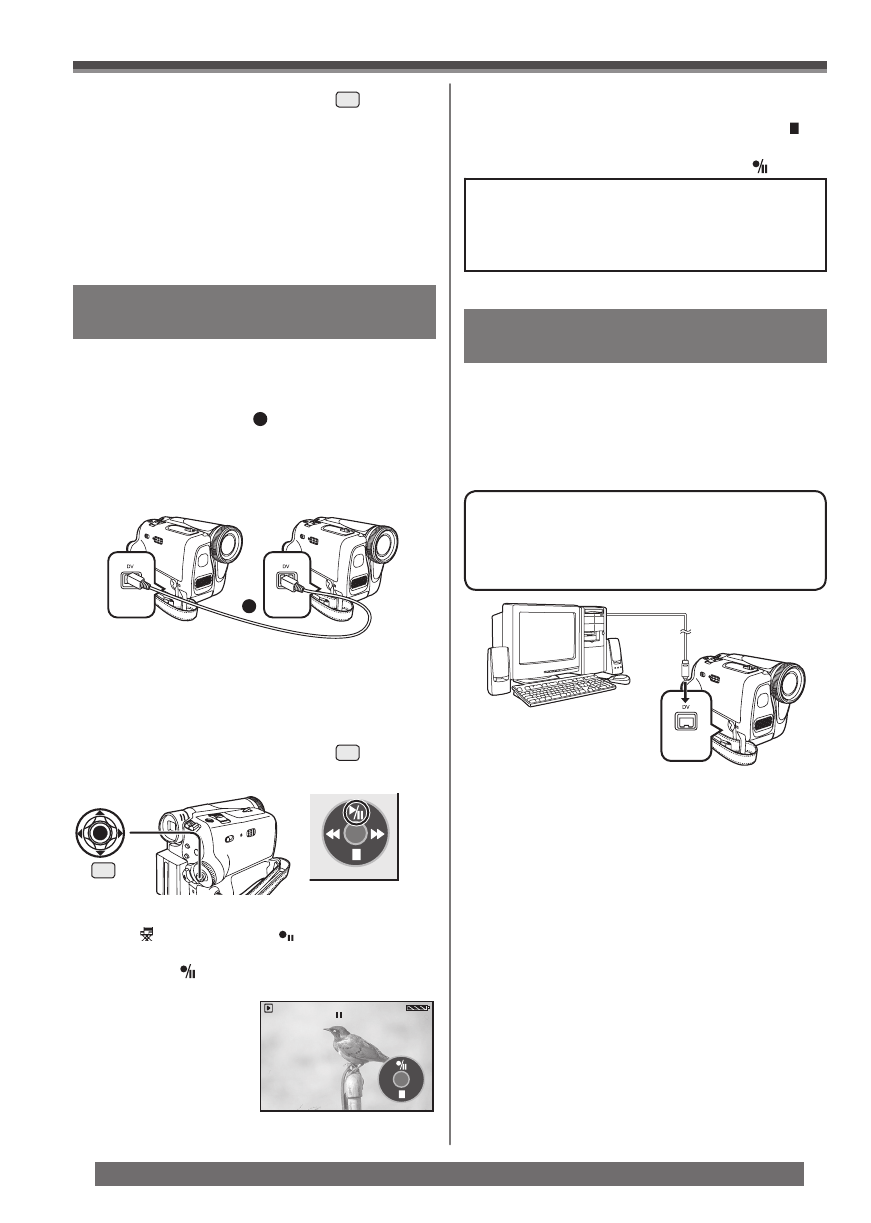
PC Connection With DV Interface
Cable
A video clip can be transferred directly to your PC
(Personal Computer) via a DV Interface Cable
(Optional) using products and software from a number
of video editing software companies.
Using products from video editing software companies
allows you to capture and edit video clips using the DV
Interface.
Our DVC being OHCI compliant should
have no problem working with any OHCI
compliant Firewire Card/video - Editing
software package.
• Personal Computer must be equipped with an DV
Terminal.
• During Camcorder playback, do not disconnect the
DV Interface Cable or turn the Camcorder off as this
may cause a PC hang-up error.
• 1394 (i.LINK) Interface must conform to OHCI (Open
Host Controller Interface Specification).
Recorder:
4 Set [ ADVANCE] >> [ REC STDBY] >>
[YES], then move the Joystick Control [▲]
to select [ ].
• Recording starts.
• For other notes concerning this item, see page 54.
CAUTION:
Unauthorized exchanging and/or copying
of copyrighted recordings may be copyright
infringement.
To Stop Dubbing
Move the Joystick Control [▲] to select [ ] again.
To Cancel the Standby for Recording
When the Camcorder is standby for recording,
move the Joystick Control [▼] and select the [
].
Using the DV Cable for Recording
(Digital Dubbing)
Player/Recorder:
2 Insert the Cassette and set to Tape
Playback Mode.
Player:
3 Move the Joystick Control [▲]
33
to start
playback.
1
By connecting this Camcorder with other digital
video equipment (such as another Camcorder of
the same format/model) that has a DV input/output
Terminal, and using a 4-pin to 4-pin DV Interface
Cable PV-DDC9 (optional)
1
, high quality images and
sounds can be dubbed in the digital mode.
• Set to Tape Playback Mode (Player/Recorder)
1 Connect the Camcorder and digital video
equipment with the DV cable.
SP 3h59m59s29f
12:34:56AM
JAN 2 2005
6 Move the Joystick Control [▼]
33
to stop
playback.
7 Stop recording.
• For more information, refer to the operating
instructions for your TV set and recorder.
When neither image nor sound from the
Camcorder is output to the TV set
• Check that the plugs are inserted as far as they
go.
• Check the connected terminal.
33
[One-Touch Navigation icon]


