


49
Special Features
Special Features
A.DUB
DATE /
TIME
PHOTO
SHOT
REC /
PAUSE
A.DUB
MENU
STOP /
SET
INDEX
SEARCH
SLOW /
F.A DV
PAUSE /
SEL
SLOW /
F.A DV
REW / PLAY
FF /
- SPKR VOL +
T
W
INDEX
SEARCH
REC
CAMCORDER
CAMERA
DISPLAY
ON TV
COUNTER /
TC
RESET
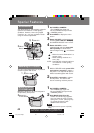
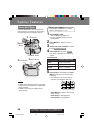
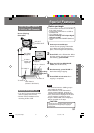
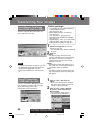
External Microphone
with M3 connector (not
supplied)
External
Microphone Jack
(PV-DV401 only)
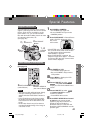
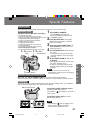
The original sound can be replaced with
new sound using the built-in Palmcorder
microphone or an external microphone
(PV-DV401 only).
Audio Dubbing using the
External or Built-in Microphone
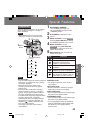
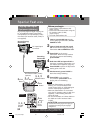
1Set POWER to VCR.
• The POWER lamp lights red.
• Be sure POWER is fully turned to
VCR position.
• If you have the Optional Remote
Control, you can set the Palmcorder
to stop automatically at a specified
point on the tape. See “Memory-Stop
Editing” on page 50.
2Press PLAY.
Then press PAUSE where you want
dubbing to begin.
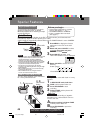
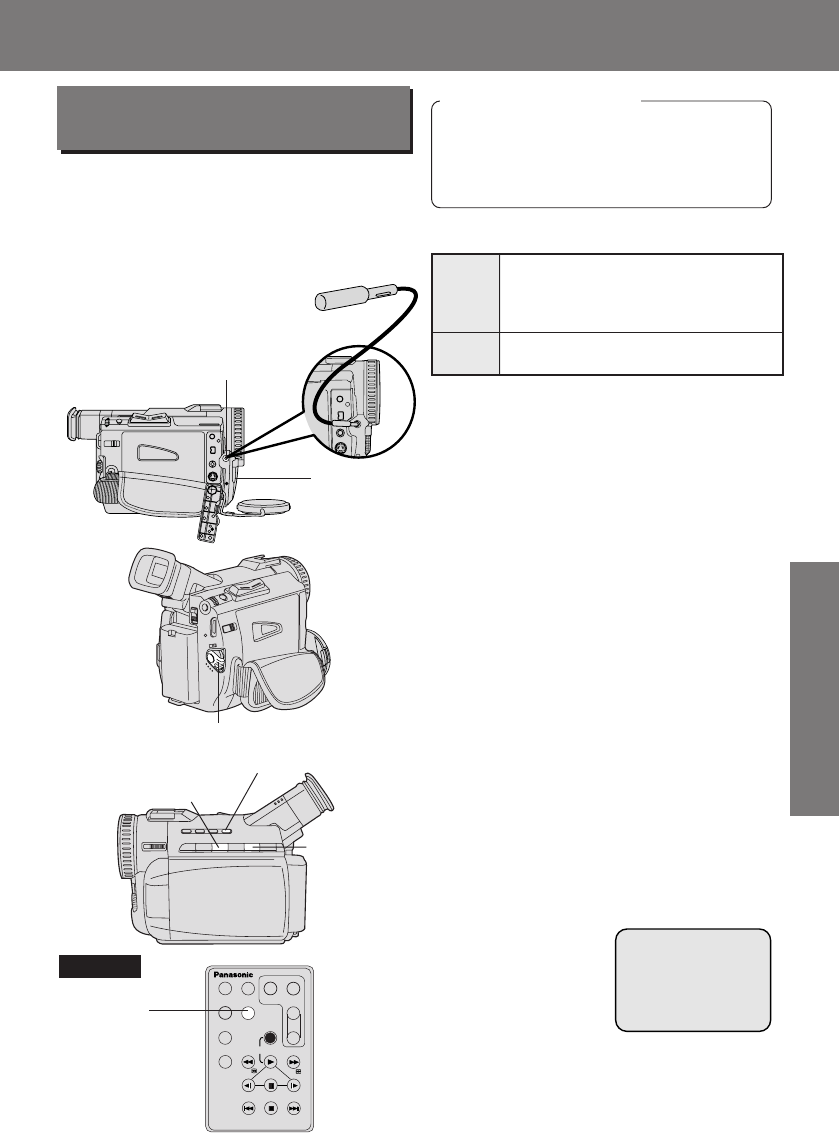
3Press A.DUB on this unit (for 3
seconds) or on the remote control
(optional, page 64) to put the
Palmcorder in the Audio Dub mode.
• “A.DUB” flashes in the EVF or the
LCD monitor.
2PLAY Button
2PAUSE
Button
3A.DUB Button
3A.DUB
Button
Optional
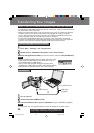
Before you begin
• Connect the external Microphone
(if used) (PV-DV401 only).
• Turn on the Palmcorder.
• Insert a pre-recorded tape to be
dubbed.
Built-in
Microphone
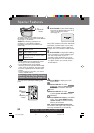
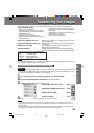
The AUDIO-REC setting in CAMERA
MENU mode should be as follows:
• Select 12 bit if you do not want the
original sound to be completely replaced
during an audio dub.
• If you dub over a tape which has both
12 bit and 16 bit audio recordings on it,
keep in mind that the original 16 bit audio
portion will be completely replaced.
12 bit
16 bit
The original sound is recorded
on ST (Stereo) 1, and the new
sound will be recorded on ST
(Stereo) 2.
The original sound is replaced
with the new sound.
1POWER Switch
Special Features
Special Features
201_401.49-52.p65 01/01/18, 17:0849