62
Maintenance of the camera [Maintenance]
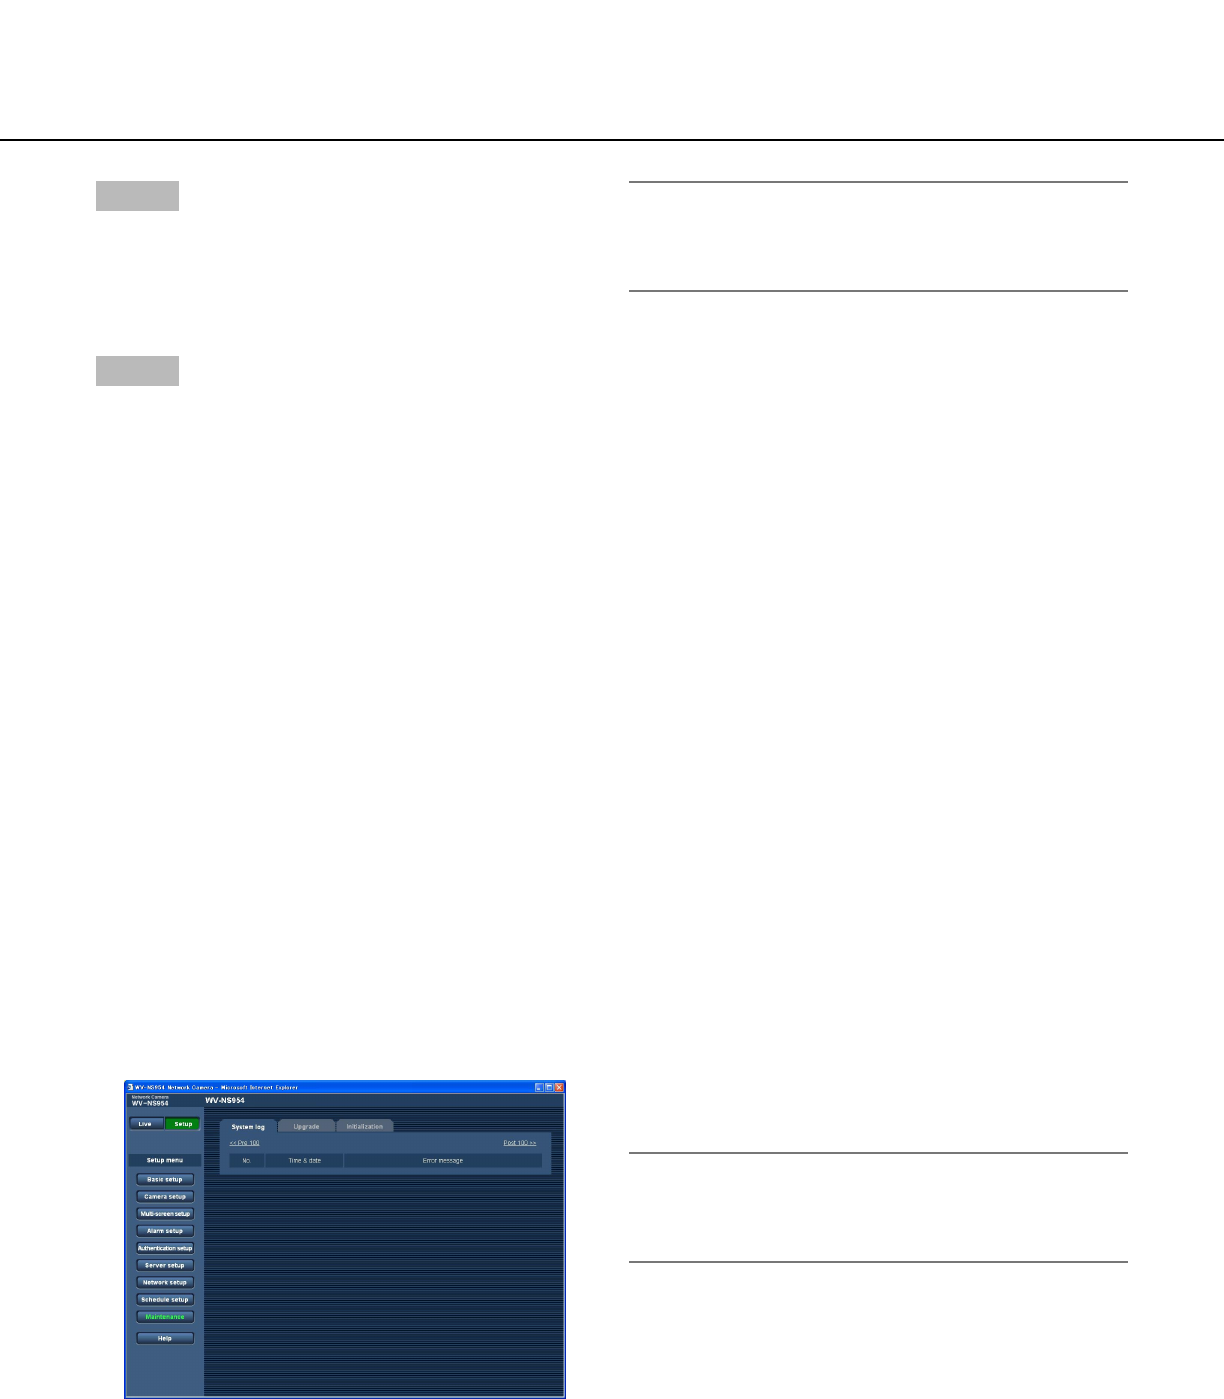
System log check, firmware upgrade, and initialization of the setup menu can be performed on this page.
The "Maintenance" page has 3 tabs; the [System log] tab, the [Upgrade] tab and the [Initialization] tab.
Check the system log [System log]
Click the [System log] tab of the "Maintenance" page. (☞ pages 4 and 5: How to display/operate the setup menu)
Up to 4 000 system logs can be saved on the SD memory card when the SD memory card is inserted after selecting
"Use" for "SD memory card" on the [SD memory card] tab (☞ page 11).
When "Not use" is selected for "SD memory card", up to 100 system logs can be saved on the built-in memory of the
camera.
When the saved system logs have reached the maximum number, the newer logs will overwrite the older system
logs. In this case, the oldest log is the first to be overwritten.
The system logs will be displayed in group of 100 logs each.
When using the SD memory card, the logs will be saved even when the power of the camera is turned off. When not
using the SD memory card, the logs will be deleted when the power of the camera is turned off.
[Time & date]
Time and date at the error occurrence will be displayed.
Note:
When "OFF" is selected for "Time display" on the
[Basic] tab (☞ page 8), time & date of logs will be
displayed in 24-hour format.
[Error message]
The descriptions about the error will be displayed.
Refer to page 66 for further information about the sys-
tem logs.
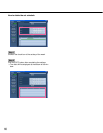
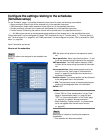
Step 3
Click [i] to select the start time and the end time of the
schedule.
When unnecessary to specify the time zone in the
selected day of the week, select "24 hours".
Step 4
Click the [SET] button after completing the settings.
→ The result will be displayed at the bottom of the win-
dow.
Note:
The schedules displayed at the bottom of the win-
dow can be identified by colors assigned to each
schedule.


